eBook - ePub
Available until 21 Apr |Learn more
101 Textures in Colored Pencil
Practical step-by-step drawing techniques for rendering a variety of surfaces & textures
This book is available to read until 21st April, 2026
- 128 pages
- English
- ePUB (mobile friendly)
- Available on iOS & Android
eBook - ePub
Available until 21 Apr |Learn more
101 Textures in Colored Pencil
Practical step-by-step drawing techniques for rendering a variety of surfaces & textures
About this book
Get a feel for your art—literally! 101 Textures in Colored Pencil teaches you every technique you’ll need to give your colored-pencil drawings realistic, palpable texture.
Named "One of the 54 Best Colored Pencil Drawing Books of All Time" by BookAuthority
There has never been a better opportunity to master textures. Knowing how to make your surfaces and textures look real is one of the most challenging aspects of creating art in colored pencil, even for experienced artists. 101 Textures in Colored Pencil provides artists with step-by-step instructions for drawing a wide variety of the most common textures and surfaces, including sand, water, metals, foliage, wood, fabrics, stone, grass, hair, and many more.
To get you started, this comprehensive guide opens with a review of tools and materials as well as basic skills, such as strokes, effects, and color mixing. Each page of instruction is a comprehensive resource on how to create a specific texture, complete with two to three easy-to-follow steps and a final, detailed image of the finished artwork. Plus, the book is organized into sections based on subject matter, so you can easily find the specific texture you're looking for. An artist's gallery in the back of the book provides examples of the textures in completed works of art.
Just a sample of the textures you will learn to render:
- People: smooth skin; aged skin; straight, curly, and wavy hair; lips
- Animals & Insects: smooth, curly, and course canine fur; elephant skin; feather; fish scales
- Fabrics & Textiles: burlap, tweed, silk, velvet, leather, lace, sequins
- Glass, Stone, Ceramics, Wood & Metal: porcelain, polished silver, hammered brass, peeling paint
- Food & Beverage: red wine, cut citrus fruit, coconut, peach, dark chocolate
- Nature: smooth and rough bark, moss, river pebbles, still and rippled lake, clouds
101 Textures in Colored Pencil includes all the textures you need to create realistic masterpieces in colored pencil.
Frequently asked questions
Yes, you can cancel anytime from the Subscription tab in your account settings on the Perlego website. Your subscription will stay active until the end of your current billing period. Learn how to cancel your subscription.
No, books cannot be downloaded as external files, such as PDFs, for use outside of Perlego. However, you can download books within the Perlego app for offline reading on mobile or tablet. Learn more here.
Perlego offers two plans: Essential and Complete
- Essential is ideal for learners and professionals who enjoy exploring a wide range of subjects. Access the Essential Library with 800,000+ trusted titles and best-sellers across business, personal growth, and the humanities. Includes unlimited reading time and Standard Read Aloud voice.
- Complete: Perfect for advanced learners and researchers needing full, unrestricted access. Unlock 1.4M+ books across hundreds of subjects, including academic and specialized titles. The Complete Plan also includes advanced features like Premium Read Aloud and Research Assistant.
We are an online textbook subscription service, where you can get access to an entire online library for less than the price of a single book per month. With over 1 million books across 1000+ topics, we’ve got you covered! Learn more here.
Look out for the read-aloud symbol on your next book to see if you can listen to it. The read-aloud tool reads text aloud for you, highlighting the text as it is being read. You can pause it, speed it up and slow it down. Learn more here.
Yes! You can use the Perlego app on both iOS or Android devices to read anytime, anywhere — even offline. Perfect for commutes or when you’re on the go.
Please note we cannot support devices running on iOS 13 and Android 7 or earlier. Learn more about using the app.
Please note we cannot support devices running on iOS 13 and Android 7 or earlier. Learn more about using the app.
Yes, you can access 101 Textures in Colored Pencil by Denise J. Howard in PDF and/or ePUB format, as well as other popular books in Art & Art Techniques. We have over one million books available in our catalogue for you to explore.
Information

77 Smooth Bark
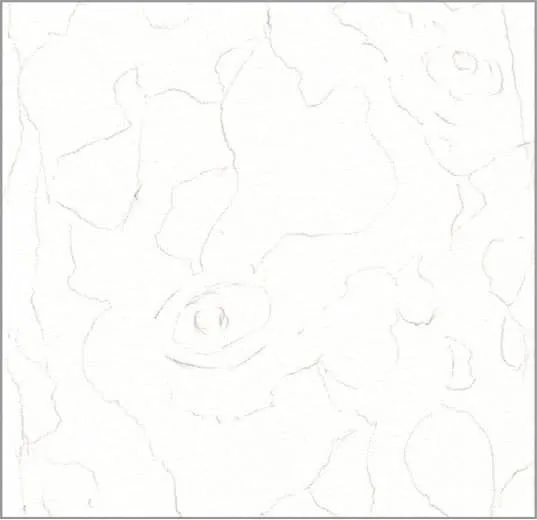
STEP ONE Sycamore bark is interesting because it is smooth, yet has subtle, irregular color shapes—like a jigsaw puzzle. Begin with a light outline. The shapes don’t need to be exact, because nature isn’t exact.
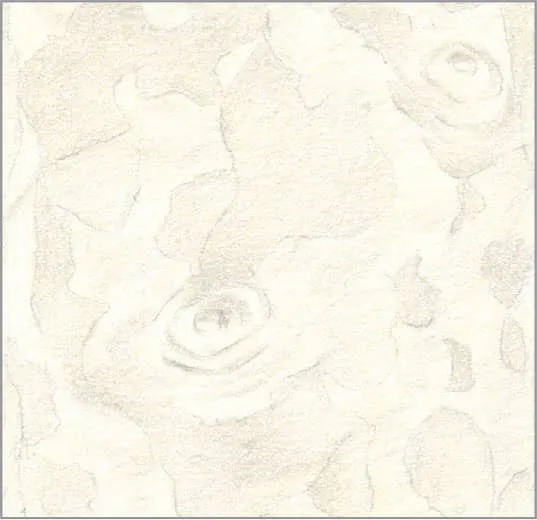
STEP TWO Cover the entire area with a light wash of cream. This provides a slightly warm color base and a layer of waxiness to smooth the following layers. Indicate the darker patches with a light layer of 20% French gray. Add some touches in the surrounding areas to create texture, since the trunk surface isn’t perfectly smooth.
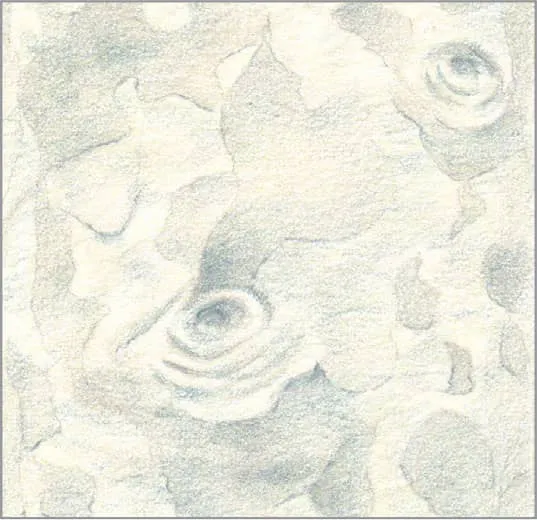
STEP THREE The darker patches should have a cooler tone than the surrounding areas, so add a bit of slate gray, as well as light touches in the surrounding areas. Use this color to begin defining the knots. With a very sharp point and very light pressure, draw the bottom edges of some of the patches.
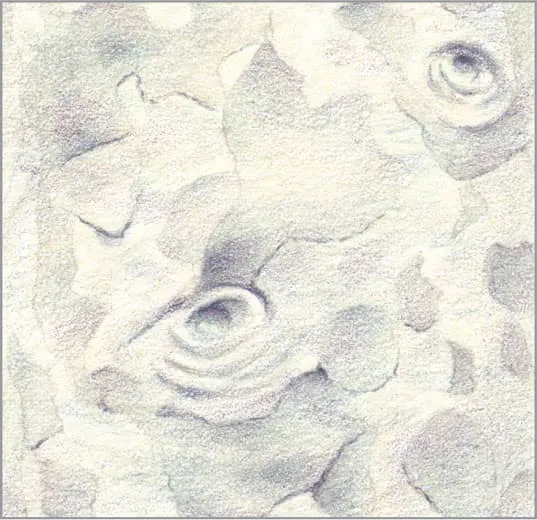
STEP FOUR To finish, use black grape to lightly reinforce some of the areas and edges on which you used slate gray. This will produce a shallow 3-D effect, just like real bark.
78 Rough Bark
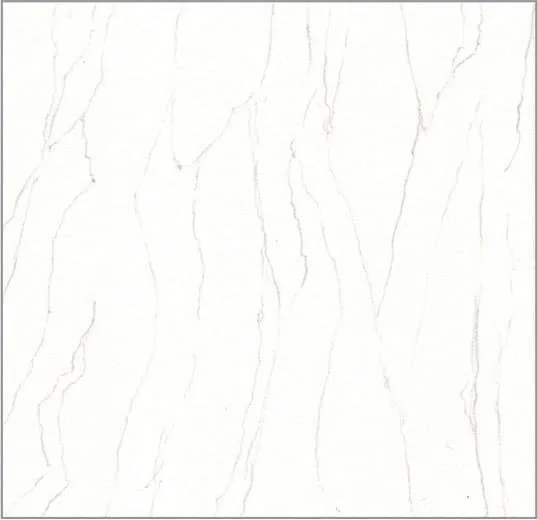
STEP ONE Pine bark is very rough, with deep, uneven grooves and subtle color all over. Begin with a basic outline of the deep grooves.
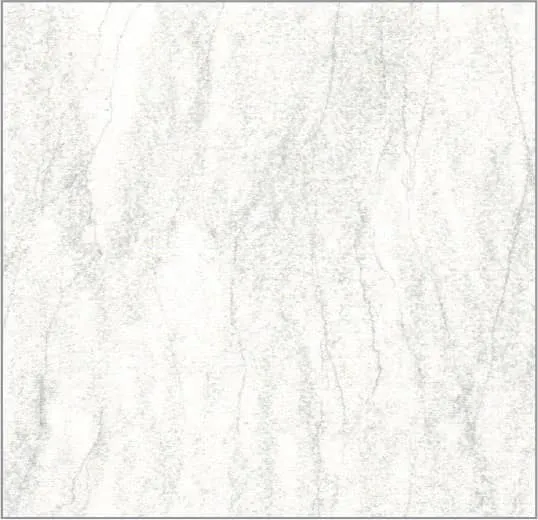
STEP TWO This is one of the few occasions when it works best to use the side of the colored pencil instead of the point. Cover the whole area with a light and very uneven layer of cool gray 20%. Allow a few spots to remain white—these will be the bark highlights.
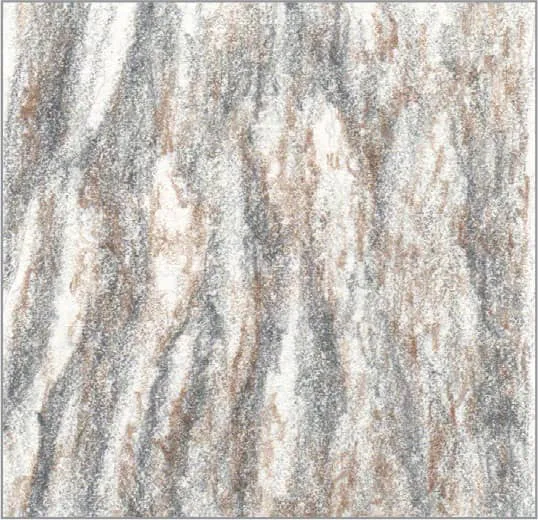
STEP THREE Use cool gray 70% on its side with light pressure to roughly define the deep grooves. Use a tiny scribbling motion with medium pressure to darken some of the lighter gray areas. With a dull light umber point, add dabs of color everywhere except on the highlight spots you previously reserved. These dabs represent flecks of bark that have fallen off, revealing the fresher bark beneath.
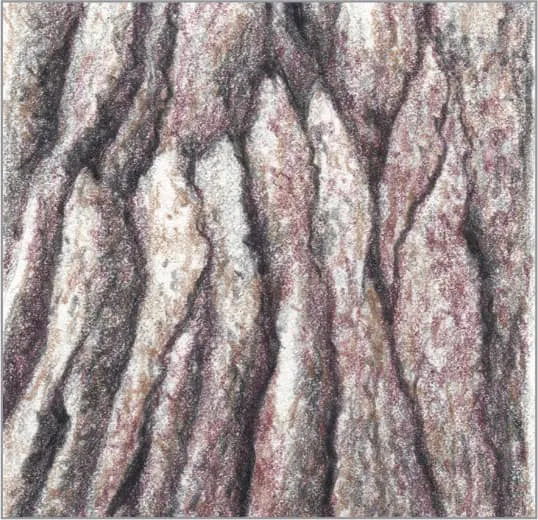
STEP FOUR Use a tiny scribbling motion and medium pressure with black raspberry to create some color inside the grooves. Add dabs and scribbles in the same areas where you previously dabbed light umber. To finish, use a very sharp black pencil with heavy pressure to sharply define the fine cracks and the deepest recesses in the grooves. With medium pressure and a scribbling motion, darken the insides of the grooves next to the sharp lines to give the grooves final depth.
79 Pine Needles
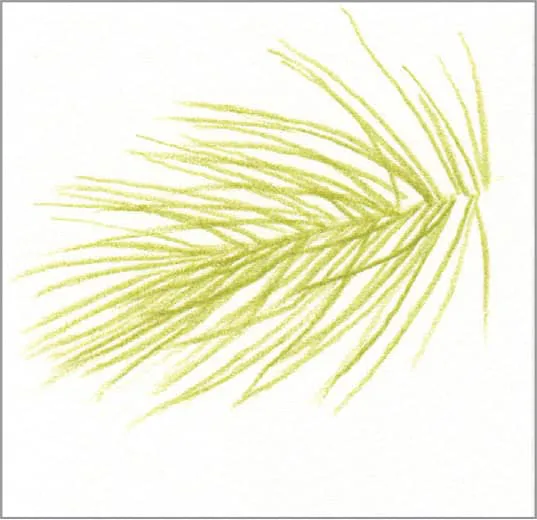
STEP ONE Since pine needles are as thin as pencil points, don’t start with an outline. Instead, begin directly with color. Use limepeel with a very sharp point to make quick outward strokes from the imaginary stem. Let the strokes overlap, and make some further apart than others and some shorter than others.
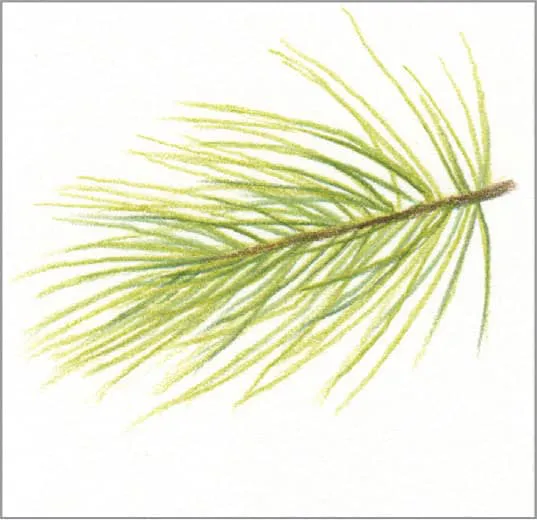
STEP TWO Repeat step one with a few strokes, using very sharp sap green light. Retrace some needles with very sharp olive green on the sections nearest the stem to add dimension. Draw the stem with green ochre, making it thicker at the base and fading into the needles where they overlap its tip.
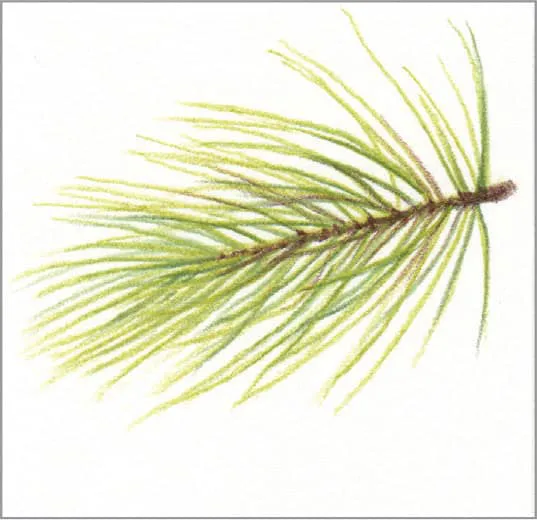
STEP THREE Each needle attaches to the stem, and the stem is rough. Use very sharp black raspberry to mark some of these attachment point...
Table of contents
- Cover
- Title Page
- Contents
- Getting Starte
- People
- Animals & Insects
- Fabrics & Textiles
- Glass, Stone, Ceramics, Wood & Metal
- Food & Beverage
- Nature
- Artist’s Gallery
- About the Author
- Copyright