Making sense of all the controls on your EOS 60D isn’t a task you can complete in an afternoon — or, heck, in a week or maybe even a month. But that doesn’t mean you can’t take great-looking pictures today. By using your camera’s point-and-shoot automatic modes, you can capture terrific images with very little effort. All you do is compose the scene, and the camera takes care of almost everything else.
This part shows you how to take best advantage of your camera’s automatic features and also addresses some basic setup steps, such as adjusting the viewfinder to your eyesight and getting familiar with the camera menus, buttons, and dials. In addition, chapters in this part explain how to obtain the best picture quality whether you shoot in an automatic mode or a manual mode, and how to use your camera’s Live View and movie-making features.
Chapter 1
Getting the Lay of the Land
In This Chapter
Attaching and using an SLR lens Working with camera memory cards Getting acquainted with external camera controls Adjusting viewfinder focus Decoding viewfinder and monitor information Selecting options from menus Using the Shooting Settings and Quick Control displays Customizing basic camera operations For many people, getting your first serious camera means moving from a point and shoot (and some point and shoots are very capable) to an SLR (single lens reflex). As with any growth spurt, the excitement of the move is often tempered with a bit of anxiety. Sure, you’ll be able to do lots of new things with your dSLR (digital SLR), but along with that newfound capability comes a barrage of new buttons, knobs, LCD menus, and mechanical knickknacks. Heck, this may be the first time you’ve even changed lenses on a camera: a big step in itself. Sure, you have the camera manual by your side, but it can be written in a cold or complicated way, making the learn-to-use-your-new-camera experience even more challenging.
If the 60D is your first SLR and your first digital camera, you’re getting something of a double-whammy in the New Stuff department. Fear not, though, because your new camera isn’t nearly as complicated as your first inspection may suggest. With some practice and the help of this chapter (which introduces you to each external control), you’ll find yourself nestling in comfortably with your new camera, making your photography more exciting and natural than ever.
This chapter also guides you through the process of mounting and using an SLR lens, working with digital memory cards, and navigating your camera’s internal menus. Finally, the end of the chapter walks you through options that enable you to customize many aspects of your camera’s basic operation.
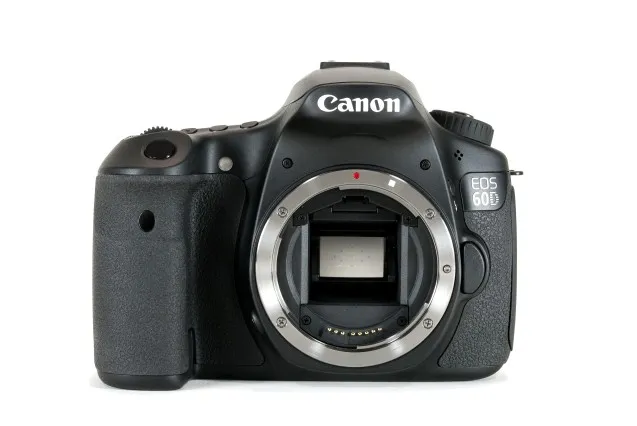
Before you start exploring this chapter, be sure that you fully charge your camera battery and then install it into the battery chamber on the bottom of the camera. You’ve probably already done this, but if not and you need help, the front part of the camera manual provides details. Working with the Movable Monitor
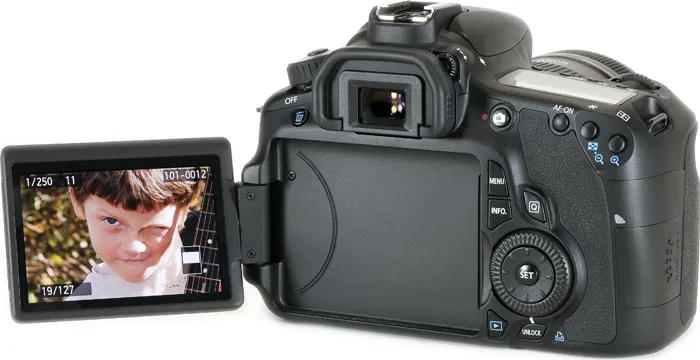
The EOS 60D is the first Canon digital SLR that sports an articulated monitor: You can adjust the position of the LCD monitor on the back of the camera (see Figure 1-1), moving it around to find the best position for you. The monitor, which is mounted on a sturdy hinge, can move in and out and even swivel. To protect it (or if you decide you don’t need it), you can even turn the monitor over so the screen faces into the camera body.
The important thing to remember is to treat the LCD monitor with respect. You don’t have to baby it, but don’t force it, either. If it resists or feels like it won’t turn how you want, stop what you’re doing or you may break it. It’s easy to forget which way it’s supposed to twist; when that happens, rely on the feeling of resistance to tell you to turn it the other way. Figure 1-1: That’s one nice articulated monitor.
These steps show you how to manipulate your LCD monitor:
1. Flip out the monitor, as shown in the left image of Figure 1-2.
Put a finger in the indentation on the back of the camera and leverage the monitor out of its housing.
2. Position the monitor, as shown ...