![]()
Chapter 1
Understanding the Basics
This first chapter introduces you to tools and features of ZBrush that you will use constantly throughout your journey. Understanding the powerful core of ZBrush is essential before you dive into more complex procedures. I often notice that the simplest ZBrush features serve as a foundation for the more complex tricks along my workflow.
People often ask me how to become a great sculptor in ZBrush, and my answer is always “Time and effort.” You must put in the time to learn the new art form. However, the effort you expend as you learn is crucial. Use your time to the fullest.
My goal in this book is to encourage you to use new workflows by helping you understand more of ZBrush. This chapter introduces a wave of new features that you can build upon to get better and faster results. I encourage you to open your mind to new techniques and, above all, to have fun doing it.
- Customizing your ZBrush
- Recovering your subdivision levels
- Using Reproject Higher Subdivision
- Using Relax deformation
- Using local subdivision
- Creating a custom tileable alpha with 2.5D
- Using alphas to create meshes
- Creating wallpaper
- Creating your own palette
Customizing Your ZBrush
Before artists can create, they must first understand their tools. ZBrush is constantly changing the way I sculpt, but before I can get to the cool features, I need to set up a comfortable work area. Just like a painter, a ZBrush artist needs to get all his tools in the right locations. Some users prefer the default user interface (UI), but these next few tips will give you the necessary information to set up your very own ZBrush UI.
Customizing Your 3D Brush Fly-Out Window
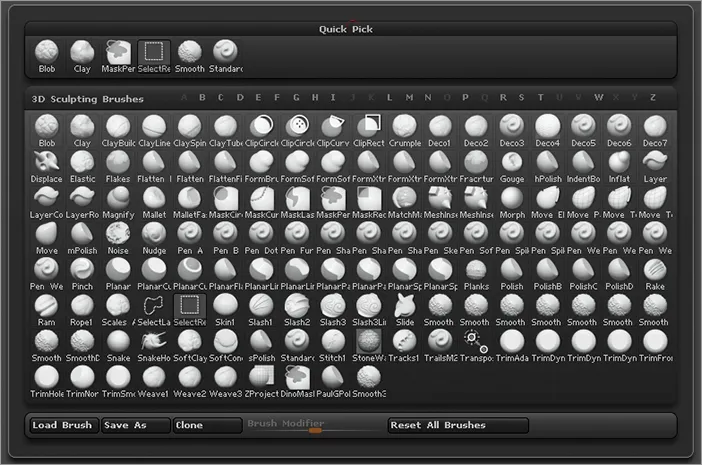
As a ZBrush artist, you will visit the Brush palette often to switch brushes. The brush fly-out window in Figure 1-1 can be overwhelming. However, you can easily customize it.
Press B on your keyboard to call up the 3D brush fly-out window. Note that the 3D brushes in Figure 1-1 are available only when a tool is in Edit mode. The brush fly-out appears at the current position of the brush icon. Pressing B is the same as clicking the large brush icon in the Brush palette at the top of the interface or clicking the large brush icon on the left of the default ZBrush interface, as shown in Figure 1-2. You can find a list of ZBrush hot keys on the ZBrush wiki at www.pixologic.com/docs/index.php/ZBrush_4_Shortcuts.
To customize the 3D brush fly-out, follow these steps:
1. Open your Windows Explorer or Mac Finder. Go to the following directory:
Windows = Program Files(x86)\ZBrush4R2b ZBrush4\ZData\BrushPresets
Mac = Applications\ZBrushOSX ZBrush4R2b 4.0\ZData\BrushPresets
These directories contain all the 3D brushes in the fly-out window. Any brushes you remove will no longer appear in the 3D brush fly-out window. I do not recommend deleting these brushes completely from your system.
2. Move the brushes you do not want to be in the fly-out window into the following directory:
Windows = Program Files(x86)\ZBrush4R2b\ZBrushes
Mac = Applications\ZBrushOSX 4.0R2b\ZBrushes
This moves the brushes into LightBox, under the Brush tab.
3. After you remove the brushes from the fly-out window folder, you must restart ZBrush to apply the changes.
Be careful not to delete certain brushes such as the Transpose.ZBP, any brush that starts with Clip, any brush that starts with Mask, SelectLasso.ZBP, SelectRect.ZBP, Smooth.ZBP, or any of the ZSketch brushes, because this will render certain features unusable. If you are unsure, never delete a 3D brush. You ca...