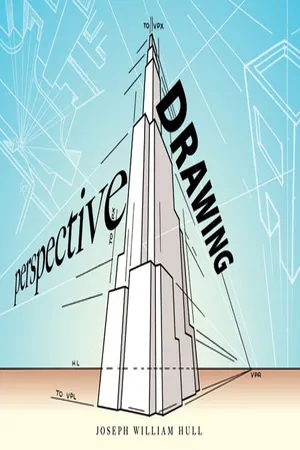
To achieve an intelligent, enterprising synthesis in drawing, the student must thoroughly understand perspective. Nevertheless, it is not enough merely to grasp the science of perspective intellectually; practical experience in the freehand aspects of perspective drawing is essential to a satisfying expression in this area of artistic endeavor.
The present manual deals only with the solid effect of objects in space. Less concrete, or abstract, drawing has been treated by many competent writers elsewhere, and the student of drawing who has a special interest in that type of creative work is counseled to investigate its possibilities.
It is a well-known but unfortunate truth that most people are pitifully unobserving. Indifference to the value of critical observation, coupled with the tendency to represent objects in terms of what is known about them rather than in terms of what is actually observed, forms one of the prime barriers to good representational drawing.
1. Definition of Representational Forms
The word “representational,” for our purpose, means the truthful, graphic recording of the three-dimensional aspects of an object as it appears in light to an observer who is interested in developing his power of observation.
In order to draw well, one must possess a definite understanding of what he is about to state graphically, and also a well-developed skill in the use of the tools involved, a skill that will enable him to express what he wishes to say vigorously, delicately or elegantly, or with brevity—in any case, eloquently. Remember, then, that a good drawing, of the kind in which we are interested, requires more than skill in using certain equipment; it becomes, vitally, a matter of learning really to see, to observe. Educators tell us that, in all probability, more may be learned through the eyes than through the ears.
2. The Potential of the Pencil
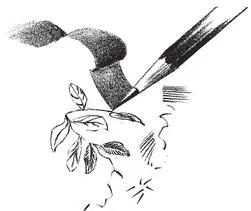
The pencil, simple as it is, is one of the most responsive and most versatile of the artist’s tools. In the hands of a competent artist it can produce the finished drawing, whether that be a sketch of the utmost brevity or a rendered drawing in full-scale dark and light modeling. Let us begin to understand this potentiality by learning forms of pencil expression.
The pencil maybe trimmed in many ways; and, according to the special way in which it is trimmed, its point can produce a certain variety of lines. Thus, at will, the artist may have thin or thick lines, hard or soft and broken ones, firm, or semitransparent, or opaque, or textured lines—all of which are valid expressions of the pencil (see p. 15).
Use your ingenuity and imagination; discover for yourself the numerous other means of preparing pencil points.
Again, there are many ways of holding the pencil. One is likely to think of the pencil as nothing more than a writing instrument; on the contrary, the pencil held in different ways can produce lines, two-dimensional forms, or masses of varying natures. To explore the possibilities of the pencil is an absorbing experience.
a. Limbering-up Exercises
Before the student begins an actual drawing he should practice limbering-up exercises. Learn to draw long, straight lines not less than fifteen inches in various directions: left to right, right to left, vertical, horizontal, and oblique. Relax the wrist, and, holding your pencil almost parallel to the paper, place the side of the point on a starting place. Then look at another point relatively far from it, one with which you wish to connect it, and gently but firmly direct your pencil toward the more distant point. Do not look at the pencil or the mark; look at the point of arrival.
Next, try a similar exercise with long, curved lines, guiding the line through points marked off on the way. Always let your eye be a jump ahead of your pencil. Try using your intuitive processes, changing the direction part way along; after moving the pencil for some distance in one direction, reverse the curve, sometimes with a sharp, pointed break, sometimes with a curved change. Then repeat the whole series of exercises, practicing lines strictly parallel with one another—entirely freehand, of course.
Now develop the curved line into an ellipse of, say, three inches in length along its major axis (see discussion, p. 111). Shadow-draw first, that is, go through the motions without drawing; then, at an intuitive urge to draw, lower the pencil while moving, until it touches the paper lightly. Try again and again to complete the ellipse with an invisible join.
Fig. 2. Pointed pencil; examples of use of the point, and also, of the use of the whole side of the lead
Fig. 3. Truncated point; method of making a broad streak, with well-rounded beginning and ending
Fig. 4. Chisel point; examples of use of corner, and of ...