
- 160 pages
- English
- ePUB (mobile friendly)
- Available on iOS & Android
eBook - ePub
Projects

Folk Art Replica
Marvin & Meg Mateo Ilasco
Pinole, California
Pinole, California
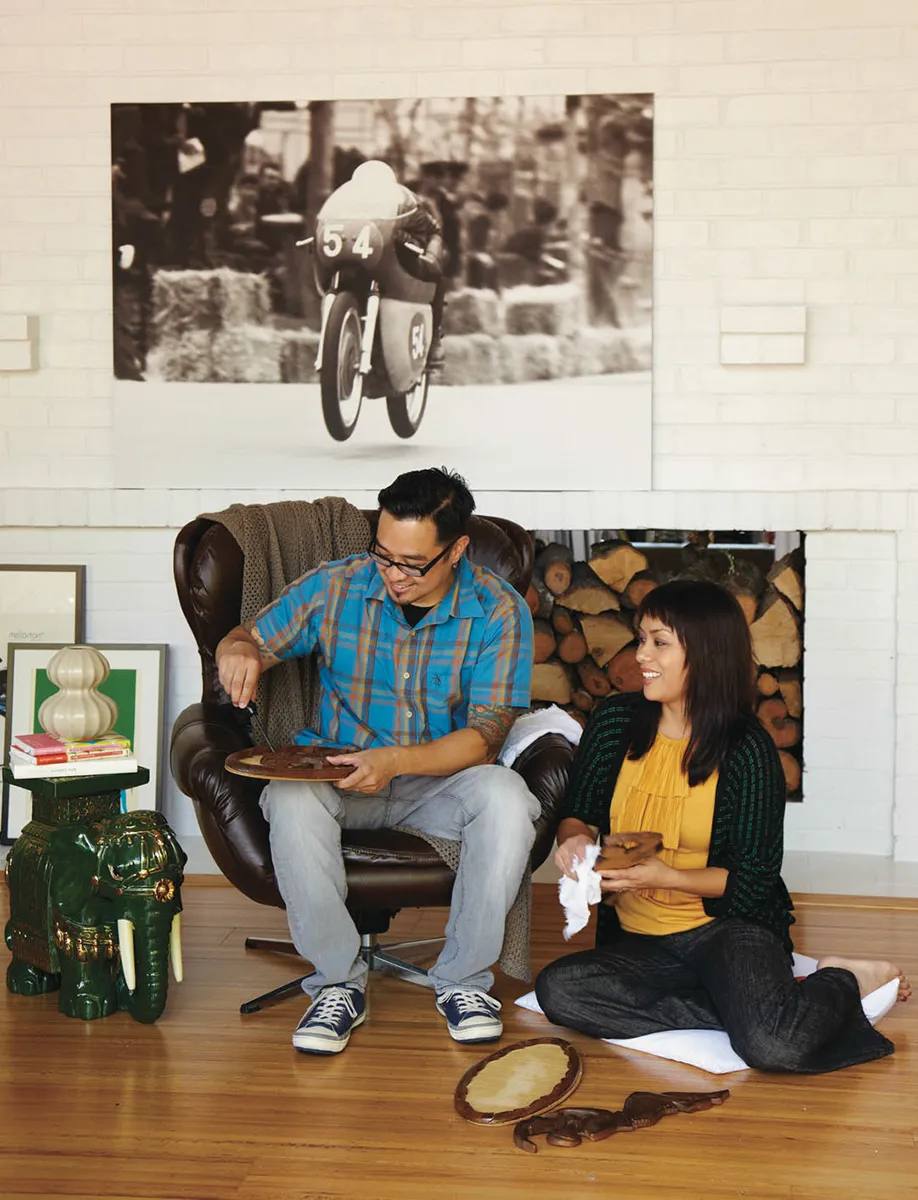
When my husband, Marvin, and I moved into our home in Pinole, California, we decided to use our new living space as a canvas on which to tell our stories and express our interests, personalities, and style. We scoured estate sales and thrift stores to find the mid-century modern Scandinavian furniture we both love. We created a wall of family photographs in our living room and displayed our toddler daughter’s artwork throughout the house. We hung vintage motorcycle prints to showcase my husband’s passion for restoring old bikes, and used beakers, flasks, and a wooden molecular model as decorative objects to represent his work in biotechnology. I chose screen-printed posters for the family room to express my enthusiasm for printmaking, and collected handmade home accessories from local artisans I admired. We spent over a year collecting, arranging, and rearranging, but when we looked around afterwards, we realized a crucial element in our story was still missing, in some ways the most important and obvious one: that is, our Philippine heritage. As soon as we filled in this omission, our home felt personal and complete.
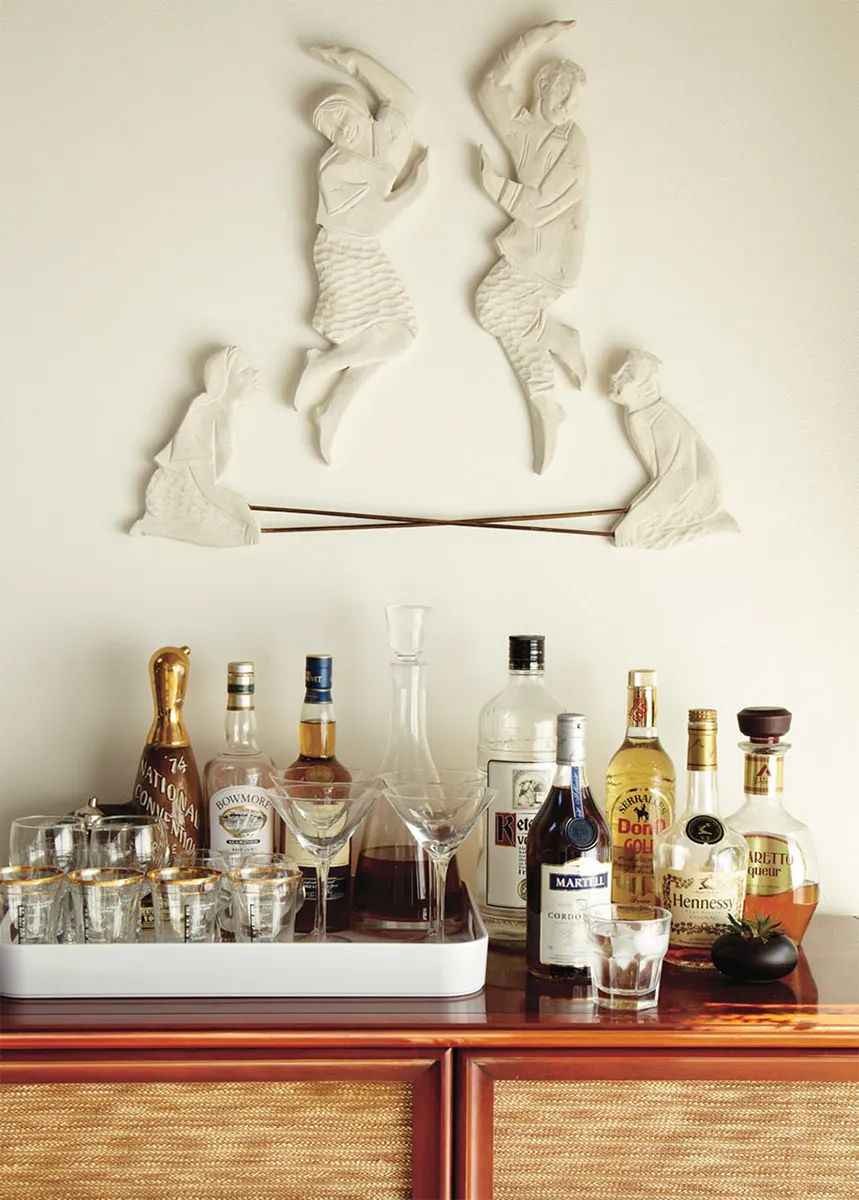
Understandably, as children of Philippine immigrants, Marvin and I both grew up in homes filled with Philippine decorations. However, neither of us was thrilled about it. In my teen years, I remember wishing my house could be more like my friends’ homes, which didn’t seem to reflect any particular ethnicity. But today, Marvin and I realize that our heritage is an important part of our story and we enjoy incorporating it into our home, albeit on our own terms. We mix tribal pottery with contemporary ceramics. We adapt traditional pieces to our modern sensibilities. Here, we took Philippine wooden tinikling dancers, a traditional wall art, and recast them in plaster. So now we not only have a replica of the originals that once resided in my parents’ living room, but we’ve also brought a contemporary spin to a Philippine folk art classic.
Folk Art Replica
My husband and I created a plaster replica of wooden Philippine folk art by applying liquid latex over the original art to produce a mold. It is possible to create a mold of any dimensional wall art using the latex mold technique as long as the artwork lies flat on one side.
Finished size as shown: 27 ½ x 23″
MATERIALS
Philippine tinikling wood wall art or any wood art that lies flat on a wall
1 pound plasteline
1 quart liquid latex
Ivory dishwashing soap
Plaster of paris
4 pushpin sawtooth hangers
4 screws (for wood or drywall)
TOOLS
Cloth or rag
Drop cloth
24 x 28″ glass or acrylic sheet
Glue gun and glue sticks
Small dowel or skewer
Three 1 ½″-wide paintbrushes
Fan or blow dryer
Scissors
Uncooked rice
Large aluminum tray
1 cup measuring cup
1 quart mixing container
Wooden mixing stick
Trowel
Paper towels
Screwdriver
1. With water and a damp cloth, clean the surface of your wood wall art. Let dry.
2. Cover your work surface with a drop cloth. Place the glass or acrylic sheet on the work surface. Position the wall art pieces flat side down on your glass surface so that any individual pieces are at least 3″ apart from each other. Using your glue gun, apply a small amount of glue to the backs of each wood piece. (If you are working with tinikling dancers, use only the dancers to create the molds; set the tinikling sticks aside.)
3. Apply small pieces of plasteline with your fingers to any gaps between the glass and perimeter of the wood wall art. The plasteline should follow the edges of the wood wall art. Trim off any excess plasteline by running a small dowel or skewer along the edges of the wood wall art.
4. With your paintbrush, brush a thin, even coat of latex onto each wood piece and onto the glass surface, forming a 1 to 2″ flange around the base of the each piece. This flange will support the mold when casting. Make sure that any air bubbles in the latex are popped. Let dry completely until the coat appears to be translucent.
5. Apply 8 to 20 coats of latex on each piece (the latex should be ⅛ to ¼″ thick). Each coat should be painted in alternating directions (horizontally, vertically, and diagonally) to strengthen the mold. Allow the latex to dry fully between coats, but no more than 24 hours should pass between coats. You can speed the drying time with a fan or blow dryer. Clean your brush with dishwashing soap and warm water between coats. You will need to replace your used brush with a new one at least two times throughout the process.
6. After the last coat, let the mold cure for at least 24 hours. Peel the mold slowly off the glass and wood art. Use scissors to separate any pieces with connecting flanges.
7. Clean the molds with water and dishwashing soap, removing pieces of plasteline that may have adhered to them. Allow to dry completely.
8. Pour rice into your aluminum tray, about 2″ deep. Place one mold in the tray, pushing into the rice so that the flange is level with the rice. The rice will help support the mold once the plaster has been poured. With a small amount of Ivory dishwashing soap on your fingers, lubricate the inside of the mold. This will help release the cast plaster.
9. Using a 2-to-1 ratio of plaster to cold water, mix about 2 cups of plaster in your mixing container. Stir to a smooth consistency.
10. Pour the plaster slowly into the mold, covering all areas. Use a trowel to even the top of the cast plaster. Wipe off any excess plaster on the mold immediately with a damp paper towel.
11. When the plaster has begun to harden but is still soft, push a prenailed sawtooth hanger into the middle of your cast piece. Allow the plaster to cure per the package instructions.
12. Slowly remove your cast from the mold. Clean the mold with water and dishwashing soap.
13. Repeat steps 8 through 12 for the remaining molds.
14. After the last casting, allow the pieces to cure 24 hours before hanging them on the wall.
15. Position your finished pieces on the wall to determine where to place the screws. Insert the screws into the wall and hang the pieces. Lastly, if you made tinikling dancers, insert the small wooden tinikling sticks into the holes (set by the mold) in the bottom two dancers. Make sure the sticks are crossed.
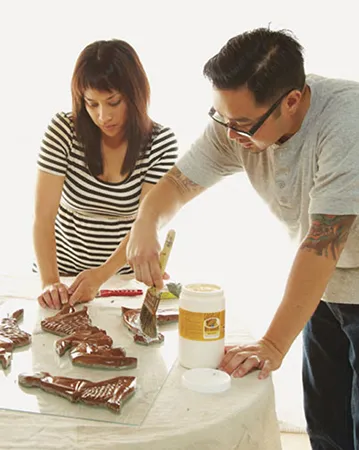
I apply plasteline to the perimeter of the wood pieces so they will be flat (Step 3), while Marvin paints a layer of latex on another piece (Step 4).
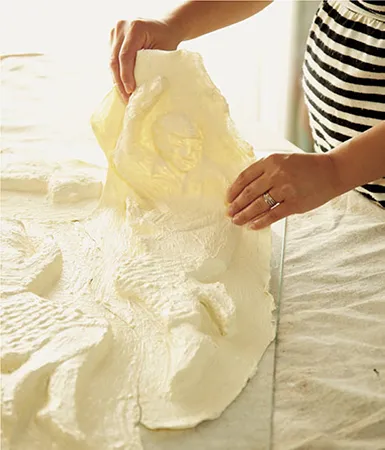
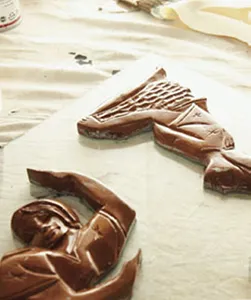
I slowly peel the latex mold off the wood art and glass (Step 6).
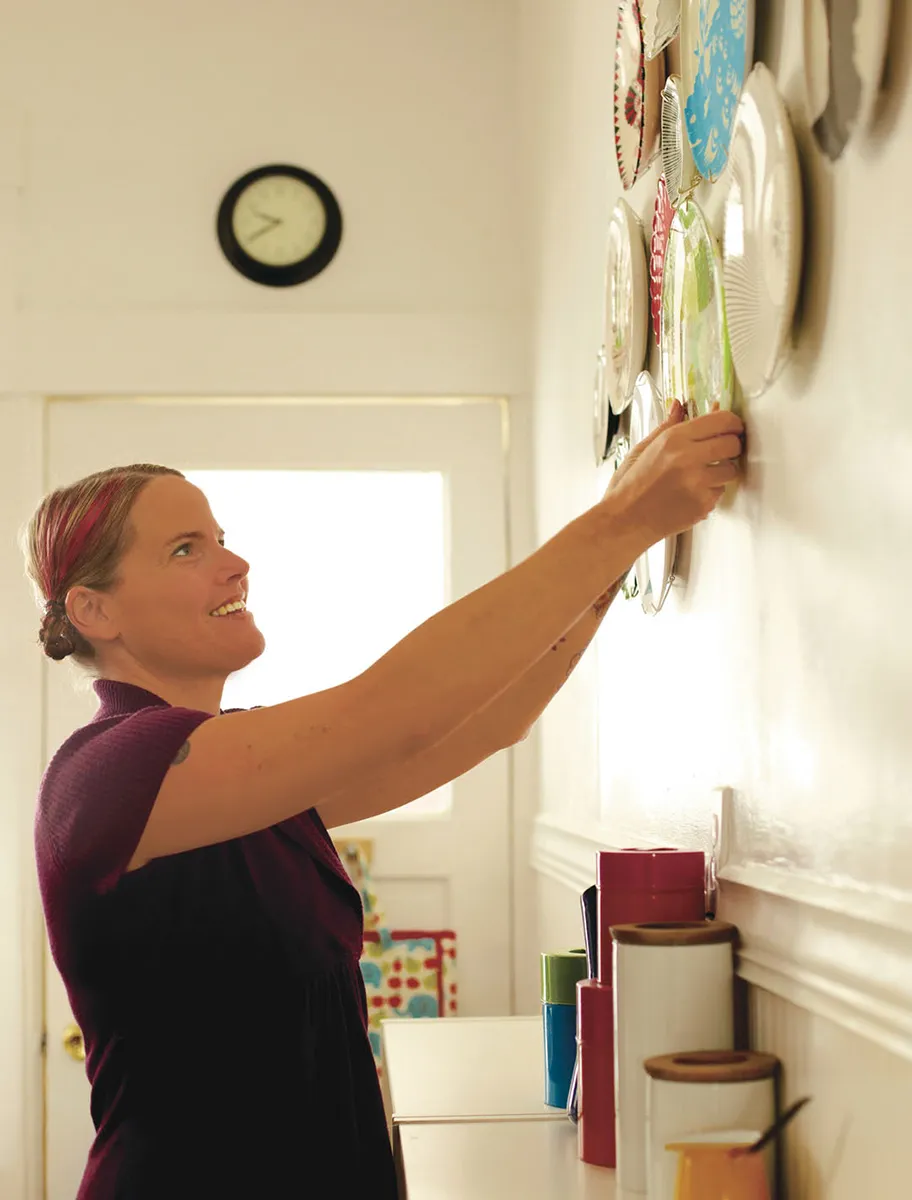
Decoupaged Plates
Lisa Congdon
San Francisco, California
San Francisco, California
Although Lisa Congdon, her younger sister Stephanie, and her mother Gerrie can confidently call themselves artists now, this was hardly the case four years ago. Back then, Lisa was a director in a nonprofit educational organization, Stephanie, a stay-at-home mom, and Gerrie, a retired food writer. Although Gerrie had exposed her children to art while they were growing up, neither of her daughters pursued any formal training. So when Lisa decided to take a Friday-night painting class in 2001, she was surprised to discover she actually had talent. Likewise, the other Congdon women began to explore the depths of their creativity, Stephanie with sewing stuffed animals and Gerrie with art quilting.
With their latent talents coming to the surface, Lisa, Stephanie, and Gerrie began blogging to share the things they were making. It was especially helpful because Lisa lived in San Francisco while Gerrie was over an hour away in Santa Rosa, California, and Stephanie in Portland, Oregon. The blogs became...
Table of contents
- Cover
- Title Page
- Copyright Page
- Dedication
- Introduction
- Projects
- Resource Guide
- Acknowledgments