![]()
Chapter 1: Welcome to Lightroom
WHEN ADOBE UNVEILED the first iteration of Lightroom in early 2006 it marked a radical departure from anything the company had previously produced. For starters, it was a Mac-only product, and it was given out free in unfinished “beta” condition. The idea, it seemed, was to strike a blow against Aperture, Apple's rival product for non-destructive, frame-wide image editing.
Lightroom has now reached version four. It works as well on PCs as it does on the Mac, and it's steadily built itself a commanding lead.
But what is it?
Key Points in this Chapter
Lightroom doesn't work like traditional editing tools. It's a pure developing and cataloguing application, while alternatives like Photoshop, Paint Shop Pro and Pixelmator should more accurately be described as compositing tools, where photos can just as easily be one asset that goes into the creation of a larger finished product. Here, photos take center stage, with many adjustments applied on a picture-wide basis, supplemented by a strong line-up of more localized tools, such as graduated filters and adjustment brushes. What it lacks, when compared directly to Photoshop, is layers support and compositing tools.
What is Photoshop Lightroom?
Lightroom is two things. First and foremost, it's a professional-grade image cataloguing tool. It's built from the ground up to handle large libraries containing many thousands of images, split into logical sub-groups and folders.
By attaching metadata to your images—effectively descriptive tags—you can further refine the catalogue. For professional photographers, whether established or just starting out, this is a boon, as it makes their images not only easy to find using the integrated search tool, but also more commercially viable, as we'll explain later.
The second part of Lightroom is centered on improving— developing—your shots.
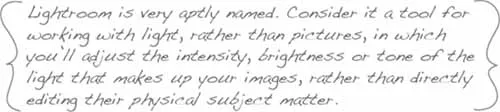
As its name suggests (“Light-room” is a play on darkroom), the Lightroom workflow is heavily influenced by the centuries-old paper-and-chemicals process that first made photography possible.
In this respect, it's not geared up to perform a large number of localized edits like you would in Photoshop, but instead relies on you applying frame-wide adjustments to the whole of each image, along the lines of contrast and color correction, and tweaks to the strength of highlights and shadows. It's not designed to clone out pedestrians from street scenes, or ex-lovers from holiday shots, but can correct red eye, recover detail in selected areas, darken off burned-out patches and so on.
It's happy enough importing and developing regular JPEGs shot on consumer cameras. To really benefit from its advanced frame-wide adjustments, though, you should consider its abilities and which file format can best exploit them at the very start of your photography workflow.
If you have a Digital SLR (dSLR) or high-end compact shooter, like the Canon PowerShot G series, set it to record RAW files, and use these as your digital masters inside Lightroom.
RAW files contain the untouched data recorded by the camera sensor. It hasn't been converted into a JPEG, so won't have lost any detail or had an arbitrary series of color correcting and sharpening algorithms applied. Just about the only variable that's had an effect on the captured result is the length of the exposure, leaving you sufficient leeway to adjust the most fundamental settings in post production, with white balance, saturation, exposure and more all available for tweaking.
The Lightroom Workflow
Lightroom is tooled up to carefully manage your complete photography workflow (see chapter 9). By working your way through each of its modules in a logical manner you can quickly and easily identify your best shots, isolate them from the rest of your digital roll, and use them to create books, slideshows, websites, prints and movies.
Lightroom treats your imported RAW files as though they were negatives, and regardless of how many adjustments you apply to them in the Develop module, it will always preserve them in their original state. This leaves you free to experiment without limits, safe in the knowledge that you can always wind back any adjustments you make to recover your original, and from there branch out in another direction to see what other results you might achieve.
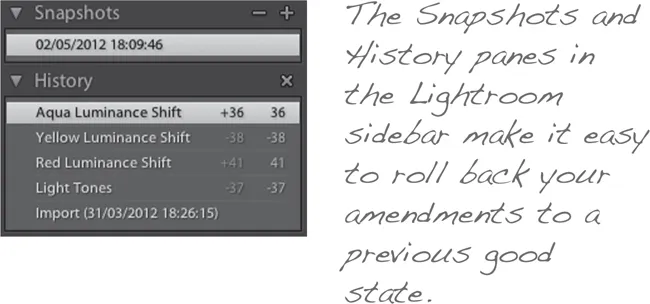
This rolling back and starting over is greatly aided by the twin concepts of history and snapshots—features borrowed from Photoshop—that keep track of your adjustments and let you roll them back. So if, for example, you were happy with the progress of your edit until the point where you started to play with the tone curve you could step right back to that point while preserving any earlier adjustments.
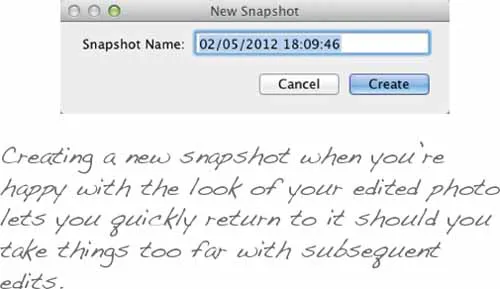
The history panel is automatically populated as you work, tracking each of your adjustments in an ever-expanding list so that you can step back through them one—or more—at a time. The snapshots panel is where you'll create manual break points, each logically named, at the points where you were happy with what you'd achieved.
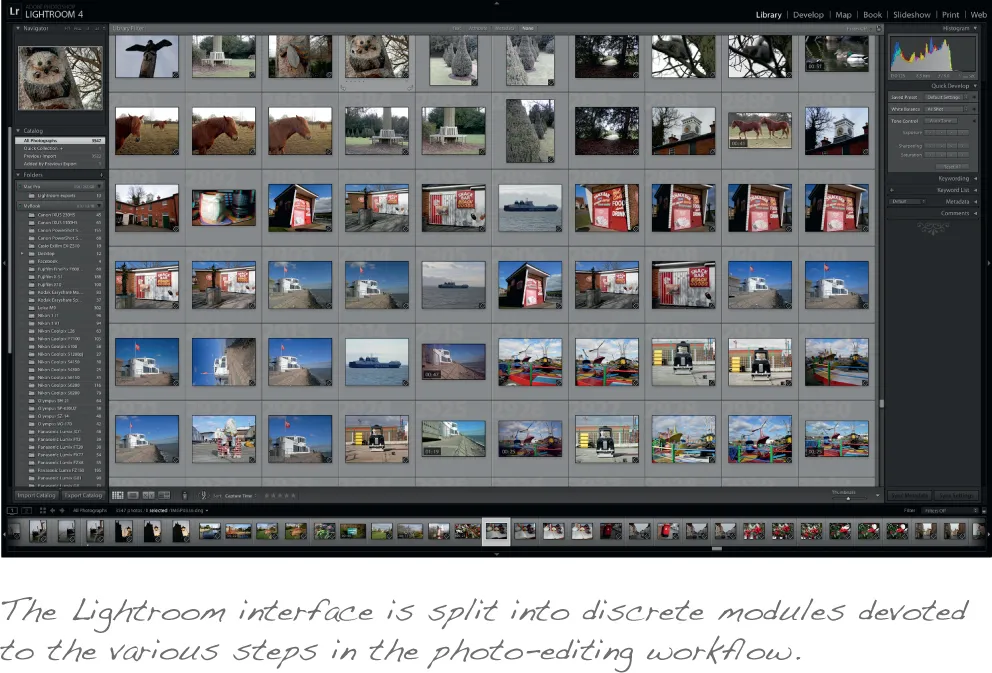
The Lightroom Interface
It's worth taking some time to familiarize yourself with the Lightroom interface, which bears more than a passing resemblance to Adobe Photoshop, Photoshop Elements and Adobe Bridge, which ships as part of the company's Creative Suite. There's a simple reason for this: the Lightroom interface, which actually pre-dates the look and feel of the recently updated members of Creative Suite, was found to be so successful that it was rolled out to the other applications.
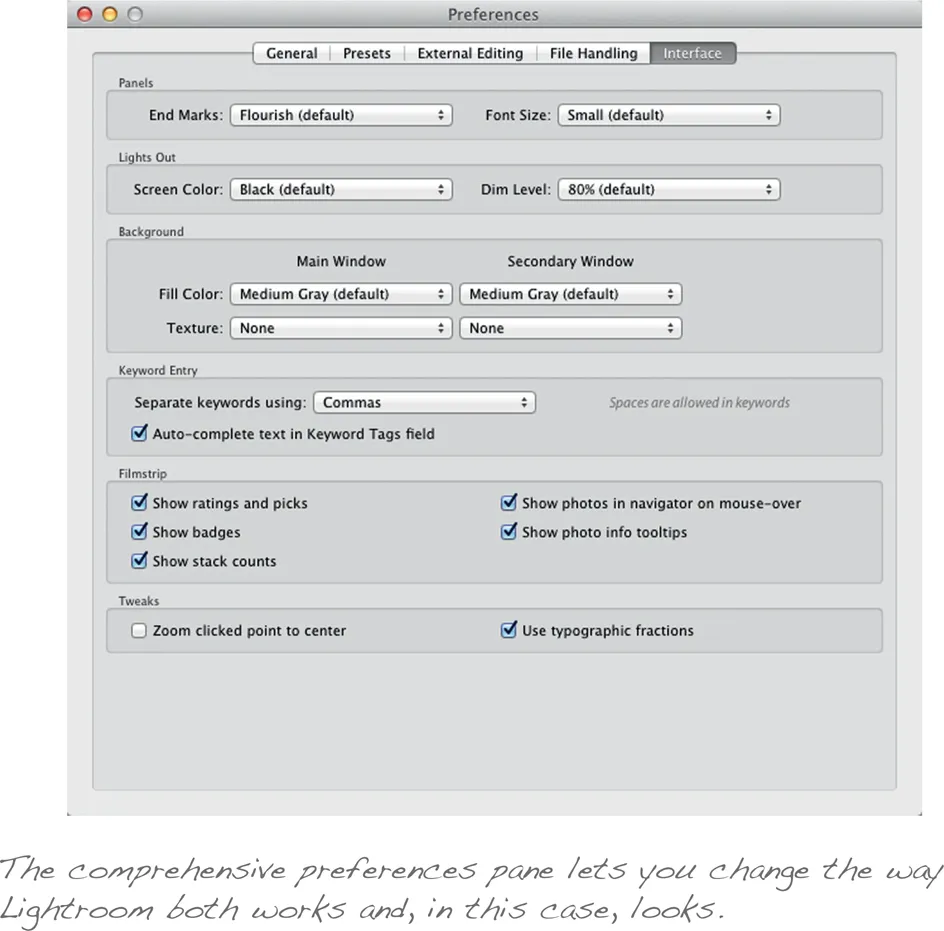
The knocked back interface is designed to be less distracting, so that your eyes are naturally drawn first and foremost to your photo. However, if you still find that there's too much visual clutter you can knock it back still further. Press L to cycle through the three view modes, with lights on the default, lights dimmed reducing the interface opacity to a set level, and lights out obscuring it altogether. By default the dimmed interface is reduced to 80 percent opacity, and the lights out mode surrounds your image with plain black, but if you find that neither of these suits your needs you can tweak them, reducing the opacity as far as 50 percent and changing the colored surround to dark grey, medium grey, light grey or white. You'll find these options on the Interface tab of Lightroom's preferences pane (on the Mac, click Lightroom | Preferences or use the shortcut command-comma; on Windows, click Edit | Preferences).
Lightroom is a single-window application. That is, all of your controls, thumbnails and active photos are wrapped up in a single interface rather than being split up across several floating panels. It works best when maximized to fill your screen. Tap F to maximize it, and once again to remove the menu bar so that all of your available pixels are given over to the image preview pane and controls. Tapping F for a third time returns you to your original window configuration.
You can individually collapse the surrounding panels by clicking the arrows above, below, and to the left and right of the interface. Clicking them again when the panels are collapsed brings them back, but if you only need to dip in to make a quick adjustment, simply hover over the appropriate arrow and its panel will temporarily reappear, allowing you to make your changes. As soon as you move your pointer away from the panel it disappears again.
If you have a secondary display, then Lightroom can spread itself across both monitors, giving ove...