![]()
Part I
Beginner: Orthographic projection
Learning a new skill, whether it is playing an instrument, dancing, or drawing requires determination, skill, patience, and practice … lots of practice!
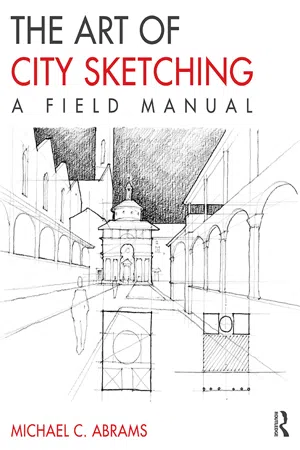
Part I of The Art of City Sketching is geared towards all beginners interested in sketching, but uncertain of their drawing skills and visualization techniques. Part I helps these readers interpret the built environment through orthographic projections. Orthographic projections describe multiple views of an object, space, or building on a flat drawing surface using only two dimensions. These drawings project exterior and interior views of a subject. Unlike perspectives, orthographic drawings are not actual depictions of a subject at eye level. Instead, they are abstract illustrations of a subject from beyond the viewer’s optical capacity, projecting a unique depiction of that subject on paper. Hence, two-dimensional drawings allow an objective study of a building’s shape, attributes, components, and context.
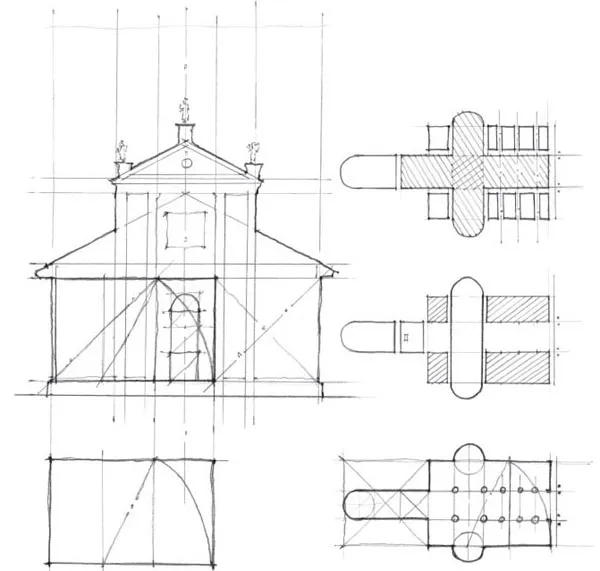
1.0 Analytical diagrams of the Church of San Giorgio Maggiore in Venice, Italy
The goals of Part I are twofold: (1) to familiarize the reader with two-dimensional drawings (i.e. elevations, sections, and plans), and (2) to graphically document and analyze the built environment. Each chapter of Part I explores a specific orthographic drawing type and illustrates the potential of each drawing type to study and examine a building or place.
Each chapter presents a list of line types used to generate two-dimensional drawings, as well as the proper line weight value. In addition, all chapters provide numerous drawing examples, step-by-step demonstrations, and technical tips, while attendant exercises continually challenge the reader’s drawing and composition skills.
![]()
Lesson 1: Elevations
Objectives
This introductory chapter teaches readers how to analyze and sketch building façades or elevations. Elevations investigate and dissect a building’s façade and its components. This process takes imagination, creativity, practice, and a comprehensive look into its architectural, structural, and ornamental elements. Lesson 1 examines the process of creating elevations using three basic design principles: proportion, geometry, and regulating lines.
The application section in this chapter explains the proper line work used to create elevations. With the aid of several illustrations, this chapter provides the necessary tools to study and analyze existing building façades. All exercises should be completed in the sketchbook.
At the end of Lesson 1, readers will be able to analyze and draw well-proportioned building elevations, and apply proper line weight value.
Introduction: What is an elevation?
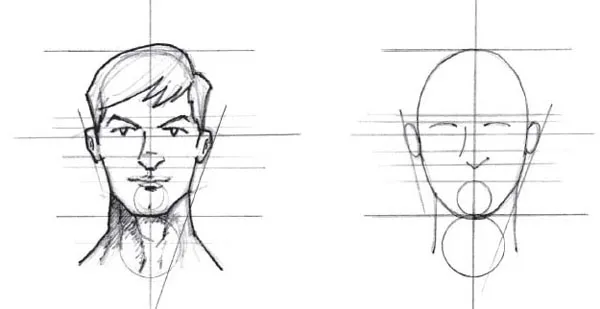
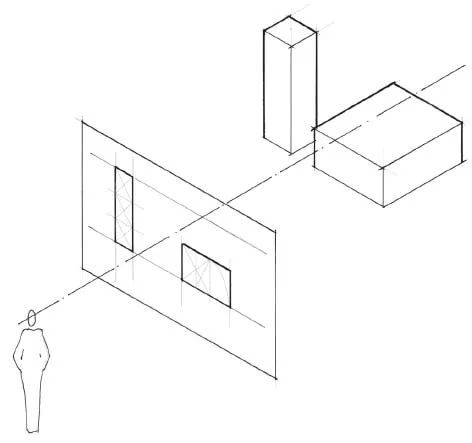
An elevation depicts a two-dimensional projection of a three-dimensional object, building, or site. Elevations illustrate the height and width or the height and length of a subject. To put it simply, an elevation is a flat, orthographic projection, or the expression of a sketch on one geometrical plane, that illustrates the façade, or face, of a subject (Figures 1.1, 1.2).
1.1 Use geometry and regulating lines to draw a face in elevation
1.2 Depiction of façades on paper
A façade marks a clear division between public and private realms. It stands between the exterior public space and the interior private chambers of the building. Over time a building’s façade can develop into a city symbol or landmark. For example, the façade of a building projects the philosophy of the building (e.g. Christianity for a church) and the affluence of the community. Collectively, building façades define a public space (e.g. street, boulevard, or city square) and provide an aesthetic character to that public space and city. A sleek skyscraper façade helps differentiate between Chicago and Rome, for instance.
However, a façade is more than just a “mask” or “exterior skin” used to define spaces. It possesses complex and in...