![]()
Part 1
2D Design
![]()
Chapter 1
Introducing AutoCAD 2009
AIM OF THIS CHAPTER
The aim of this chapter is to introduce features of the AutoCAD 2009 window and methods of operating AutoCAD 2009.
Opening AutoCAD 2009
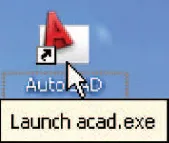
Fig. 1.1 The AutoCAD 2009 shortcut icon on the Windows desktop
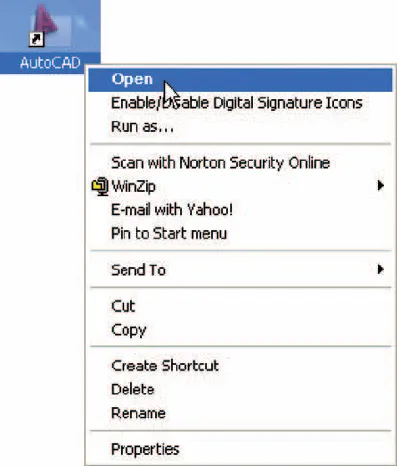
AutoCAD 2009 is designed to work in a Windows operating system. In general, to open AutoCAD 2009, either double-click on the AutoCAD 2009 shortcut in the Windows desktop (Fig. 1.1), or right-click on the icon, followed by a left-click on Open in the menu which then appears (Fig. 1.2).
Fig. 1.2 The right-click menu which appears from the shortcut icon
When working in education or in industry, computers may be configured to allow other methods of opening AutoCAD, such as a list appearing on the computer in use when the computer is switched on, from which the operator can select the program he/she wishes to use.
When AutoCAD 2009 is opened a window appears, the window depending upon whether a 3D Modeling, Classic AutoCAD or a 2D Drafting & Annotation workspace has been set as the QNEW (see p. 276). In this example the 2D Drafting & Annotation workspace is shown and includes the Ribbon with Tool panels (Fig. 1.3). This 2D Drafting & Annotation workspace shows the following details:
- Ribbon: which includes tabs, each of which when clicked will bring a set of panels containing tool icons. Further tool panels can be seen by clicking the appropriate tab.
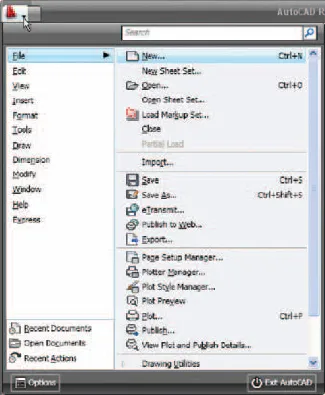
- Menu Browser icon: A left-click on the arrow to the right of the A symbol at the top-left-hand corner of the AutoCAD 2009 window causes the Menu Browser menu to appear (Fig. 1.4).
Fig. 1.3 The AutoCAD 2009 2D Drafting & Annotation workspace showing its various parts
Fig. 1.4 The Menu Browser menu
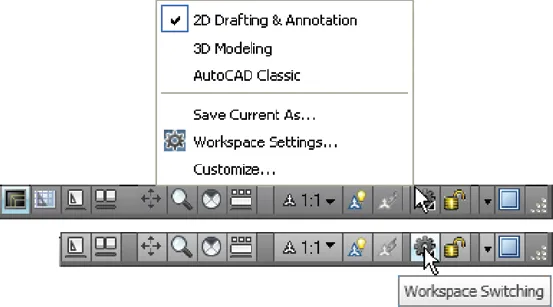
- Workspaces Switching menu: appears with a click on the Workshop Switching button in the status bar (Fig. 1.5).
- Command palette: can be dragged from its position at the bottom of the AutoCAD window into the AutoCAD drawing area, when it can be seen to be a palette (Fig. 1.6). As with all palettes, an Auto-hide icon and a right-click menu is included:
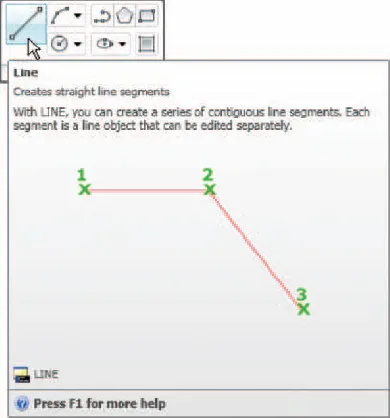
- Panels: each shows tools appropriate to the panel. Taking the Home/Draw panel as an example, Fig. 1.7 shows that a click on one of the tool icons in the panel brings a tooltip on screen showing details of how the tool can be used. Other tool icons have a pop-up menu as a tooltip. In the example given in Fig. 1.8, a click on the Circle tool icon will show a tooltip. A click on the arrow to the right of the tool icon and a flyout appears showing the construction method options available for the tool.
Fig. 1.5 The Workspace Switching dialog appearing when the Workspace Switching button is clicked
Fig. 1.6 The command palette when dragged from its position as the bottom of the AutoCAD window
Fig. 1.7 The descriptive tooltip appearing with a click on the Line tool icon in the Home/Draw panel