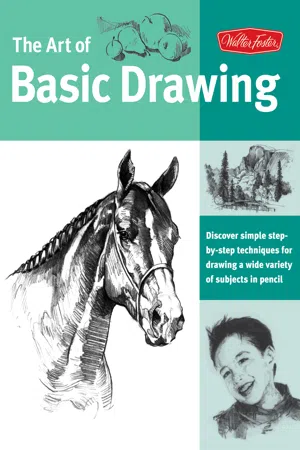
Art of Basic Drawing
Discover simple step-by-step techniques for drawing a wide variety of subjects in pencil
- 144 pages
- English
- ePUB (mobile friendly)
- Available on iOS & Android
About this book
This compilation of some of our most popular How to Draw and Paint and Artist's Library series titles gives artists the perfect introduction to the basics of drawing. The Art of Basic Drawing contains fundamental information about tools and techniques, as well as a number of inspiring step-by-step lessons. With instruction and advice from five different accomplished artists, this book showcases a range of styles for beginners to imitate. And with simple, easy-to-follow lessons that cover a variety of subject matter-from engaging still lifes and beautiful landscapes to realistic people and adorable animals-there is something for everyone inside. With the inspiring material in this comprehensive reference book, you’ll soon discover how exciting the world of drawing can be!
Frequently asked questions
- Essential is ideal for learners and professionals who enjoy exploring a wide range of subjects. Access the Essential Library with 800,000+ trusted titles and best-sellers across business, personal growth, and the humanities. Includes unlimited reading time and Standard Read Aloud voice.
- Complete: Perfect for advanced learners and researchers needing full, unrestricted access. Unlock 1.4M+ books across hundreds of subjects, including academic and specialized titles. The Complete Plan also includes advanced features like Premium Read Aloud and Research Assistant.
Please note we cannot support devices running on iOS 13 and Android 7 or earlier. Learn more about using the app.
Information

CHAPTER 1
INTRODUCTION TO
BASIC DRAWING
TOOLS AND MATERIALS
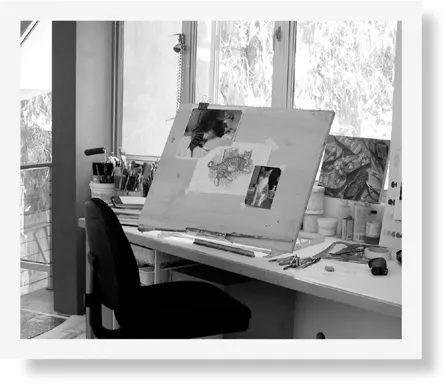
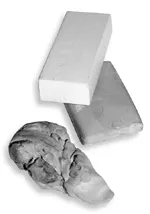
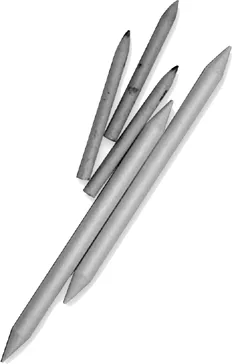

GATHERING THE BASICS
Table of contents
- Cover
- Title Page
- Contents
- Chapter 1: Introduction to Basic Drawing
- Chapter 2: Introduction to Still Lifes
- Chapter 3: Introduction to Animals
- Chapter 4: Introduction to Landscapes
- Chapter 5: Introduction to People
- Index
- About the Artists
- Copyright Page