MORE TIPS
PICTORIAL COMPOSITION
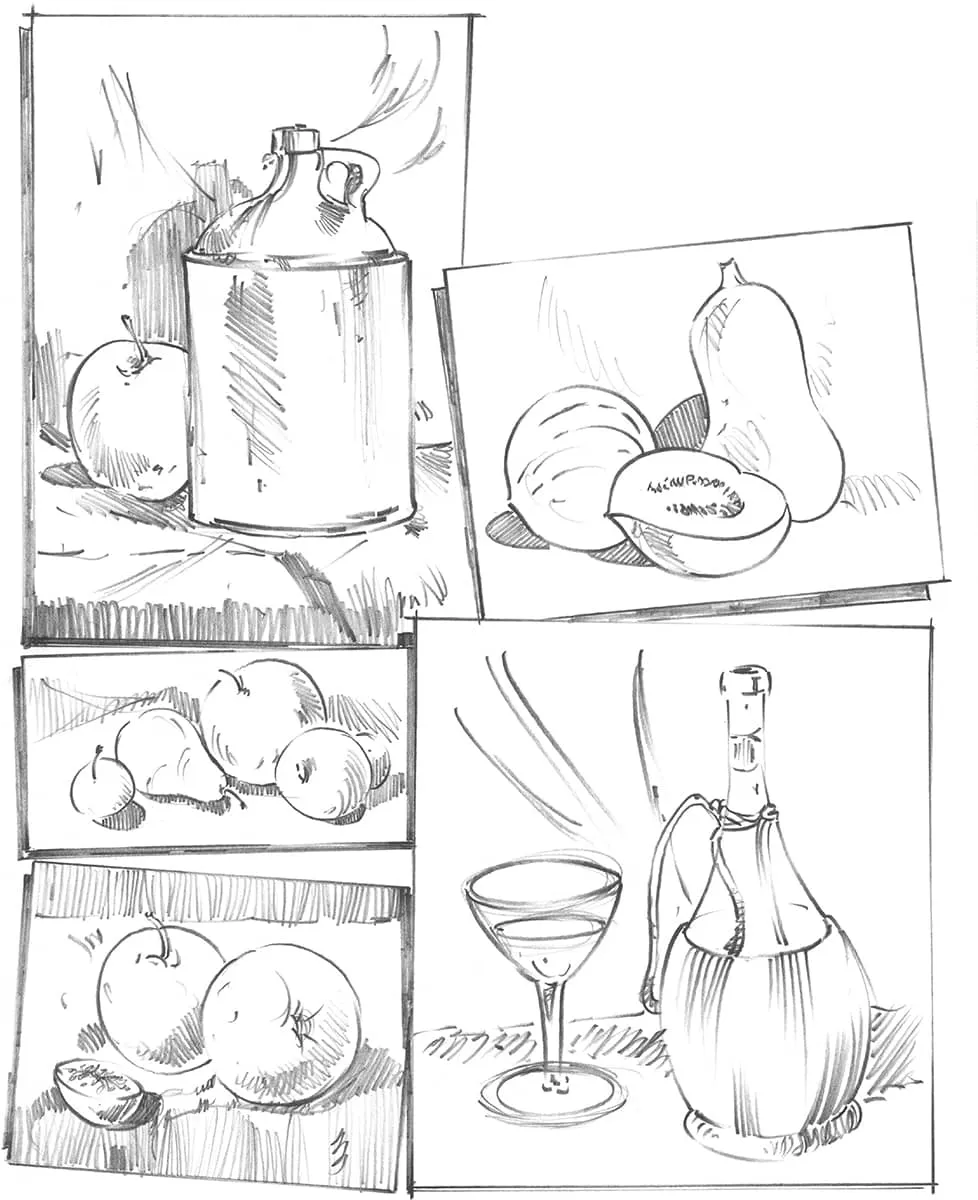
The dictionary defines composition as “the act of combining parts or elements to form a whole.” Good composition is important in any drawing, and the art of still life is an excellent way to practice arranging objects in your picture. Try to achieve a pleasing balance by moving objects around until they look “comfortable” in the scene.
Study the examples below. They have the right balance of background elements, shadows, and white space, strategically placed around the drawing, to make the picture appealing and interesting.
When drawing, be sure to arrange the elements in a way that creates a pleasing design or composition. The overall design is determined by the placement of different shapes and lines. The composition should direct the viewer’s attention to the most important area of the drawing.
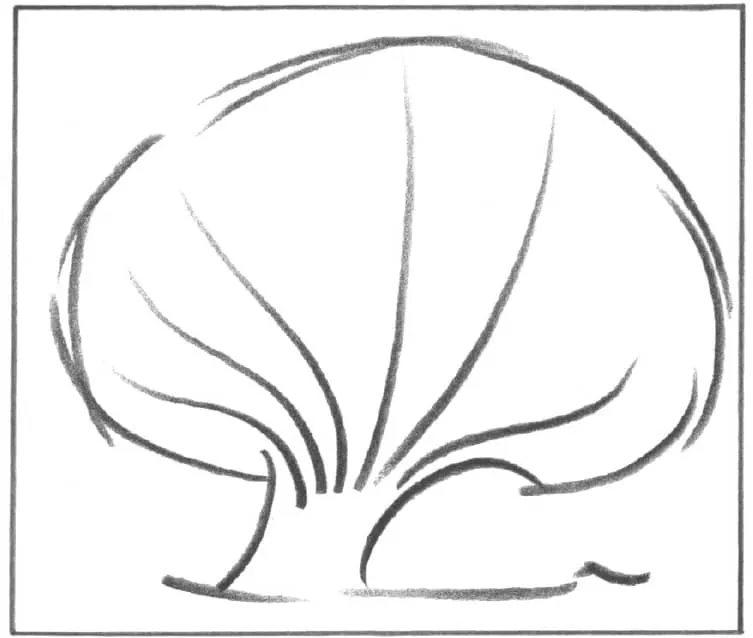
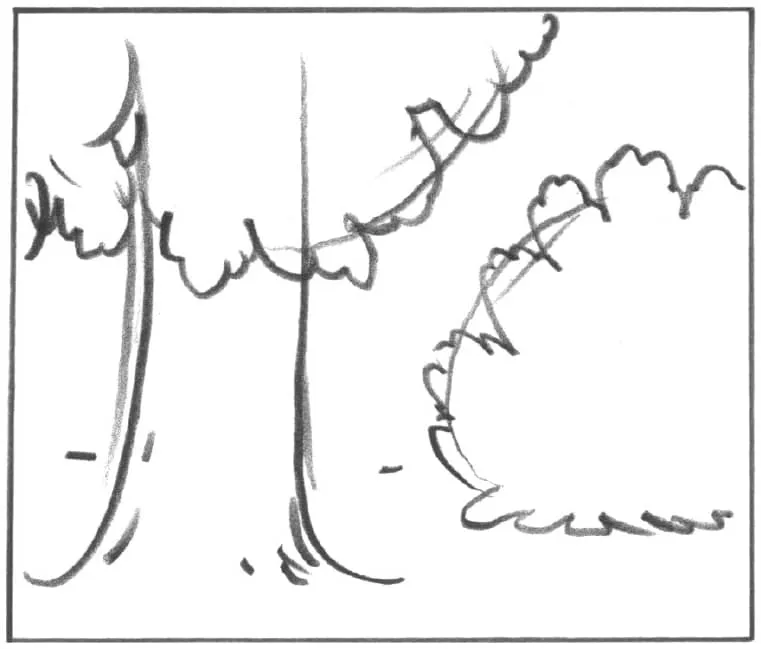
In the example below, the fanlike shape of the treetop draws the eye to the trunk area.
Below, the tree to the left is in the foreground, the area that appears closest in distance. The vertical direction of the trunk is subdued by the rounded foliage mass in the upper left corner. Balance is achieved by placing the shrub in the background and to the right. The background is the area of the scene that is farthest away.
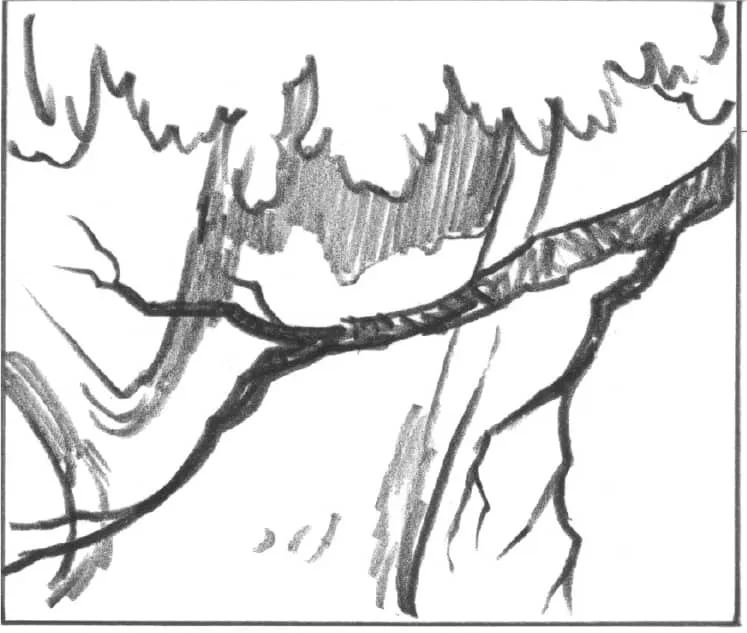
As shown below, a close-up of a tree can look very dramatic. Balance is achieved with opposing lines, which also lead the eye through the picture.
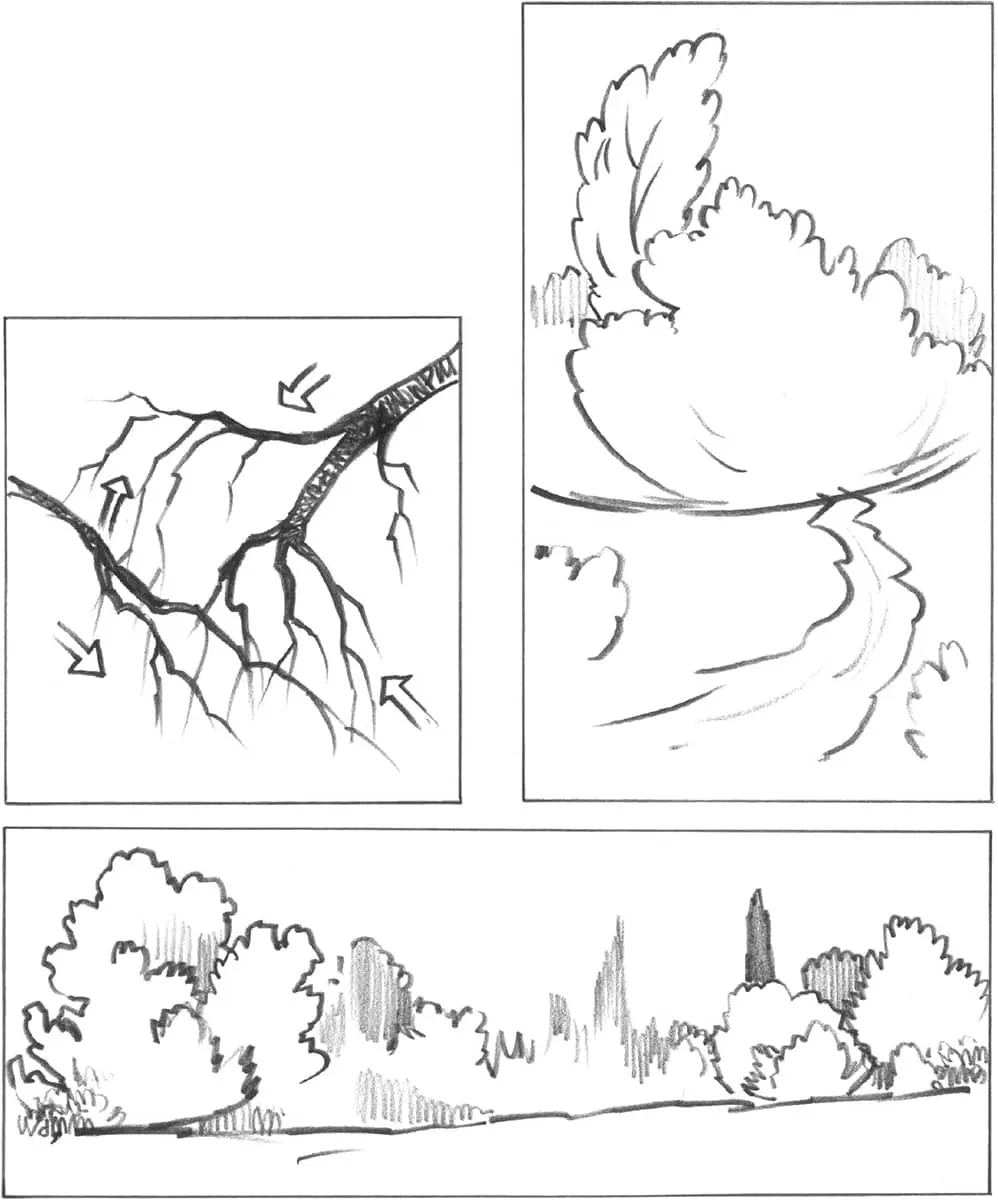
In the square composition below, the opposing lines of the branches create a focal point for the tree. (Try not to place the point of interest in the direct center.) The portrait (vertical) example to the right shows flowing lines, producing rhythm and balance.
The landscape (horizontal) composition above represents a panoramic view. The large trees on the left are balanced by a group of smaller trees on the right. By placing the major elements on the right and left sides of the drawing, the center appears serene.
The tall tree in the foreground is complemented by the clouds, mountains, and smaller trees in the distance.
PERSPECTIVE
Drawing is actually quite simple. Just sketch the shapes and masses you see. Sketch loosely and freely—if you discover something wrong with the shapes, you can refer to the rules of perspective below to make corrections. Your drawings don’t need to be tight and precise as far as geometric perspective goes, but they should be within the boundaries of these rules for a realistic portrayal of the subject.
Practice is the only way to improve your drawing skills and to polish your hand-eye relationships. It’s a good idea to sketch everything you see and keep all your drawings in a sketchbook so you can track the improvement. The following are a few exercises to introduce the basic elements of drawing in perspective. Begin with the one-point exercise.
ONE-POINT PERSPECTIVE In one-point perspective, the face of a box is the closest part to the viewer, and it is parallel to the horizon line (eye level). The bottom, top, and sides of the face are parallel to the picture plane. |
| Horizon line |
1. Draw a horizontal line, and label it “eye level” or “horizon line.” Draw a box below this line. | |
| Vp |
2. Now draw a light guideline from the top-right corner to a spot on the horizon line. Place a dot there, and label it VP (vanishing point). All side lines will go to the same VP. | |
| Vp |
3. Next, draw a line from the other corner as shown, and then draw a horizontal line to establish the back of the box. | |
| Vp |
4. Finally, darken all lines as shown, and you will have drawn a perfect box in one-point perspective. This box may become a book, a chest, a building, etc. | |
TWO-POINT PERSPECTIVE In two-point perspective, the corner of the box is closest to the viewer, and two VPs are needed. Nothing is parallel to the horizon line in this view. The vertical lines are parallel to the sides of the picture plane. |
|
1. Establish the horizon line (see “One-Point Perspective” at left), and then place a dot at each end and label them VP. Draw a vertical line that represents the corner of the box closest to the viewer. | |
|
2. Draw guidelines to each VP from the top and the bottom of the vertical line. Draw two more vertical lines for the back of the sides. | |
|
3. Draw two lines to the VPs, as shown, to establish the top of the box. Now darken all the lines, and you will have drawn a perfect box in two-point perspective. | |
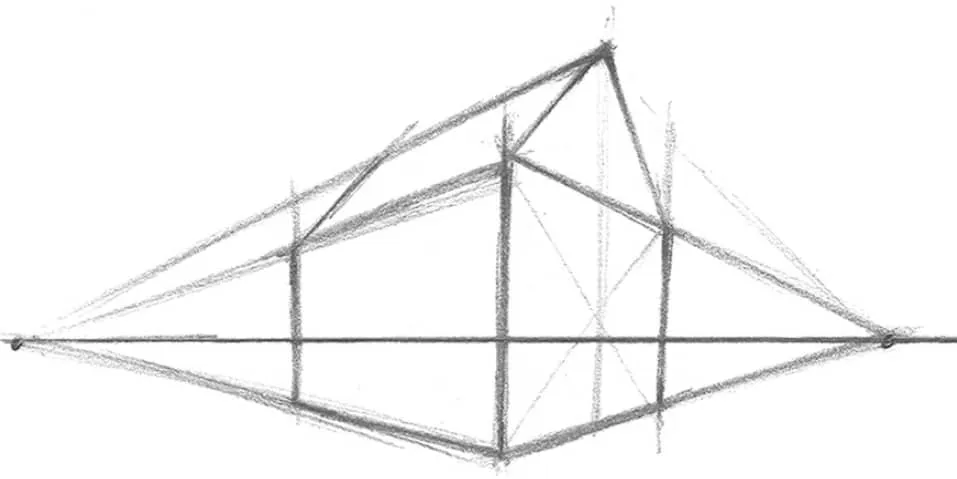
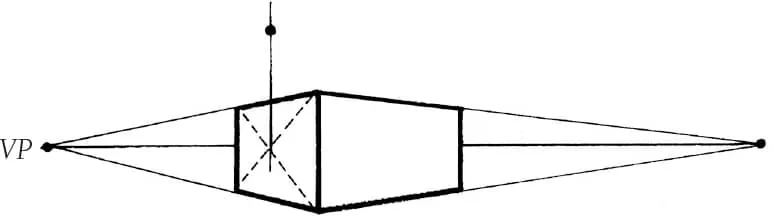
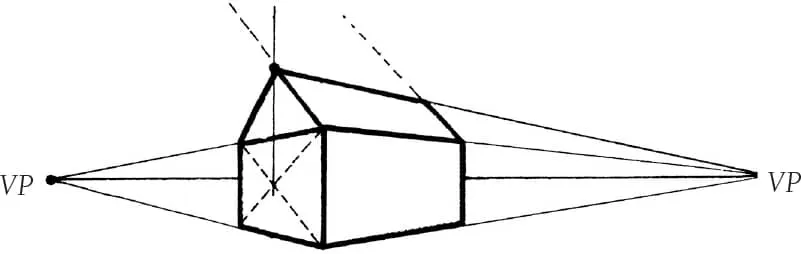
FINDING THE PROPER PEAK AND ANGLE OF A ROOF
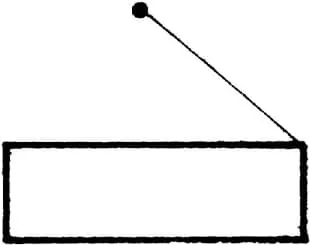
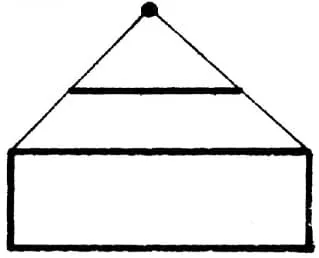
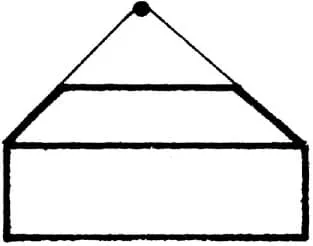
1. Draw a box in two-point perspective.
2. Find the center of the face by drawing diagonal lines from corner to corner; then draw a vertical line upward through the center. Make a dot for the roof height.
3. Using the vanishing point, draw a line for the angle of the roof ridge; then draw the back of the roof. The angled roof lines will meet at a third VP somewhere in the sky.
BASIC FORMS
There are four basic forms you should know: the cube, the cone, the cylinder, and the sphere. Each of these forms can be an excellent guide for beginning a...