![]()
Techniques for Woodburning
It is easier to learn woodburning techniques on flat, two-dimensional wood before working on a three-dimensional surface. There are several techniques that are similar no matter which pen you are using.
Pen Temperature
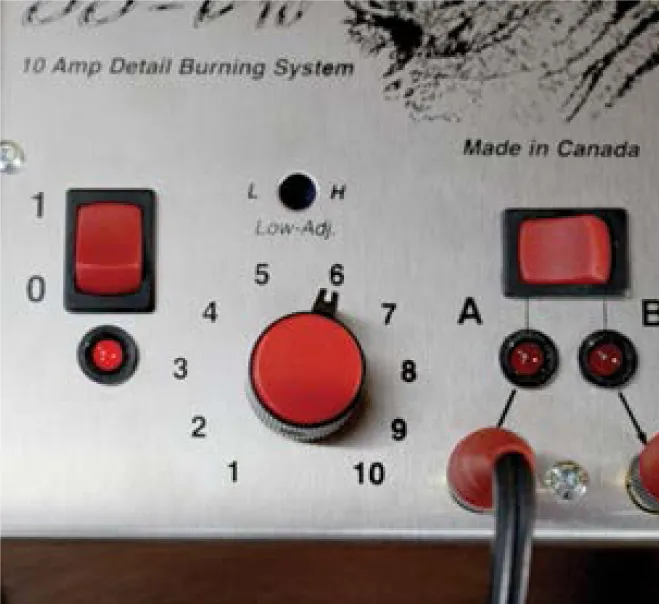
Most wire-tipped woodburners have a temperature dial to adjust the heat, allowing you to control the burn of lines and marks from light to dark. Avoid setting the temperature so high that the pen tip starts glowing fluorescent red. It is okay for the tip to have a faint red glow when burning high temperatures on materials such as bone. However, allowing the pen tip to glow bright, fluorescent red anneals the tip metal, leaving the thin wire tip brittle and susceptible to breakage.
Choose a solid-point burner based on its maximum heat rating and intended purpose. For example, a general-purpose solid-point burner can have a heat temperature of 950°F (510°C), whereas a leather solid-point burner can have a heat temperature of 675°F (357°C).
If the heat bothers your hand, use a leather glove, a self-sticking finger tape, or silicone finger guards.
For most projects, the temperature setting on a wire-tipped woodburner will usually stay between 3.5 to 7.5 on your dial.
Pen Speed
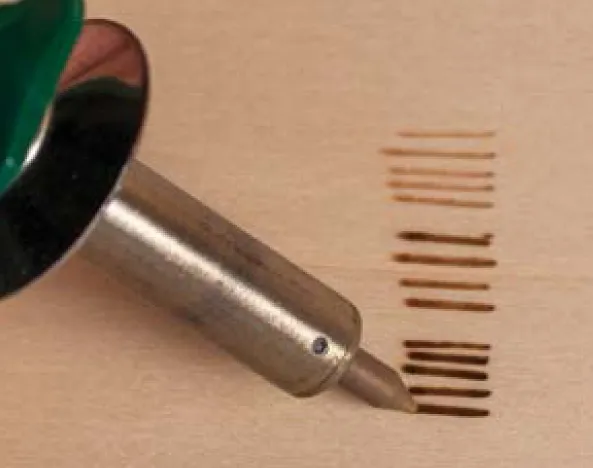
When using a one temperature burner, create lighter lines by burning faster or burning while the pen is warming up or cooling down.
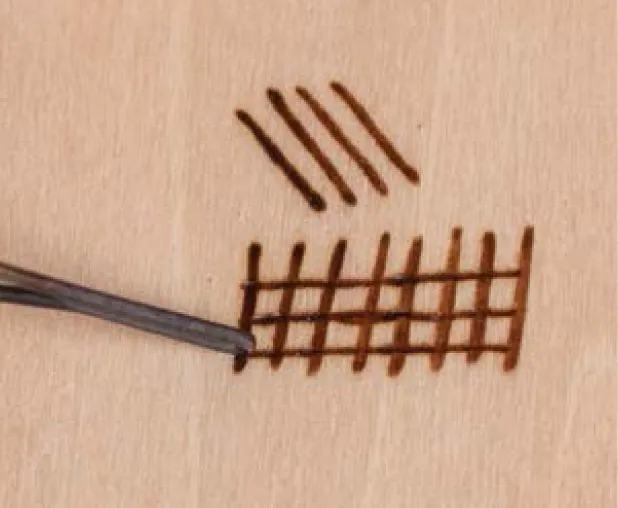
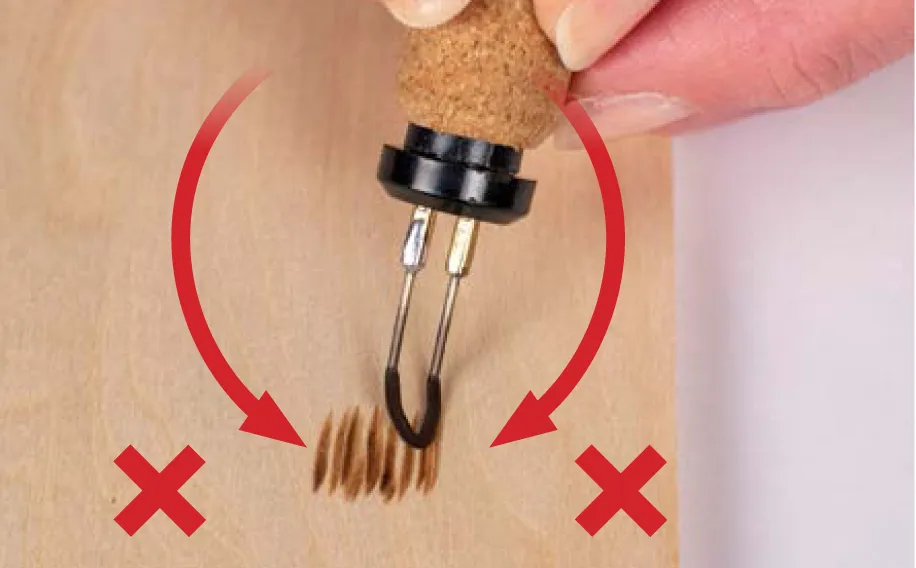
The speed of your pen stroke makes your line light or dark. The faster you move your pen, the lighter the line will be because the pen does not spend enough time in contact with the wood to burn it dark, and vice versa. Changing the pen speed while drawing a line will make it appear unevenly light and dark in places.
Avoid burning really fast and then turning the heat up higher to make a darker line. This will not only make your fingers feel hot but it will also produce blobs.
A slow and consistent speed burns better lines. When used in conjunction with adjusting your temperature dial, you will be able to adjust the tones from light to dark as needed.
Pen Angles
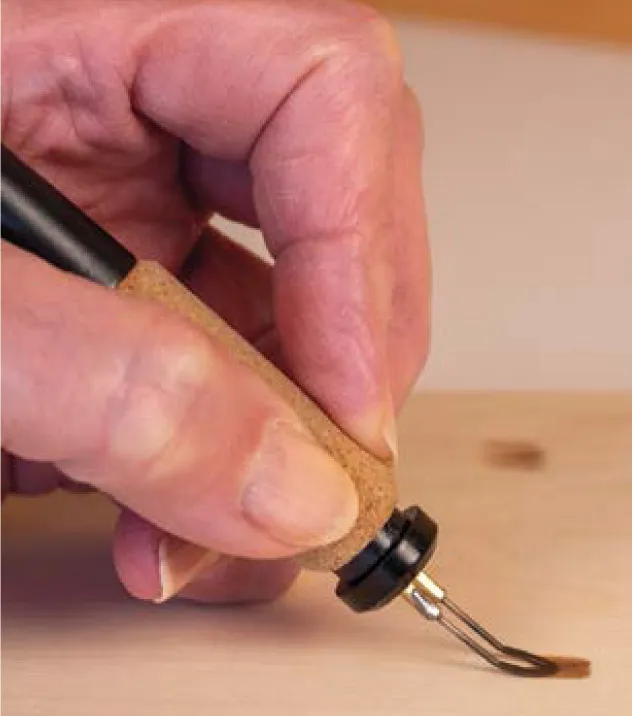
When learning to woodburn, hold the pyrography pen like a writing pen and observe the following angles to achieve the correct position.
Side-to-side angle: Avoid leaning the pen to the side in either direction. Leaning it to the side can change the width of the line, especially in a curve, resulting in an inconsistent burn.
Vertical angle: Observe how high or low you are holding the pen by looking at the angle from the table surface to the vertical position of the pen. The majority of the time, a comfortable 45° angle is used.
More vertical angle: There are times when raising the end of the pen to a more vertical position is useful to achieve a different mark, but it is tiring to hold the pen in a vertical position, and it allows the heat to rise directly onto the fingers.
Hand Support
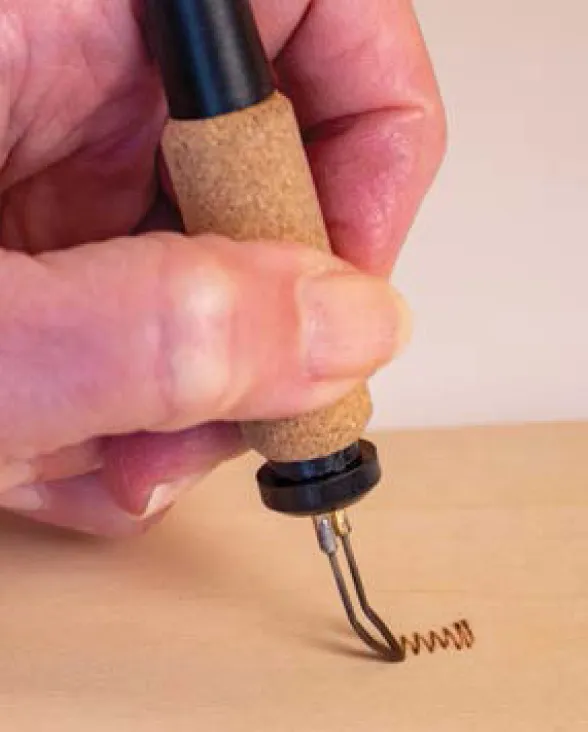
Hand support is very important when burning because it gives you additional control over the pen. With a wire-tipped pen, simply rest your pen hand on the wood.
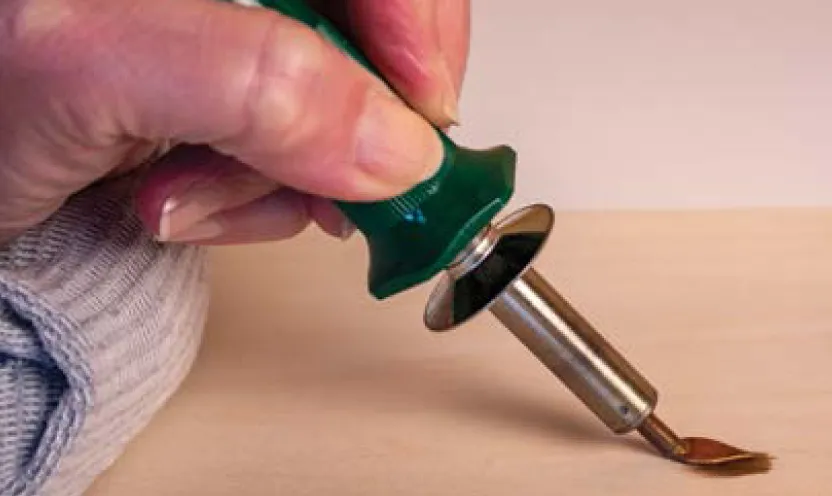
Since solid-point burners have a longer distance between where your fingers rest and the pen tip, gain hand support by placing something under your pen hand, such as a piece of wood, a rolled sock, or your other hand/wrist.
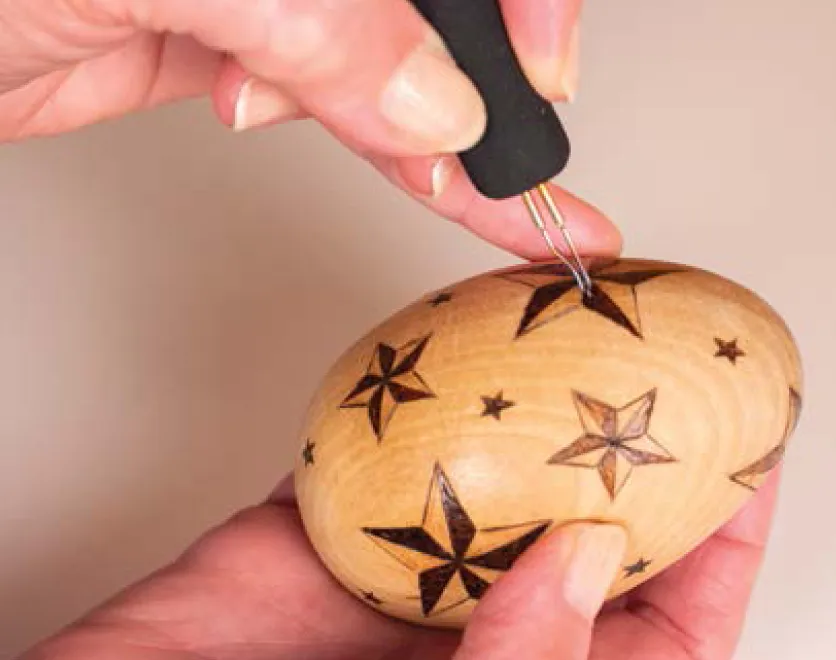
Maintaining hand support while working on 3D surfaces is more difficult with any pen type. See Working on a 3D surface here for more information.
Pen Pressure
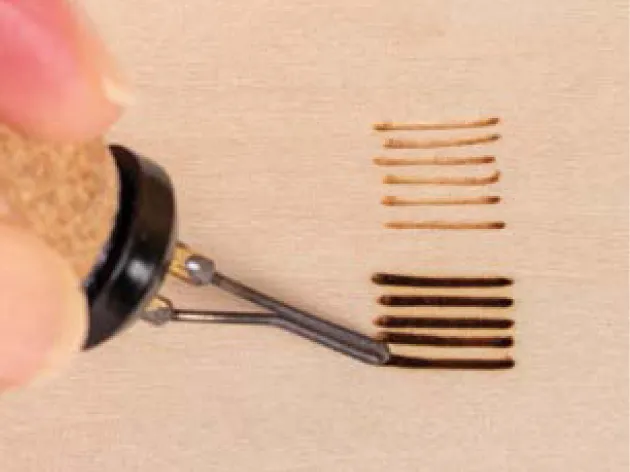
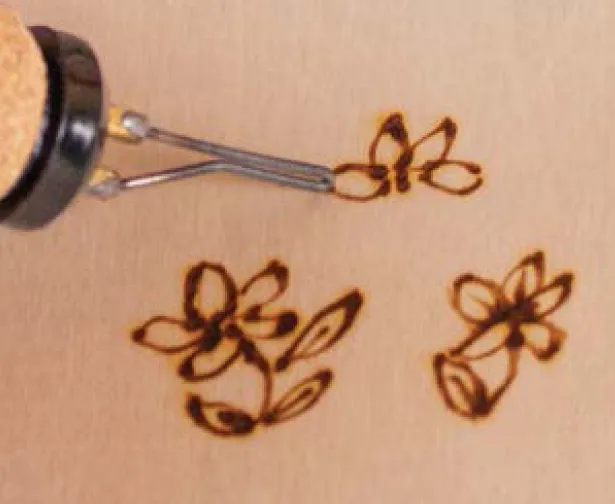
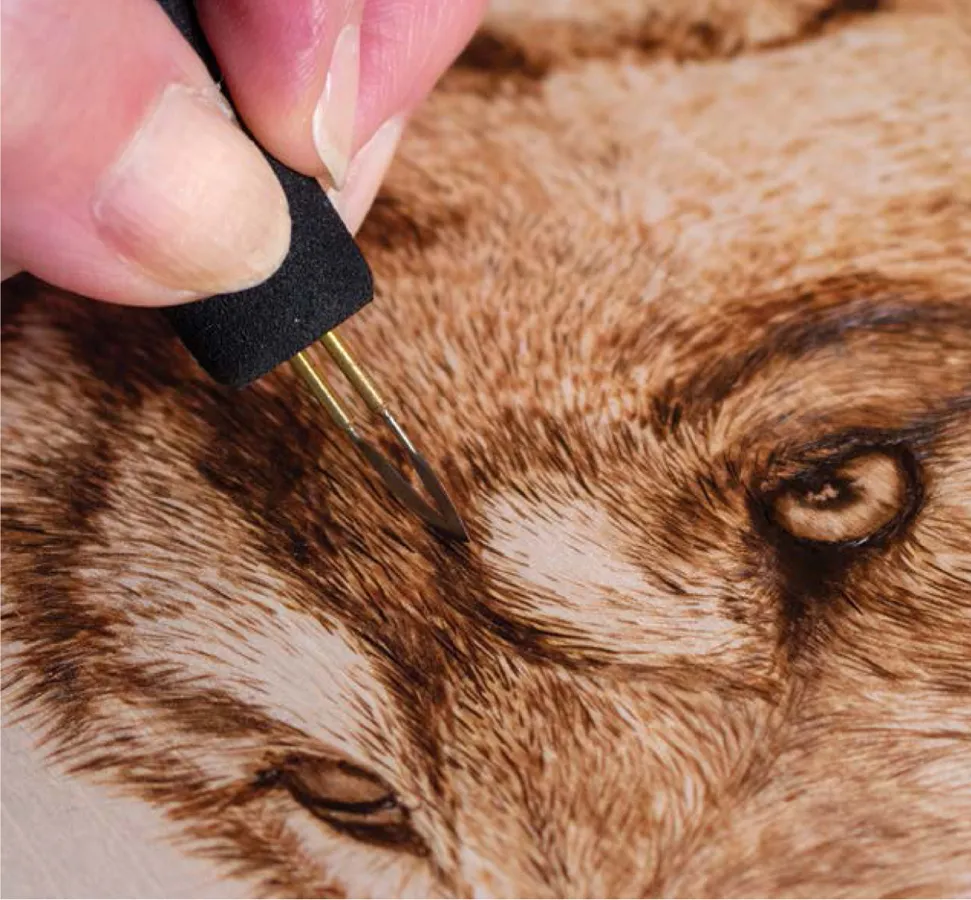
Applying pressure while repeatedly drawing with a writer or skew produces texture.
The amount of pressure you apply (how hard to press your pen against the wood’s surface) will impact the depth of burn achieved and thus the depth of color. Heavy pressure will result in a deeper, darker burn; light pressure will have the opposite result.
Playing with pen pressure can cre...