![]()
PROJECTS
Napkins
Tablecloth
Book cover
Lampshade
Cushion
More printing projects
So many things can be made with printed fabric and paper. Here I have chosen five of my favourite items to get you started. I often print onto existing items, but I have included basic making-up guides if you would like to create your items from scratch. While the same printing technique is used to create the foundation of each project, the tools required and the way in which the designs are created have been varied to illustrate the incredible versatility of the block print process (and the information provided in the previous chapter). Follow the advice on here before you start and you’ll be up and printing in no time!
NAPKINS
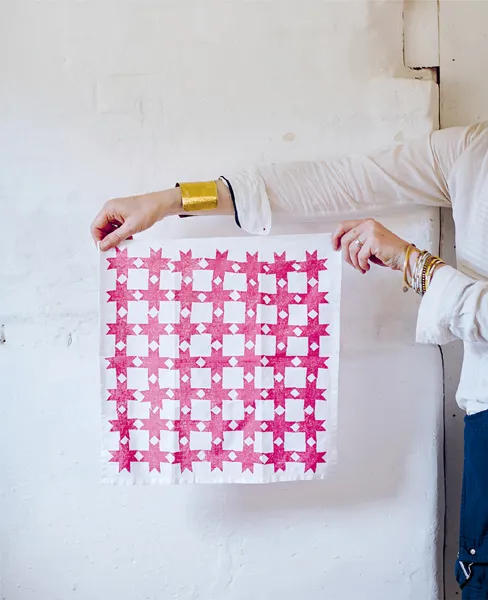
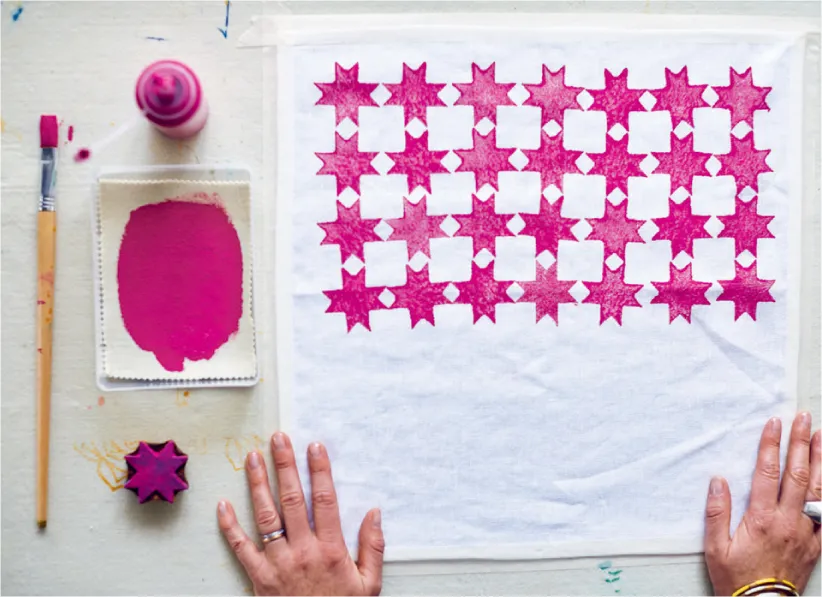
These napkins were printed using a wooden block made in Jaipur, but you could easily carve a shape like this into lino pre-mounted onto a fibreboard block. The fun of a simple block design like this is that, as the print builds, it creates an additional pattern within the negative area of the design. You could use the same design to make a matching table runner.
table padding
old sheet
plain, hemmed, napkins
masking tape
sheets of wool felt, as required, to create a ‘springy’ printing pad
plastic container with lid
fabric paint
plastic sauce bottle
paintbrushes
wooden block or carved lino pre-mounted onto a fibreboard block
Napkins are washed after every use, so it’s important to pick a quality washable fabric. I bought plain napkins (in a cotton-linen mix), so they were already hemmed and ready for printing.
To create a napkin from a larger piece of material, cut a square of your chosen fabric to the size of the napkin, plus 3cm (1¼in) hem allowance on all sides. Fold and pin a narrow double hem all the way around. Using a sewing machine, stitch the hem to secure it in place – at each corner, stop with the needle down, lift the presser foot, pivot the fabric, then lower the foot and start stitching again. Repeat the process as many times as required until you have the desired number of napkins and are ready to print.
Wash your hemmed napkins at the highest temperature the fabric can take. Once dry, iron out all the creases, lay your napkin flat, then fold it in half horizontally and press a light crease back into the fabric. Lay your napkin flat, then fold in half vertically and press in another light crease. You should be left with a four-piece grid – this will help you find the centre of your napkin and give you four distinct printing areas. When you’re ready to print, follow the instructions overleaf.
Once you have completed your pattern and the fabric is dry, set the paint by giving the napkins a long, gentle press with a dry iron on the highest temperature the fabric can take.
1. Place your hemmed napkin flat over the prepared printing table (see here) and secure. With a small piece of fabric, I often use masking tape to keep it in place as I print, but pins in the corners work just as well. However you choose to secure your fabric, make sure you smooth out any creases as you work.
2. Create a paint tray using a plastic container and wool felt for the printing pad. (Using a container with a lid means you can keep your printing pad sealed in between printings, which will stop the paint drying out.)
3. Pour the paint into the bottle and dilute with water until you achieve a creamy consistency (see here). Shake the bottle well, but remember to keep your finger over the top.
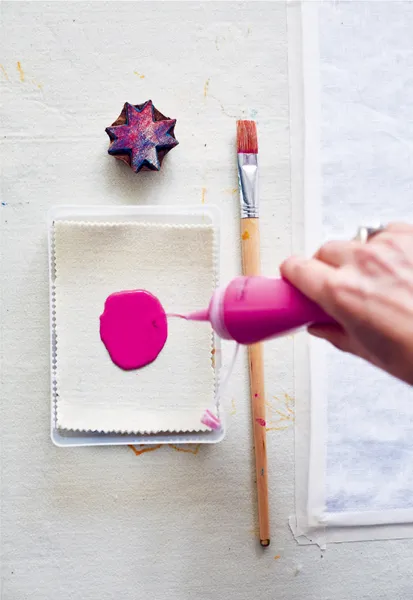
4. Gently squeeze the paint onto the pad and use a paintbrush to create an area slightly larger than your block. Once the paint has soaked into the felt, place the block onto your printing pad, then lift it off the paint.
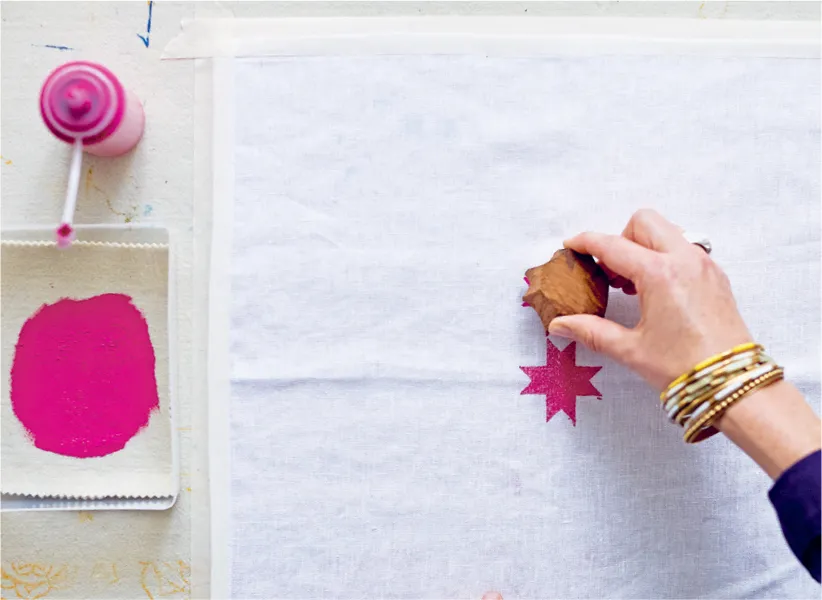
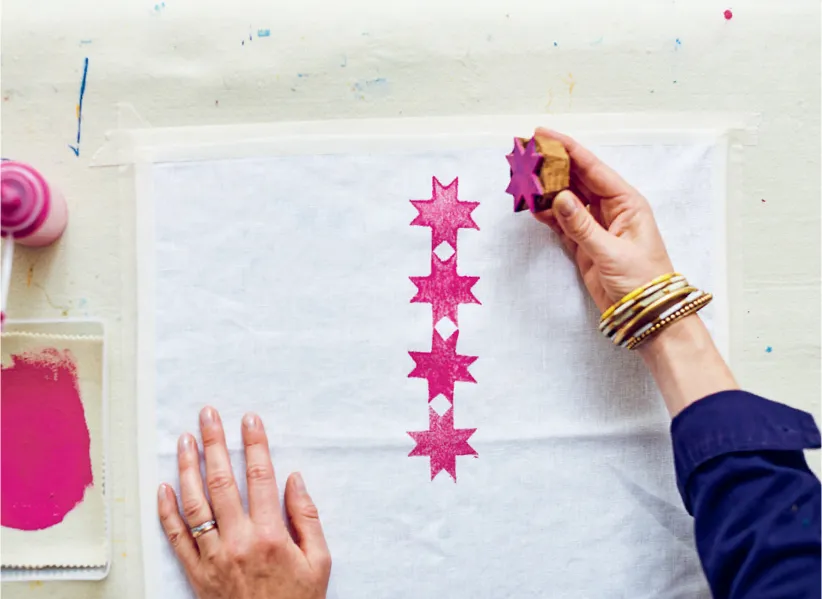
5. Carefully position the block over the centre of your napkin, using the centre point of your creases as a guide, then CONFIDENTLY place it onto the fabric. Give it a good push down. Take a breath and lift the block – do not hesitate! Repeat the process, moving towards the top edge, and loading your block with paint before every print.
6. If you’re right-handed, complete the print within the top left corner of the napkin, then complete the print in the top right corner. Repeat with the bottom corners. (Work in the opposite direction from top to bottom if you are left-handed.)
DESIGN NOTES
As napkins don’t have a natural ‘top’ or ‘bottom’ position, I started printing in the centre of the piece so that I could achieve a symmetrical finish.
I could have continued to print over the sides of the napkin, but here I like how the design is framed by the hem.
TABLECLOTH
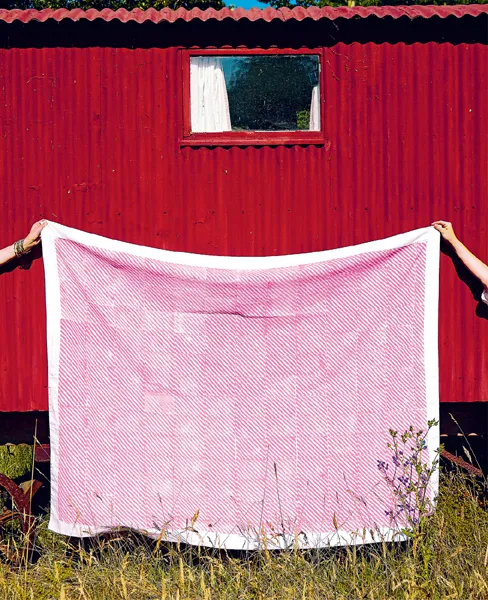
You can easily re-purpose old sheets by printing on them and they make brilliant tablecloths! Alternatively, as I have, buy a plain tablecloth that’s already been hemmed. I carved this design into lino pre-mounted onto a fibreboard block. The very simple stripe comes to life once printed across the expanse of the fabric. If you are concerned about the symmetry of your pattern, you will need to measure the cloth, measure your block, and plan for the best method of fitting the design within the printing area.
table padding
old sheet
plain, hemmed, tablecloth
pins
foam sponge
sheets of wool felt, as required, to create a ‘springy’ printing pad
fabric paint
plastic sauce bottle
paintbrushes
carved lino pre-mounted onto a fibreboard block
Just like napkins, tablecloths might have to cope with a lot of thrills and spills, so make sure you pick a quality washable fabric. Here I bought a plain tablecloth that was hemmed and ready for printing. Alternatively, you can transform an old sheet, or select a plain fabric of your choice.
If you would lik...