![]()
1.1.1 Linear Divisions into sixteenths
1. Basic Concepts
Basics are basics. What was basic yesterday will be basic tomorrow. Basics are the constants, the unchanging foundations upon which creative work can be built.
This chapter explains the basics of folding paper. The general concepts it introduces are the most important and the most useful in the book. Time spent learning them will be well rewarded when you progress to later chapters and when you create your own folded designs. If you are new to folding, or have only limited experience, you are encouraged to spend quality time with this chapter. However, do not just look at its contents – fold them!
Basic concepts are not only useful, but are also very adaptable. This is because they are necessarily generic and can thus be modified in an infinite number of ways. By contrast, ideas for folding which are more specific, are less adaptable. So, somewhat paradoxically, this is perhaps the book’s least showy chapter, but it also offers the most creativity. ‘Basic’ should not be mistaken for ‘uncreative’.
1.1. Dividing the Paper
Dividing paper into exactly equal lengths or angles enables many other techniques to be performed. The position of the folds can be marked with a ruler and pencil, but it is much quicker and much more accurate to make them by hand, dividing the paper into halves, then quarters, then eighths…and so on, using a simple and precise sequence of folds. It is the hand-made method that is explained here.
There is nothing inherently special about the sixteenths, thirty-seconds or sixty-fourths shown in this section, other than that they divide the paper many times and are easy divisions to explain. In your own work, it may be that you need to divide the paper into tenths, twenty-sixths, fifty-fourths, or whatever, in which case it is better to divide it into 16, 32 or 64 and then trim off the excess. Do not be a slave to the divisions shown here.
1.1.1. Linear Divisions: Sixteenths
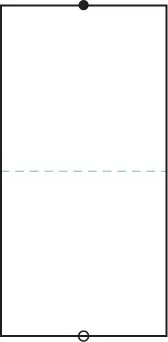
1.1.1 _ 1
Fold the o edge to the • edge, folding the paper in half. Open the paper.
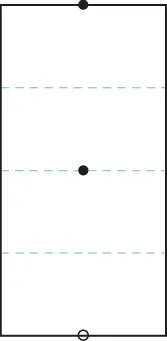
1.1.1 _ 2
Fold the edges to the centre line. Open the paper.
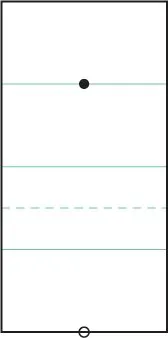
1.1.1 _ 3
Fold the o edge to the • crease. Open the paper.
1.1.1 _ 4
Repeat Step 3 with the other edge.
1.1.1 _ 5
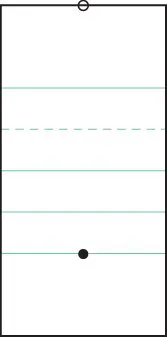
Fold the o edges to the • creases. Open the paper.
1.1.1 _ 6
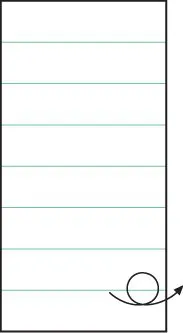
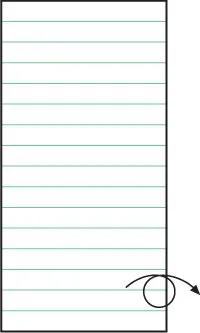
There are now seven valley folds that divide the paper into equal eighths. Turn the paper over.
1.1.1 _ 7
There are now seven mountain folds.
1.1.1 _ 8
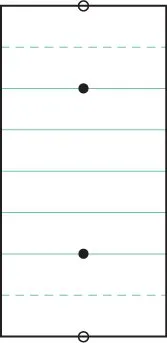
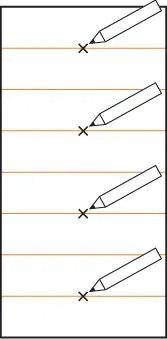
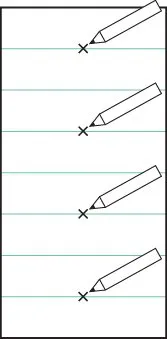
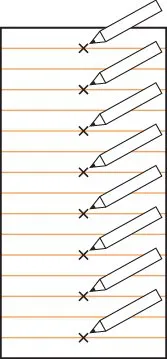
With a pencil, discreetly mark each alternate mountain crease.
1.1.1 _ 9
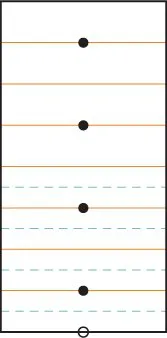
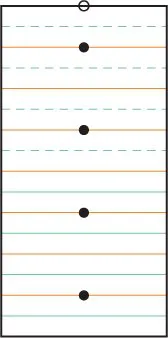
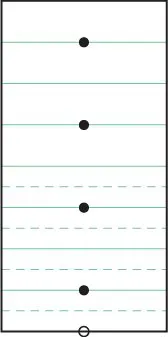
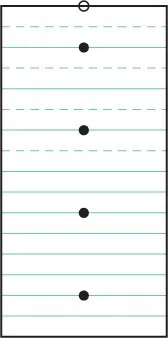
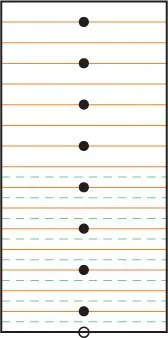
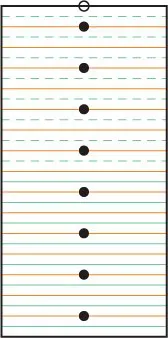
Fold the o edge in turn to all the • creases marked in Step 8, making four new folds. Open the paper after each new fold.
1.1.1 _ 10
Repeat Step 9 with the other edge of the paper.
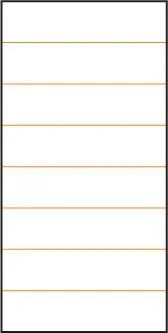
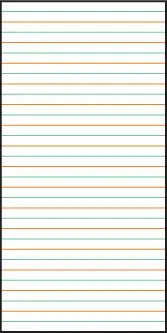
1.1.1 _ 11
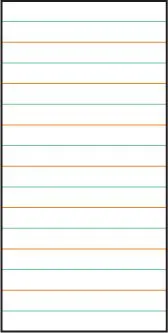
The paper is now divided into equal sixteenths, using creases which alternate mountain-valley-mountain-valley… across the paper (see photo on page 14).
1.1.1 Linear Thirty-seconds
1.1.1 _ 1
Begin with Step 6 of the Linear Sixteenths method (see page 17). Using a pencil, discreetly mark each alternate valley crease.
1.1.1 _ 2
Fold the o edge in turn to all the • creases marked in Step 1, making four new folds. Open the paper after each new fold.
1.1.1 _ 3
Repeat Step 2 with the other edge of the paper.
1.1.1 _ 4
There are now 15 valley folds. Turn the paper over.
1.1.1 _ 5
With a pencil, discreetly mark each alternate mountain crease.
1.1.1 _ 6
Fold the o edge in turn to all the • creases marked in Step 5, making eight new folds. Open the paper after each new fold.
1.1.1 _ 7
Repeat Step 6 with the other edge of the paper.
1.1.1 _ 8
The paper is now divided into equal thirty-seconds, using creases which alternate mountain-valley-mountain-valley (see photo opposite).
1.1.1. Linear Sixty-fourths
To divide the paper into 64, fold up to Step 4 of the Linear Thirty-seconds method (see page 18). Then, instead of turning the paper over, continue on the same side, completing all the thirty-seconds as valley folds. Now turn the paper over. Mark the alternate mountain f...