Amazon S3 is an AWS service responsible for storing and analyzing data. The data typically includes files of all sorts and shapes (including music files, photos, text files, and video files). S3, for example, can be utilized to store code files for static data. Let's take a tour of how to use the S3 service in AWS.
The S3 service stores files in buckets. Each bucket can hold files directly or can include a number of folders, and, in turn, each folder can hold a number of files.
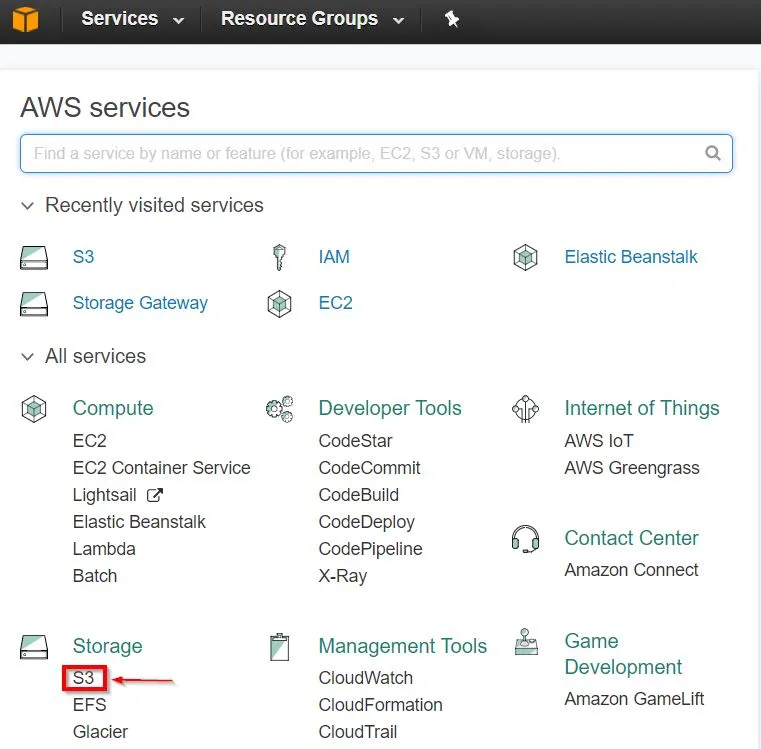
We will use the AWS web console to configure S3, similar to what we did with EC2. The first step will be to navigate to the AWS web console and then select S3:
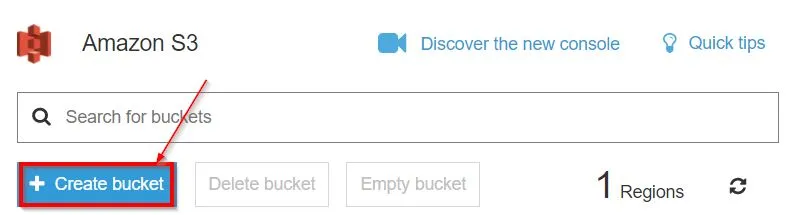
This will open the Amazon S3 console; from there, we can click on Create bucket to create a new bucket to store data folders:
This will start a wizard that will walk you through the different steps needed to properly create a bucket. This will give you the power to set the bucket name, enable versioning or logging, set tags, and set permissions. Once done, a new bucket will get created for you. The bucket name has to be unique so that it won't get conflicted with buckets used by other AWS users.
I created a bucket called mnandbucket; it will show up in the list of buckets in my S3 main web page. If you have more buckets than what the page can show, you can search for buckets in the search bar:
Once we enter a bucket, we can then create folders and upload files:
Perfect! With that, we have a practical idea of what S3 is about.
You can download this file from https://www.packtpub.com/sites/default/files/downloads/CloudNativeprogrammingwithGolang_ColorImages.pdf.
The code bundle for the book is also hosted on GitHub at https://github.com/PacktPublishing/Cloud-Native-Programming-with-Golang.
S3 storage can be utilized to store our application files for later use. So, for example, say we built our events microservice to run in a Linux environment, and the filename for the application is simply events. We can then simply store the file in an S3 folder; then, whenever we need an EC2 instance to obtain the file, we can use the AWS command-line tools in the Ec2 instance to achieve that.
We first need to ensure that the AWS roles are properly defined to allow our EC2 instance to access the S3 storage as was covered earlier. Then, from there, to copy the file from S3 to our EC2 instance, we will need to issue the following command from our EC2 instance:
aws s3 cp s3://<my_bucket>/<my_folder>/events my_local_events_copy
The preceding command will retrieve the events file from the S3 storage, then copy it to a new file called my_local_events_copy, which will live in the current folder. <my_bucket> and <my_folder> represent the bucket and the folder where the events file exists on the S3 storage, respectively.
After we copy an executable file to EC2, we will need to give it access to execute via the Linux chmod command. This is achieved utilizing the following command:
chmod u+x <my_executable_file>
In the preceding command, <my_executable_file> is the file that we would like to obtain enough access in our EC2 instance to execute.
![]()
As mentioned earlier, SQS is the message queue provided by AWS. Applications that can interact with SQS can send and receive messages within the AWS ecosystem.
Let's start by discussing how to configure an SQS from the Amazon console. As usual, the first step is to log in to the Amazon console and then select our service from the main dashboard. The service name in this case will be called Simple Queue Service:
From there, we will need to either click on Getting started or on Create New Queue. The queue creation page will offer us the ability to configure the behavior of the new queue. For example, we can set the maximum message size allowed, the number of days we can retain a message, or even the wait time to receive a message:
Once you are satisfied with your settings, click on Create Queue—I picked the name eventqueue.
This will create a new AWS SQS queue that we can utilize in our code. Now, it's time to discuss how we can write code to interact with our new queue.
Perfect! With our queue created, we are ready to write some code to send and receive messages via the newly created AWS SQS queue. Let's start with exploring the code we need to write in order to send some data.
The docs for the AWS SDK Go SQS package can be found at https://godoc.org/github.com/aws/aws-sdk-go/service/sqs.
As any other AWS service, there are two first key steps we will need to get out of the way:
- Obtaining or creating a session object
- Creating a service client for our desired AWS service
The preceding steps are covered via the following code:
 sess, err := session.NewSession(&aws.Config{
 Region: aws.String("us-west-1"),
 })
 if err != nil {
 log.Fatal(err)
 }
 sqsSvc := sqs.New(sess)
The preceding code sets the region via the code when calling the NewSession() constructor; however, we have the choice to use a shared configuration instead, as mentioned in the preceding chapter. I made use of log.Fatal() in this code since it's only testing code, so if anything fails, I would want to exit with the error message reported.
Next, we will need to obtain the message queue URL. The URL is important because it serves as a unique identifier for the message queue in the SDK method calls. We can obtain the URL either from the AWS console SQS page, where the URL of our queue will show in the Details tab when the queue is selected or via code by utilizing the queue name we chose when creating our queue. In my case, I called my queue eventqueue; so, let's take a look at how we can obtain the URL from that name through our code:
 QUResult, err := sqsSvc.GetQueueUrl(&sqs.GetQueueUrlInput{
 QueueName: aws.String("eventqueue"),
 })
 if err != nil {
 log.Fatal(err)
 }
The QUResult object is of the *GetQueueUrlOutput type, which is a pointer to a struct that contains a field called QueueUrl of the *string type. This field should have our queue URL if the GetQu...