React 16 Tooling
eBook - ePub

React 16 Tooling

Adam Boduch

Share book
  1. 298 pages
  2. English
  3. ePUB (mobile friendly)
  4. Available on iOS & Android
eBook - ePub

React 16 Tooling

Adam Boduch

Book details
Book preview
Table of contents
Citations

About This Book

React 16 Tooling covers the most important tools, utilities, and libraries that every React developer needs to know — in detail.

Key Features

  • Each chapter presents meta-development solutions to help React developers
  • The tools used are presented in a practical, solution-oriented approach with no fluff
  • The chapters are arranged in a logical order that mirrors a typical React development workflow, but you are free to tweak the approaches discussed to fit your own unique style

Book Description

React 16 Tooling covers the most important tools, utilities, and libraries that every React developer needs to know — in detail. As React has grown, the amazing toolset around it has also grown, adding features and enhancing the development workflow. Each of these essential tools is presented in a practical manner and in a logical order mirroring the development workflow. These tools will make your development life simpler and happier, enabling you to create better and more performant apps.

Adam starts with a hand-picked selection of the best tools for the React 16 ecosystem. For starters, there's the create-react-app utility that's officially supported by the React team. Not only does this tool bootstrap your React project for you, it also provides a consistent and stable framework to build upon. The premise is that when you don't have to think about meta development work, more focus goes into the product itself.

Other React tools follow this same approach to automating and improving your development life. Jest makes unit testing quicker. Flow makes catching errors easier. Docker containers make deployment in a stack simpler. Storybook makes developing components straightforward. ESLint makes writing standardized code faster. The React DevTools plugin makes debugging a cinch. React 16 Tooling clears away the barriers so you can focus on developing the good parts. In this book, we'll look at each of these powerful tools in detail, showing you how to build the perfect React ecosystem to develop your apps within.

What you will learn

  • Bootstrap a React application using create-react-app
  • Isolate React component development using Storybook
  • Write effective unit tests for your React components using Jest
  • Ensure that your component code is to standard using ESLint
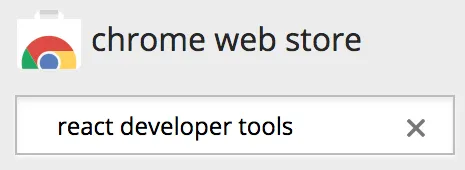
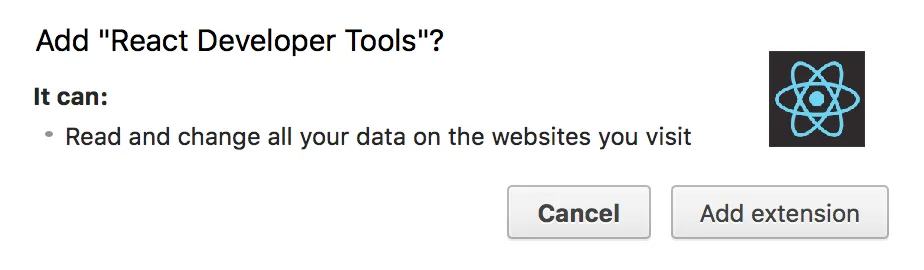
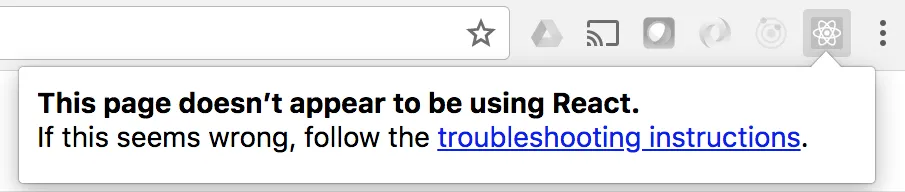
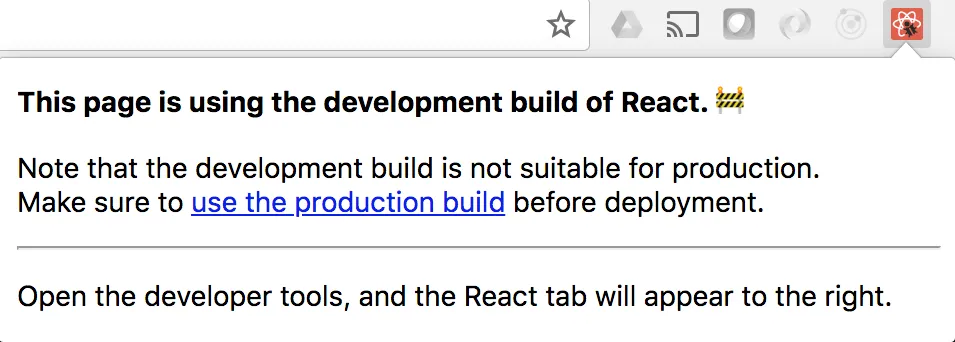
  • Use browser extensions and built-in component instrumentation to debug React applications
  • Enable type safety in React components with Flowtype
  • Deploy React applications inside a Docker container as part of a larger application stack

Who this book is for

This book is for React developers of any skill level who want to make their lives easier. It helps to have some familiarity with React, but if you are an experienced web developer looking at React, then this book will show you how to build a resilient toolset around you before you begin.

Frequently asked questions

How do I cancel my subscription?
Simply head over to the account section in settings and click on “Cancel Subscription” - it’s as simple as that. After you cancel, your membership will stay active for the remainder of the time you’ve paid for. Learn more here.
Can/how do I download books?
At the moment all of our mobile-responsive ePub books are available to download via the app. Most of our PDFs are also available to download and we're working on making the final remaining ones downloadable now. Learn more here.
What is the difference between the pricing plans?
Both plans give you full access to the library and all of Perlego’s features. The only differences are the price and subscription period: With the annual plan you’ll save around 30% compared to 12 months on the monthly plan.
What is Perlego?
We are an online textbook subscription service, where you can get access to an entire online library for less than the price of a single book per month. With over 1 million books across 1000+ topics, we’ve got you covered! Learn more here.
Do you support text-to-speech?
Look out for the read-aloud symbol on your next book to see if you can listen to it. The read-aloud tool reads text aloud for you, highlighting the text as it is being read. You can pause it, speed it up and slow it down. Learn more here.
Is React 16 Tooling an online PDF/ePUB?
Yes, you can access React 16 Tooling by Adam Boduch in PDF and/or ePUB format, as well as other popular books in Informatica & Programmazione web. We have over one million books available in our catalogue for you to explore.

Information

Year
2018
ISBN
9781788832083
Edition
1

Debugging Components in the Browser

If you're developing a React web application, you need browser-based tooling to help you see what's happening on the page from the perspective of a React developer. Web browsers today have amazing developer tools installed by default. These are essential if you're doing any kind of web development because they expose what's really going on in terms of DOM, styles, performance, network requests, you name it.
With React, you still need all of this tooling, but you need more than that. The core tenet of React is declarative markup within JavaScript components. If this abstraction isn't present in the web browser tooling that developers rely on for everything else, life is more difficult than it needs to be.
In this chapter, you'll learn:
  • Installing the React Developer Tools browser add-on
  • Locating and selecting React components
  • Manipulating component props and state
  • Profiling component performance

Installing the React Developer Tools add-on

The first step to getting started with React tooling is to install the React Developer Tools browser extension. I'll be using Chrome in the examples throughout this chapter as this is a popular choice. React Developer Tools is also available as an extension for Firefox (https://addons.mozilla.org/en-US/firefox/addon/react-devtools/).
To get the extension installed in Chrome, visit https://chrome.google.com/webstore/category/extensions and search for react developer tools:
The first result should be the extension that you want. Click on the ADD TO CHROME button to install it:
Chrome might warn you that it can change data on websites that you visit. Don't worry, the extension is only activated when you visit React apps:
Once you click on the Add extension button, the extension is marked as installed:
You're all set! With the React Developer Tools Chrome extension installed and enabled, you're ready to start inspecting React components on the page, just like you would with regular DOM elements.

Working with React elements in React Developer Tools

Once you've installed React Developer Tools in Chrome, you'll see a button in the toolbar located to the right of the browser address bar. Here's what mine looks like:
I have several buttons for browser extensions here. You can see the React Developer Tools button at the far right—the one with the React logo. When the button is greyed-out like this, it means that you're not currently on a page running a React application. Go ahead and try clicking on it while you're on some random page:
Now let's use create-react-app to create a new application, the same process you've been following throughout this book:
create-react-app finding-and-selecting-components
Now fire up the development server:
npm start
This should take you directly to the browser page with your React application loaded up in a new tab. Now the React Developer Tools button should look different:
There you go. Since you're on a page that's running a React application, the React Developer Tools button comes alive to let you know that it's available. Try clicking on it now:
Awesome! The React Developer Tools can detect that this is a development build of the React library. This could come in handy in case you ever find yourself in a situation where you accidentally deploy the development build of React to a production environment. Admittedly, this is more difficult to do today with tools like create-react-app where you have the tooling in place to build production versions for free.
Okay, so now that you have your React browser tooling in place, what else can it do for you other than detect the type of React build that's being used by a given app? Let's open up the developer tools pane within Chrome and find out:
You can see all of the regular sections that you normally see in the developer tools pane: Elements, Console, and so on. But there's nothing about React? I happen to have my developer tools pane docked to the right-hand side of my browser window, so you can't see every section. If you're seeing the same thing, you just have to click on the arrow button next to Performance:
Select React from the menu and you'll be taken to the React section of the developer tools panel. Once it loads, you should see the root React component displayed:
If you've used the DOM inspector tool in any browser, this interface should feel familiar. In the main section to the left, you have your React element tree. This should closely resemble your JSX source. To the right of this tree, you have details of the currently-selected element, in this case it's App, and it doesn't define any properties.
If you expand App, you'll see its child HTML markup and other React elements:
This is the default source code after running create-react-app, so there isn't very much of interest under the App element. To further explore React Developer Tools, you'll have to introduce some more components and render more React elements on the page.

Selecting React elements

There are actually two ways to select a React element using React Developer tools. When you open the React section of the developer tools pane, the root element of the React app is automatically selected in the element tree. However, you can expand this element to reveal child elements and select them.
Let's put together a simple app that will help you explore the rendered React elements on the page using React Developer Tools. Starting from the top level, here's the App component:
import React from 'react'; import MyContainer from './MyContainer'; import MyChild from './MyChild'; const App = () => ( <MyContainer>
 <MyChild>child text</MyChild> </MyContainer> ); export default App; 
By looking at this source, you can take a glimpse at the overall structure of the React elements when they're rendered on the page. Next, let's look at the MyContainer component:
import React from 'react'; import './MyContainer.css'; const MyContainer = ({ children }) => ( <section className="MyContainer"> <header> <h1>Container</h1> </header> <article>{children}</article> </section> ); export default MyContainer; 
This component renders some header text and whatever children are passed to it. In this application, you're passing it a MyChild element, so let's look at this component next:
import React from 'react'; const MyChild = ({ children }) => <p>{children}</p>; export default MyChild; 
Now when you run npm start, you should see the following content rendered:
Not much to look at, but you know that everything is working as expected. The app is small enough that you can see every JSX element within the tree view of the React Developer Tools pane:
There is a visual distinction between React elements and other element types, so that they're easier to spot in this tree view. For example, the <MyContainer> element is in one color while the <s...

Table of contents