Any web application requires interaction between the user and the user interface (UI). An application without interaction is not a true application; interactivity is a basic requirement.
The application that we built in the previous chapter does not allow interaction. It simply shows data, and the user cannot do anything with it (apart from look at it).
Suppose that we want to introduce a little interaction into the catalog application that we started building in the previous chapter. For example, perhaps we want to show an alert with the price of the product when the user clicks on the product area.
Provided that the product data includes the price, as in the following JSON object:
[
 {"code":"P01",
 "name": "Traditional Merlot",
 "description": "A bottle of middle weight wine, lower in tannins
 (smoother), with a more red-fruited flavor profile.",
 "price": 4.5, "selected": false},
 {"code":"P02",
 "name": "Classic Chianti",
 "description": "A medium-bodied wine characterized by a marvelous
 freshness with a lingering, fruity finish",
 "price": 5.3, "selected": false},
 {"code":"P03",
 "name": "Chardonnay",
 "description": "A dry full-bodied white wine with spicy,
 bourbon-y notes in an elegant bottle",
 "price": 4.0, "selected": false},
 {"code":"P04",
 "name": "Brunello di Montalcino",
 "description": "A bottle of red wine with exceptionally bold fruit
 flavors, high tannin, and high acidity",
 "price": 7.5, "selected": false}
]
We can implement this behavior as follows:
import React from 'react';

class Product extends React.Component {
 showPrice() {
 alert(this.props.item.price);
 }

 render() {
 return <li onClick={() => this.showPrice()}>
 <h3>{this.props.item.name}</h3>
 <p>{this.props.item.description}</p>
 </li>;
 }
}

export default Product;
Let's analyze the component's code and highlight the differences with respect to the previous version.
First of all, we added the showPrice() method, showing the price of the current product instance via an alert. This method is invoked inside of an arrow function assigned to the onClick attribute of the <li> tag.
These simple changes allow the Product component to capture the click event and execute the showPrice() method.
We'll now open the existing project, my-shop-01, in order to show the result of the previous code changes:
- Open a console window
- Move to the my-shop-01 folder
- Run npm install
- Run npm start
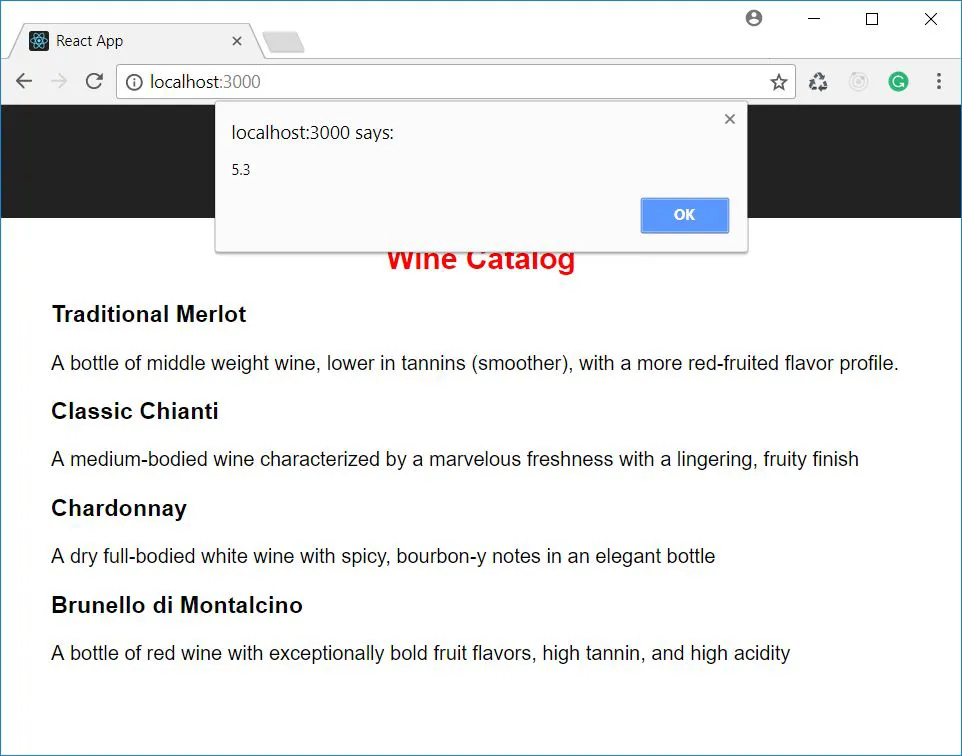
The result of clicking on a product is shown in the following screenshot:
![]()
As we can see, the React approach to handling events is very similar to classic event management within HTML. However, there are some subtle differences to take into account.
HTML events are named using lowercase, while JSX events use camelCase. For example, in HTML, you should use the following syntax:
<li onclick="...">...</li>
But in JSX, you use this syntax:
<li onClick=...>...</li>
In HTML, you assign a string representing the invocation of a function, while in JSX, you assign a function, which is shown as follows:
<li onclick="showPrice()">...</li>
<li onClick={showPrice}>...</li>
Of course, you can assign any JavaScript expression returning or representing a function, like the one shown in the following example:
<li onClick={() => this.showPrice()}> Finally, you can prevent the default behavior of most HTML events by returning false, while in JSX events, you need to explicitly call preventDefault. The following is a typical example:
<a href="#" onClick={(e) => { e.preventDefault();
console.log("Clicked");}}>Click</a> ![]()
In the preceding example of defining a Product component, we assigned an arrow function to the onClick attribute, instead of the simple showPrice() method. This was not simply a matter of preference. It was necessary because we used the this keyword inside the showPrice() method.
In fact, when the event handler executes, the this keyword is no longer bound to the Product class, since it is asynchronously executed in a different context. This behavior does not depend on React, but on how JavaScript works.
In order to bind the method to the current class, we have a few options:
- Use an arrow function and invoke the method inside its body, as shown in the following example:
<li onClick={() => this.showPrice()}> - Use the bind() method to bind the method to the current class context, as shown in the following example:
<li onClick={this.showPrice.bind(this)}> - You can use bind() in the class constructor instead of using it inline when assigning the method to the event attribute. The following is an example of this approach:
constructor() {
this.showPrice = this.showPrice.bind(this);
}
...
<li onClick={this.showPrice}> ![]()
The event management example that we looked at is very simple, but it only shows the basics of React event management. This example does not involve the state, and its management is straightforward. In many real-world cases, an event causes changes to the application's state, and that means changes to the component's state.
Suppose that, for example, you want to allow the selecting of products from the catalog. To do so, we add the selected property to each product object, as shown in the following array:
[
 {"code":"P01",
 "name": "Traditional Merlot",
 "description": "A bottle of middle weight wine, lower in tannins
 (smoother), with a more red-fruited flavor profile.",
 "price": 4.5, "selected": false},
 {"code":"P02",
 "name": "Classic Chianti",
 "description": "A medium-bodied wine characterized by a marvelous
 freshness with a lingering, fruity finish",
 "price": 5.3, "selected": false},
 {"code":"P03",
 "name": "Chardonnay",
 "description": "A dry full-bodied white wine...