The go-to guide to getting started with the BBC micro:bit and exploring all of its amazing capabilities.
The BBC micro:bit is a pocket-sized electronic development platform built with education in mind. It was developed by the BBC in partnership with major tech companies, communities, and educational organizations to provide kids with a fun, easy, inexpensive way to develop their digital skills. With it, kids (and grownups) can learn basic programming and coding while having fun making virtual pets, developing games, and a whole lot more.
Written by internationally bestselling tech author Gareth Halfacree and endorsed by the Micro:bit Foundation, The Official BBC micro:bit User Guide contains what you need to know to get up and running fast with the BBC micro:bit. Learn everything from taking your first steps with the BBC micro:bit to writing your own programs. You'll also learn how to expand its capabilities with add-ons through easy-to-follow, step-by-step instructions.
- Set up your BBC micro:bit and develop your digital skills
- Write code in JavaScript Blocks, JavaScript, and Python
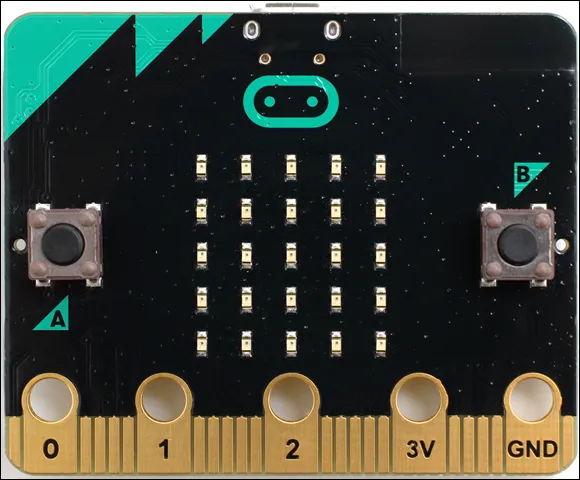
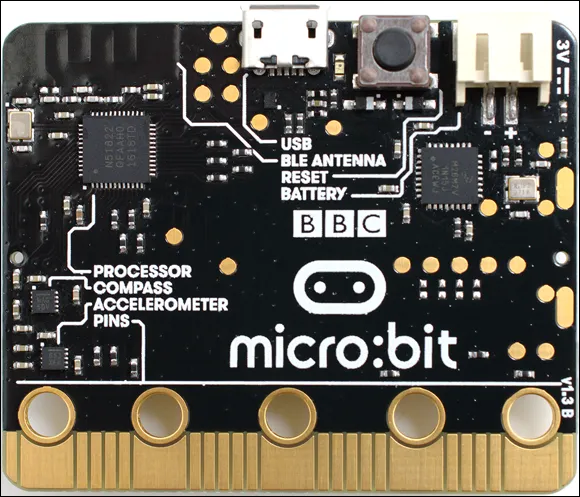
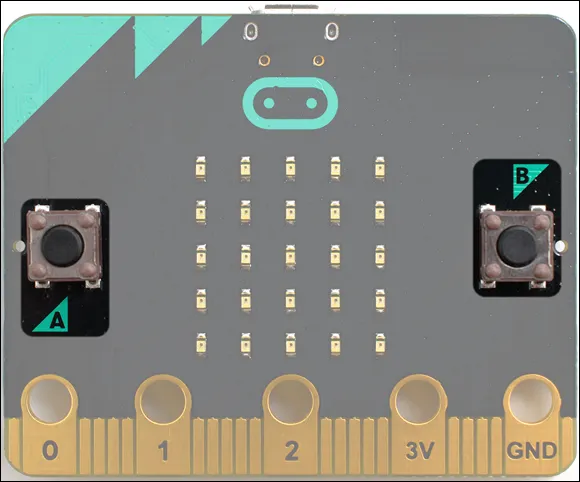
- Discover the BBC micro:bit's built-in sensors
- Connect the BBC micro:bit to a Raspberry Pi to extend its capabilities
- Build your own circuits and create hardware
The Official BBC micro:bit User Guide is your go-to source for learning all the secrets of the BBC micro:bit. Whether you're just beginning or have some experience, this book allows you to dive right in and experience everything the BBC micro:bit has to offer.