
Swift in 30 Days
Build iOS Apps by Learning Swift, Xcode, and SwiftUI in Just Four Weeks (English Edition)
Gaurang Ratnaparkhi
- English
- ePUB (handyfreundlich)
- Über iOS und Android verfügbar
Swift in 30 Days
Build iOS Apps by Learning Swift, Xcode, and SwiftUI in Just Four Weeks (English Edition)
Gaurang Ratnaparkhi
Über dieses Buch
Designing iOS mobile apps using simple Swift codes and libraries.
Key Features
? Combines the fundamentals of Swift and power-packed libraries, including SwiftUI.
? Includes graphical illustrations and step-by-step instructions on coding your first iOS application.
? Covers end-to-end iOS app development with code debugging and best practices.
Description
'Swift in 30 Days' teaches young graduates and coding applicants to enter the field of rapid development of applications through simplified, pragmatic, and quick programming learning without much theory.The book examines the basics of Swift programming, fundamental Swift building blocks, how to write syntax, constructs, define classes, arrays, model data with interfaces, and several examples of Swift programming. The book will help you to create the environment for app development, including tools and libraries like Xcode and SwiftUI. You will learn to work with Xcode and Swift libraries and finally make an independently developed Swift application. You will have access to design patterns and learn how to handle errors, debug, and work with protocols.By the end of this book, you will become a trusted Swift programmer and a successful iOS developer who will dive deeper into Apple's intelligent app programming challenge.
What you will learn
? Create an iOS app from scratch and learn fundamental Swift concepts such as operators and control flow.
? Create intuitive and intelligent user interfaces with an understanding of self-design and constraints.
? Recap OOP concepts and Swift protocol-based programming.
? Work with design patterns, write clean codes, and build expert tables and navigations.
? Work with Xcode and SwiftUI 2.0.
Who this book is for
This book is for students, graduates, and entry-level coders who want to learn iOS app development without prior Swift or mobile app development experience.
Table of Contents Week 1 (Beginner)
1. Building Your First App
2. Swift Programming Basics
3. Auto Layout
4. Types and Control Flow Week 2 (Intermediate)
5. Optional Type and More
6. Code Structuring Week 3 (Advanced)
7. OOP in Swift
8. Protocols and Delegates Week 4 (Bonus)
9. Error handling and Debugging
10. SwiftUI
About the Authors
Gaurang Ratnaparkhi has over a decade-long experience as a software developer with a specialization in iOS app development. Starting from Objective C and now to Swift 5.0, he has been able to work on a wide range of applications, from small calculators to apps in the aviation domain. His career highlight has been his position as a Team Lead for an iOS app in the restaurant domain. Followed by being a Tech lead for Cognizant IT solutions. He is a graduate from the University of Grenoble Alpes, France, and a certified Scrum Master. After moving to Xamarin and Windows development for a while, he returned to iOS development. He loves teaching and learning new languages. He is currently living in Toulouse, France. LinkedIn Profile: https://www.linkedin.com/in/gaurang-ratnaparkhi-0b47b81b/
Häufig gestellte Fragen
Information
CHAPTER 1
Building Your First Application
Structure
- Setting up the environment
- Creating your first project
- Understanding Xcode
- Running the application
- Working of an application
- Building the interface
- Finding help
Objective
Setting up the environment
- You need a mac system with a minimum OS version 10.15.
- Then, you need to create an Apple account. Go to https://appleid.apple.com/account as shown in Figure 1.1:
 Figure 1.1: Apple account Sign up page
 - Complete the preceding steps to create your app store account. They may ask for credit card details. Don’t worry you won’t be charged.
- Once your app store account is set up, go to the Apple App Store by clicking on the icon in Applications as shown in Figure 1.2:
 Figure 1.2: App Store icon
 - Then, type “Xcode” in the search box. Here, you will need the Apple account created above to download the latest version of Xcode. Make sure you have at least 20 GB of free space on your Mac.
- Once installed, you should be able to see the Xcode icon (Figure 1.3) in your applications.
- We will build simple applications, so you won’t need an iPhone. Xcode comes with a simulator.
 Figure 1.3: Xcode icon
Creating your first project
- Click on the Xcode icon. You should be able to see a window similar to Figure 1.4. The version (red box) might be different from yours but a minimum of 11.x is recommended. Here, we choose a starting template for our iOS. We are new developers, so let us stick to the simplest form, Single View App.
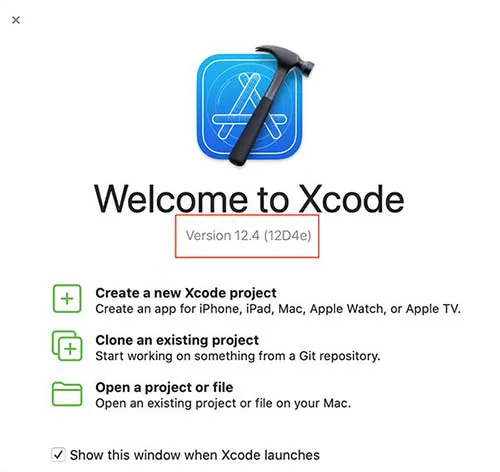 Figure 1.4: Xcode launch window
 - Next, click on the second option (green box) to start creating our first iOS project. You should then be able to see a window like the one in Figure 1.5:
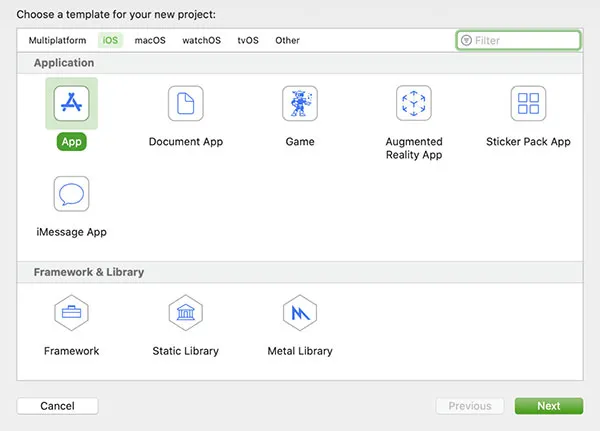 Figure 1.5: Template selection for new projectThe other templates are up to you to explore. But the single view application is the most basic and customizable template available.
 - Once you click on “
Next”, you will see a window as shown in Figure 1.6: Figure 1.6: Choose options for your new projectBefore you create a new project, we have to specify some details. So, let us understand what details we need to fill in:
- Product Name: This is the name of our application. This is a demo application so it is not so important right now. But in future when you develop applications for the App Store, this name is very important. Let us name our application “MyFirstApp”.
- Team/Organisation Name: This can be “None”. For real-world applications, this option is often the Team account of your company and the organisation name is your company name. Well, right now you are your own boss so go ahead and put your name. If you have an Apple developer account, you can link it and then you can see your own name under teams.
- Organisation/Bundle Identifier: This is a unique identifier for the application. It is the web address equivalent for an application. You can see the required format in tiny grey letters below the box. You just have to put the first two parts: com.yourCompanyName.
- Interface: THIS IS IMPORTANT. Set this to Storyboard. We will make SwiftUI applications later. But for now, we will work with Storyboards.
- Language: Swift! If you want to choose Objective C, this is the wrong book for you.
- Once done, your window will look something like the one in Figure 1.7. Now, click on “
Next” and choose where you want to save the project. That’s it! We have created our first iOS Application project. Congratulations!! Figure 1.7: Filled options for new project
Understanding Xcode
App Delegate” which is in the pane of the left-hand side of the screen.

