Practical Autodesk AutoCAD 2021 and AutoCAD LT 2021
A no-nonsense, beginner's guide to drafting and 3D modeling with Autodesk AutoCAD
Yasser Shoukry, Jaiprakash Pandey
- 826 pagine
- English
- ePUB (disponibile sull'app)
- Disponibile su iOS e Android
Practical Autodesk AutoCAD 2021 and AutoCAD LT 2021
A no-nonsense, beginner's guide to drafting and 3D modeling with Autodesk AutoCAD
Yasser Shoukry, Jaiprakash Pandey
Informazioni sul libro
Publisher's note: This edition from 2020 is based on AutoCAD 2021 and AutoCAD LT 2021 and does not make use of the most recent AutoCAD features. A new second edition, updated for AutoCAD 2023 and AutoCAD LT 2023 including new topics, such as Floating drawing windows and the COUNT feature, has now been published.
Key Features
- Explore the AutoCAD GUI, file format, and drawing tools to get started with CAD projects
- Learn to use drawing management tools for working efficiently on large projects
- Discover techniques for creating, modifying, and managing 3D models and converting 2D plans into 3D models
Book Description
AutoCAD and AutoCAD LT are one of the most versatile software applications for architectural and engineering designs and the most popular computer-aided design (CAD) platform for 2D drafting and 3D modeling. This hands-on guide will take you through everything you need to know to make the most out of this powerful tool, starting from a simple tour of the user interface through to using advanced tools.
Starting with basic drawing shapes and functions, you'll get to grips with the fundamentals of CAD designs. You'll then learn about effective drawing management using layers, dynamic blocks, and groups and discover how to add annotations and plot like professionals. The book delves into 3D modeling and helps you convert your 2D drawings into 3D models and shapes. As you progress, you'll cover advanced tools and features such as isometric drawings, drawing utilities for managing and recovering complex files, quantity surveying, and multidisciplinary drawing files using xRefs, and you'll learn how to implement them with the help of practical exercises at the end of each chapter. Finally, you'll get to grips with rendering and visualizing your designs in AutoCAD.
By the end of the book, you'll have developed a solid understanding of CAD principles and be able to work with AutoCAD software confidently to build impressive 2D and 3D drawings.
What you will learn
- Understand CAD fundamentals using AutoCAD's basic functions, navigation, and components
- Create complex 3d solid objects starting from the primitive shapes using the solid editing tools
- Working with reusable objects like Blocks and collaborating using xRef
- Explore some advanced features like external references and dynamic block
- Get to grips with surface and mesh modeling tools such as Fillet, Trim, and Extend
- Use the paper space layout in AutoCAD for creating professional plots for 2D and 3D models
- Convert your 2D drawings into 3D models
Who this book is for
The book is for design engineers, mechanical engineers, architects, and anyone working in construction, manufacturing, or similar fields. Whether you're an absolute beginner, student, or professional looking to upgrade your engineering design skills, you'll find this AutoCAD book useful. No prior knowledge of CAD or AutoCAD is necessary.
Domande frequenti
Informazioni
Working with Hatches, Text, and Dimensions
- Filling an area with Hatches
- Adding color gradients
- Adding text to a drawing
- Working with dimensions
- Working with multileaders
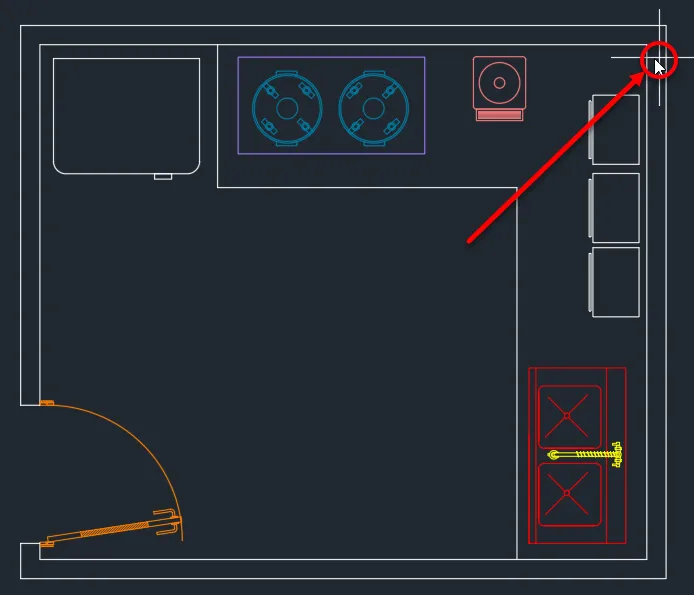
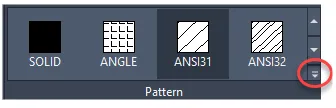
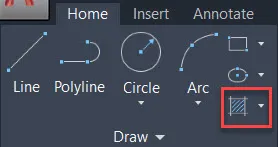
Filling an area with Hatches
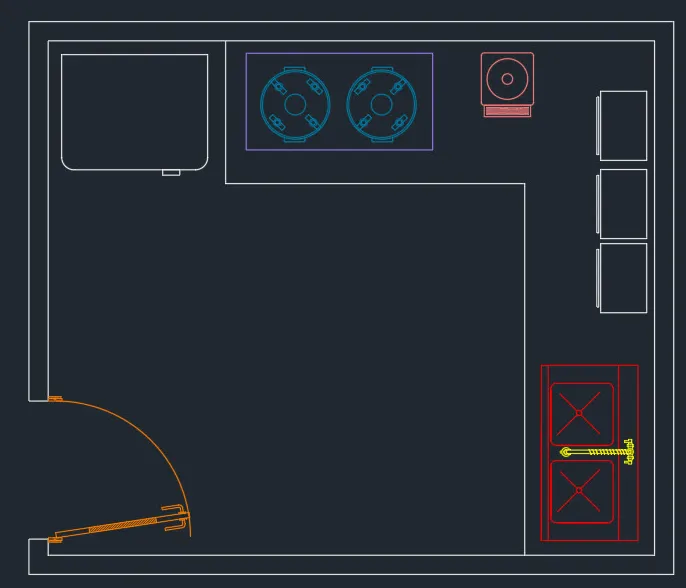

Hatches with pick points