![]()
One-Point Perspective
There are three types of perspective that we use most: one-point, two-point, and three-point. There are, however, objects that are made up of a complex number of sides and faces. These are known as “complex forms,” and we will discuss them later.
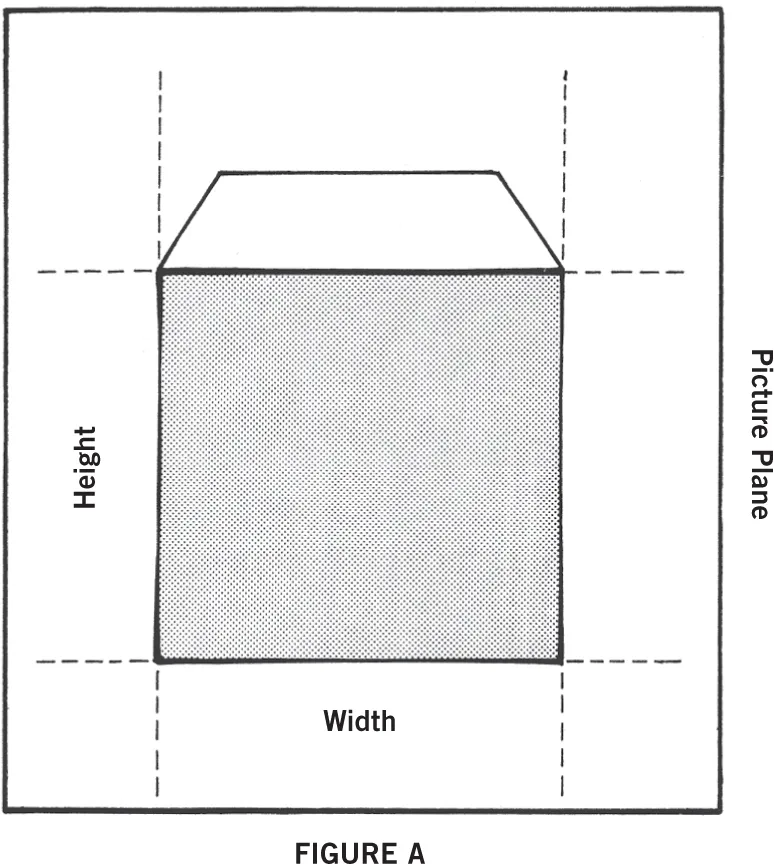
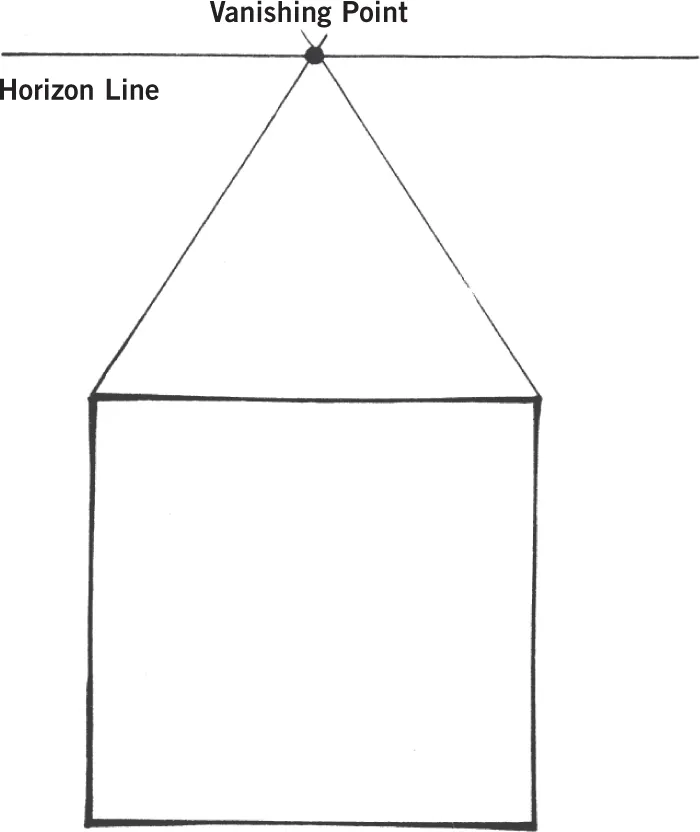
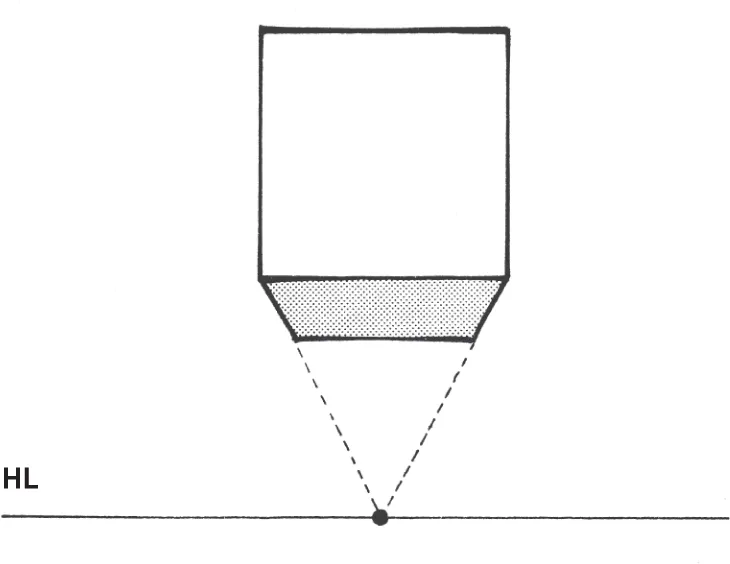
As discussed in the previous section, lines that are parallel to one another and recede toward the horizon all meet at one point on the horizon line. This is the vanishing point, and it is used for all objects in one-point perspective. We also have one-point perspective when both the height and width of an object are parallel to the picture plane (Figure A). When an object is placed in this position it is viewed straight on. The edges of the front, top, bottom, and sides of the object are parallel to the edges of the picture plane. They have no depth; therefore, they have no lines that extend to a vanishing point (Figure A).
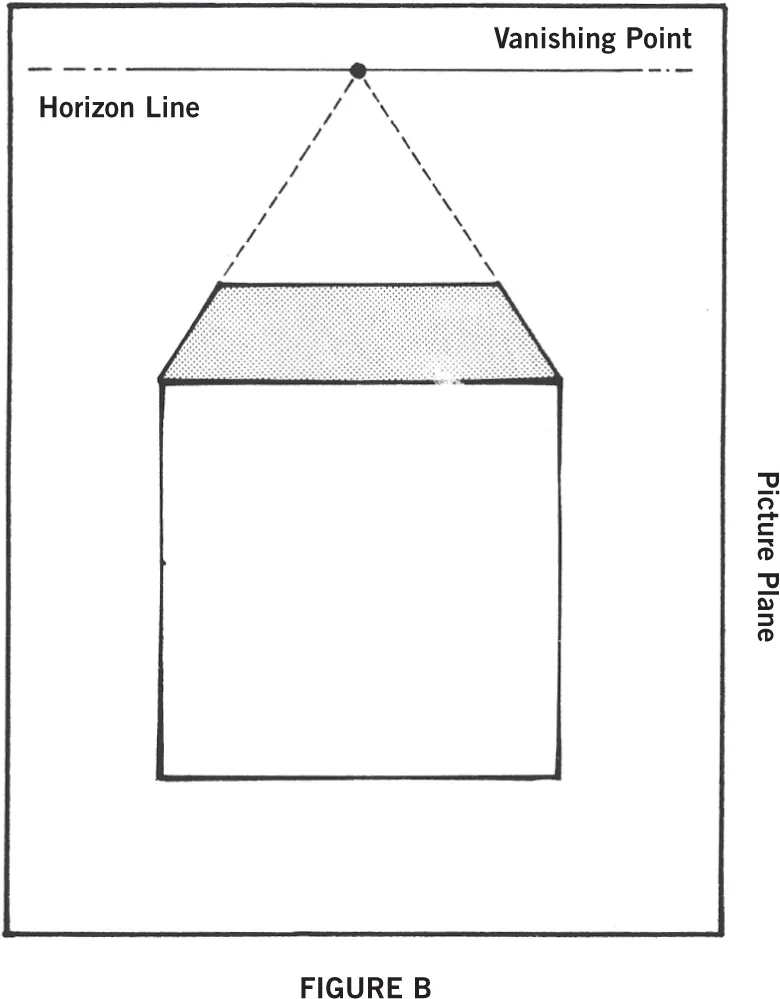
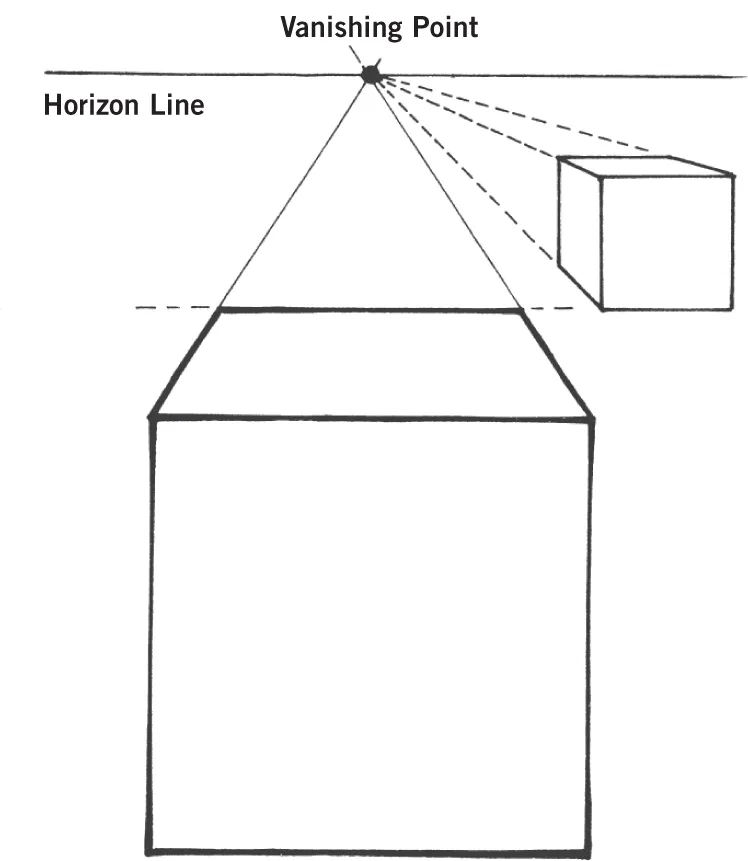
The surfaces of an object, such as the sides, top, and bottom, that extend into the picture, creating the illusion of depth, have extended imaginary lines that meet at the vanishing point on the horizon line. When looking at a cube straight on, we see that the edges of the top extend into the picture and meet at the vanishing point, giving the illusion of depth (Figure B). Study and practice the examples. Notice that there are a number of ways to view a simple cube in one-point perspective.
Drawing a Cube in One-Point Perspective
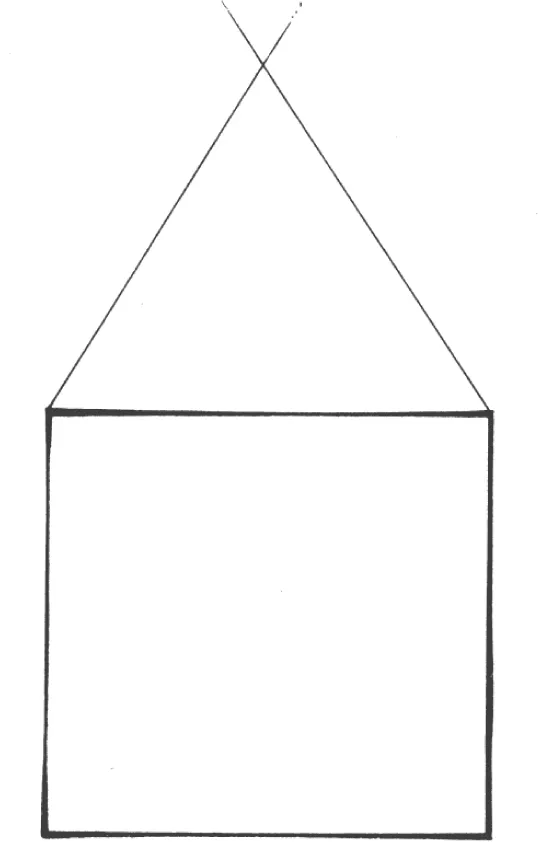
Step 1 Lightly sketch the general shape of the face of the cube.
Step 2 Lightly draw the two angle lines along the top until they cross.
Step 3 Use the angle lines to determine the horizon line and vanishing point. At the point where they cross, draw a horizontal line parallel to the top and bottom lines of the cube. This is the horizon line. Now place a vanishing point where the lines cross.
Step 4 Draw a parallel line between the horizon line and the top of the cube. This establishes the top surface of the cube. Darken the lines. Here is a cube drawn in perfect one-point perspective.
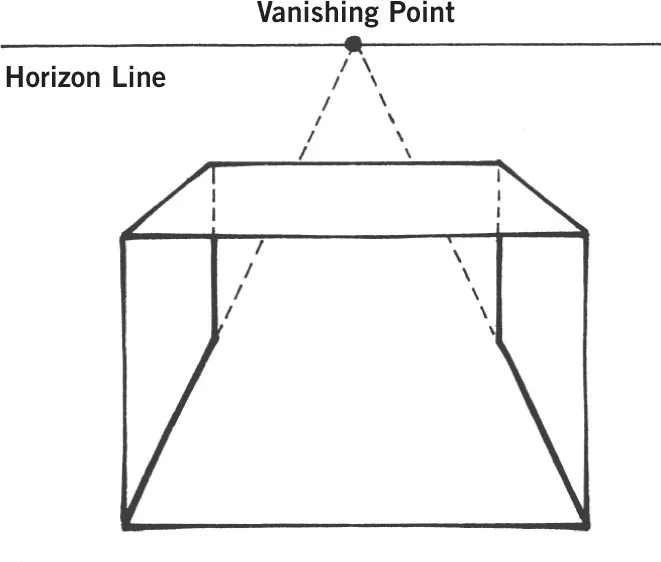
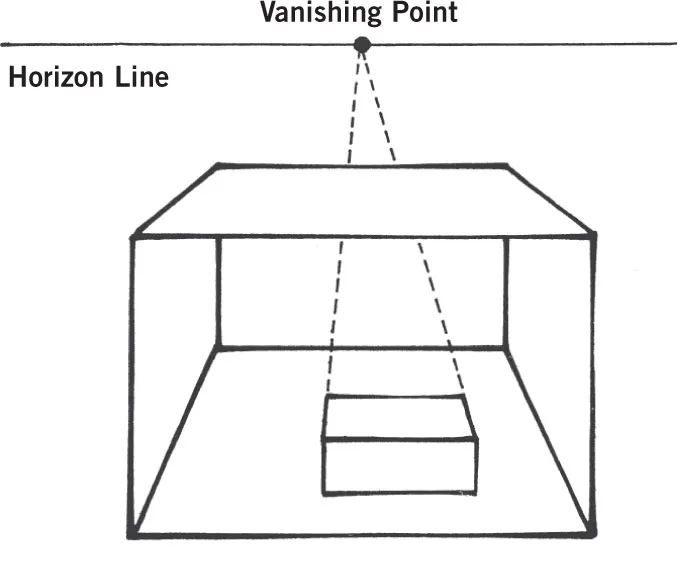
Drawing the Inside
Step 1 Here is a box that will appear to be open. Draw extending lines from the left and right corners to the vanishing point to establish lines for the floor and sidewalls.
Step 2 Draw vertical lines down from the back left and right corners. The width of the back wall is now established. Darken the lines as shown—this makes the sidewalls.
Step 3 Draw a horizontal line from the back left corner to the right one. This is the width of the back wall in true one-point perspective.
Step 4 Using the same vanishing point, place a small box on the floor of the open box. See how easy it is when using the vanishing point and the horizon line as guides?
Exercises to Practice
If we view the cube from an elevated position, the vanishing point and horizon line are below the cube. Placing it this way gives the cube the illusion of floating.
In the exercise above, a number of boxes of various sizes and positions are drawn using the same perspective point. Notice that in all cases, the height and the width of the boxes are always parallel to the picture plane.
Here is an inside view of a box when viewed straight on—t...