Learn to Create WordPress Themes by Building 5 Projects.
eBook - ePub

Learn to Create WordPress Themes by Building 5 Projects.

Eduonix Learning Solutions

Share book
  1. 458 pages
  2. English
  3. ePUB (mobile friendly)
  4. Available on iOS & Android
eBook - ePub

Learn to Create WordPress Themes by Building 5 Projects.

Eduonix Learning Solutions

Book details
Book preview
Table of contents
Citations

About This Book

This book will help you take your first steps in the WordPress theme development process, with 5 different projects centered around creating unique and responsive WordPress themes

Key Features

  • Learn the basics of WordPress theme development in a step by step manner
  • Make your themes more dynamic by integrating components of Bootstrap and JQuery
  • 5 carefully-selected projects to help you get beyond the theory and create highly marketable WordPress themes from scratch

Book Description

WordPress has emerged as a powerful, easy-to-use tool to design attractive, engaging websites. Themes play a big role in making WordPress as popular as it is today, and having an eye-catching, fully-functional theme could separate your website from the rest!

This book will help you take your first steps in the WordPress theme development process, with 5 different projects centered around creating unique and responsive WordPress themes. Start with creating a simple WordPress theme using HTML5, CSS, and PHP. Then, you will move on to incorporate different APIs, widgets, and tools such as Bootstrap and jQuery to create more dynamic and highly-functional themes. Whether you want to create a photo gallery theme, a highly customizable e-commerce theme, or a theme designed to suit a particular business, this book will teach you everything you need to know.

By the end of this highly interactive book, you will have the required mastery to develop WordPress themes from scratch.

What you will learn

  • Simple and advanced themes – covers basic syntax and files along with archives and search pages
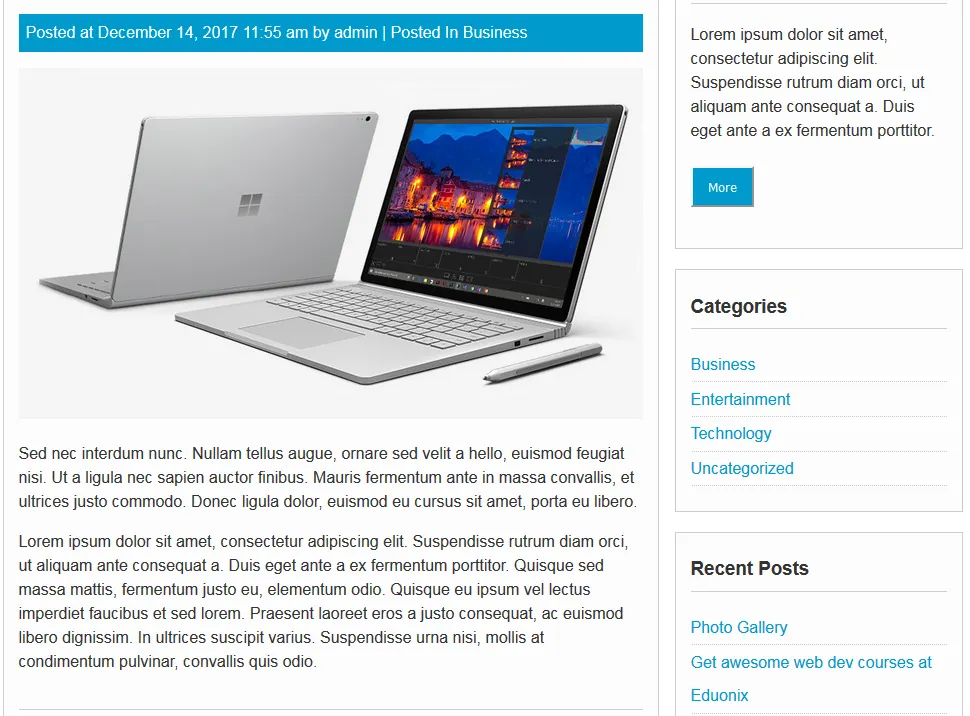
  • Photo Gallery – add simple animation and use the W3.CSS framework to design a photo gallery theme
  • Wordstrap – incorporate Twitter Bootstrap into the theme and use the WP_NavWalker class
  • E-commerce theme – build an e-commerce theme using the Foundation framework

Who this book is for

If you are a blogger or a WordPress user who wants to learn how to create attractive, eye-catching WordPress themes, this book is for you. A basic understanding of HTML5, CSS, PHP, and some creativity is all you need to get started with this book.

Frequently asked questions

How do I cancel my subscription?
Simply head over to the account section in settings and click on “Cancel Subscription” - it’s as simple as that. After you cancel, your membership will stay active for the remainder of the time you’ve paid for. Learn more here.
Can/how do I download books?
At the moment all of our mobile-responsive ePub books are available to download via the app. Most of our PDFs are also available to download and we're working on making the final remaining ones downloadable now. Learn more here.
What is the difference between the pricing plans?
Both plans give you full access to the library and all of Perlego’s features. The only differences are the price and subscription period: With the annual plan you’ll save around 30% compared to 12 months on the monthly plan.
What is Perlego?
We are an online textbook subscription service, where you can get access to an entire online library for less than the price of a single book per month. With over 1 million books across 1000+ topics, we’ve got you covered! Learn more here.
Do you support text-to-speech?
Look out for the read-aloud symbol on your next book to see if you can listen to it. The read-aloud tool reads text aloud for you, highlighting the text as it is being read. You can pause it, speed it up and slow it down. Learn more here.
Is Learn to Create WordPress Themes by Building 5 Projects. an online PDF/ePUB?
Yes, you can access Learn to Create WordPress Themes by Building 5 Projects. by Eduonix Learning Solutions in PDF and/or ePUB format, as well as other popular books in Ciencia de la computación & Sistemas de gestión de contenidos. We have over one million books available in our catalogue for you to explore.

Information

Building a WordPress Theme

In this chapter, we'll jump into more details and get our feet wet. In the previous chapter, we covered the basics, but now we'll use some of the more advanced concepts to build a WordPress theme. Here we will cover the following concepts:
  • Custom template pages
  • Archived pages
  • Post formats
  • Custom home pages
Let's take a quick look at the project:
In the preceding image, you can see the WordpressDev home page with some widgets that we'll implement, such as the showcase. You can also see three box widgets.

Post formats

When you visit the blog page, you can see we have multiple post types:
  • Gallery posts
  • Linked posts
  • A-side posts
  • Regular blog posts
In the following screenshot, you can see Gallery post and the linked posts:
This is how the A-side post looks:
This is what a regular blog post looks like:
When we click on Read More, it takes us to a single page where we have our comment form and the customized comments interface, as shown in the following image:
We will now see how to create custom layouts; for instance, the About page, shown in the following screenshot, is in a layout called Company, where we have the phone number displayed in a div class:
Now let's click on Posts or Pages and then on About:
You'll see that we have Default Template and Company Layout in the Template option:
Now we will see how to create a submenu for pages that have parents; for instance our About page has two children, FAQ and Our Team, as shown in the following screenshot:
Now let's take a look at an archive listing. Go to the blog page and click on one of categories such as Technology:
We can see that the page displays all the posts in Technology. Also, if we go to the username and click on that, it'll show you posts by that author, and as you can see in the following image, it's a custom layout for the archive pages:
Let's go ahead and search. We have a special theme or a special layout for that, as you can see in the following screenshot:
We'll get in a little deeper than we did in the first chapter.

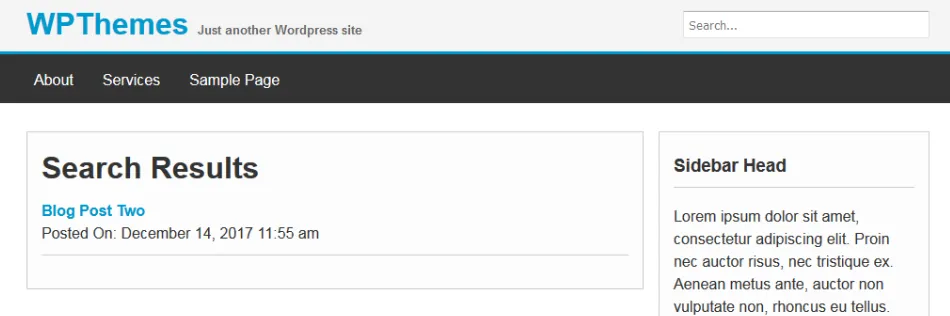
Creating a design using HTML and CSS

Let's see how to create our theme, but before we get into WordPress, we'll first map out and just create the design using HTML and CSS.
Usually, when we build a WordPress theme, or a Drupal or Joomla theme, you can usually create the design first using just static HTML and CSS.

Building the HTML body

As you can see in the following screenshot, we have an empty folder called advanced-wp-html, and we'll create a couple of files here. First, we'll create an index.html file, and then we'll create our style sheet, which will just be style.css.
Let's open both the files with Sublime editor. In the index.html file, add in our core html markup, as shown in the following code block:
<!DOCTYPE html>
<html>
<head>
<title></title>
</head>
<body>

</body>
</html>
We'll update the code, as shown here:
<!DOCTYPE html>
<html>
<head>
<title>Advanced WP Theme</title>
</head>
<body>
<header>
<div class="container">
<h1>Advanced Wordpress Theme</h1>
</div>
</header>
</body>
</html>
Here, we have Advanced WP Theme as the title and added a link to our style sheet, and put an href attribute that's going to go to style.css. Then down in the body, we created our markup with the header. Since we're using HTML5 syntax, we used a <header> tag, and created a <div> with the container class. Inside the container class, we have a <h1> tag, which says Advanced Wordpress Theme; of course, when we actually create the WordPress theme, this will be dynamic and you'll be able to change it from within the admin area, but for now we'll just going to stick some static text in here.
Now, after the <h1> tag, we'll have another div class and we'll give this an h_right class for a header right. And this is where our search form is going to go, so for now we'll just put a <form> tag and an <input> tag as shown in the following code block. We'll give it a placeholder, and just say Search...:
<div class="h_right">
<form>
<input type="text" placeholder="Search...">
</form>
</div>
Now, let's go underneath </header> and create our navigation, as shown in the following code block:
<nav class="nav main-nav">
<div class="container">
<...

Table of contents