From the quickest of pencil sketches to inked-up artwork, mastering different drawing techniques is vital to becoming an accomplished artist. In this practical guide, author and illustrator Peter Gray guides you through the different materials available and how to deploy them to best effect. Whether you are an experienced artist or a complete beginner, these tailored step-by-step exercises and practical hints will help you discover the techniques that work for you. Materials include: • Pencils • Pen and ink • Drybrush and wash • Charcoal and chalk • Scraperboard ABOUT THE SERIES: The Artist's Workbook series contains practical guides for artists interested in getting to grips with a particular drawing subject. Other books in the series include Drawing Animals, Drawing Portrits, Drawing Landscapes and Drawing Caricatures.
Foire aux questions
Comment puis-je résilier mon abonnement ?
Il vous suffit de vous rendre dans la section compte dans paramètres et de cliquer sur « Résilier l’abonnement ». C’est aussi simple que cela ! Une fois que vous aurez résilié votre abonnement, il restera actif pour le reste de la période pour laquelle vous avez payé. Découvrez-en plus ici.
Puis-je / comment puis-je télécharger des livres ?
Pour le moment, tous nos livres en format ePub adaptés aux mobiles peuvent être téléchargés via l’application. La plupart de nos PDF sont également disponibles en téléchargement et les autres seront téléchargeables très prochainement. Découvrez-en plus ici.
Quelle est la différence entre les formules tarifaires ?
Les deux abonnements vous donnent un accès complet à la bibliothèque et à toutes les fonctionnalités de Perlego. Les seules différences sont les tarifs ainsi que la période d’abonnement : avec l’abonnement annuel, vous économiserez environ 30 % par rapport à 12 mois d’abonnement mensuel.
Qu’est-ce que Perlego ?
Nous sommes un service d’abonnement à des ouvrages universitaires en ligne, où vous pouvez accéder à toute une bibliothèque pour un prix inférieur à celui d’un seul livre par mois. Avec plus d’un million de livres sur plus de 1 000 sujets, nous avons ce qu’il vous faut ! Découvrez-en plus ici.
Prenez-vous en charge la synthèse vocale ?
Recherchez le symbole Écouter sur votre prochain livre pour voir si vous pouvez l’écouter. L’outil Écouter lit le texte à haute voix pour vous, en surlignant le passage qui est en cours de lecture. Vous pouvez le mettre sur pause, l’accélérer ou le ralentir. Découvrez-en plus ici.
Est-ce que The Practical Guide to Drawing Techniques est un PDF/ePUB en ligne ?
Oui, vous pouvez accéder à The Practical Guide to Drawing Techniques par Peter Gray en format PDF et/ou ePUB ainsi qu’à d’autres livres populaires dans Kunst et Kunsttechniken. Nous disposons de plus d’un million d’ouvrages à découvrir dans notre catalogue.
Ink produces a dense black mark that can be applied as fine as a hair’s breadth or in solid masses depending on the tool employed. A bottle of black drawing ink is not expensive and will last for a long time. When dry, it cannot be erased or washed away, making it convenient when cleaning up pencil marks and for using along with other materials. White drawing ink, applied with a fine brush, is great for correcting mistakes and for adding highlights and accents. Make sure you shake or stir the bottle well before each use.
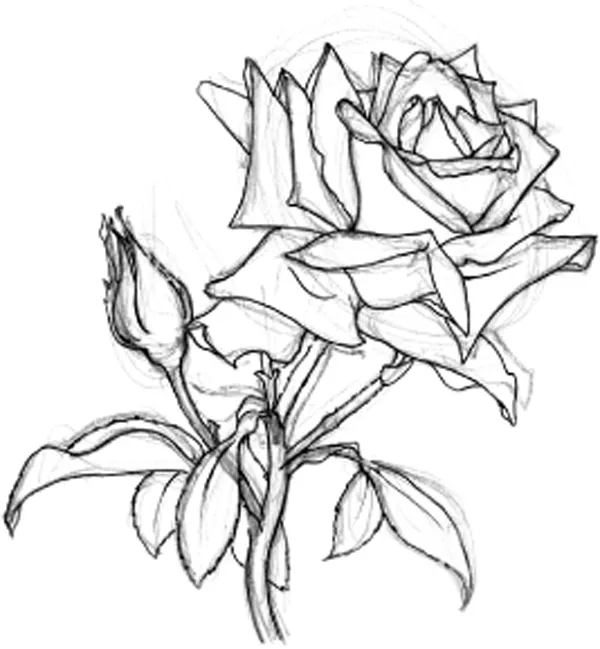
Step 1
The easiest way to ink drawings is with fine-tipped drawing pens, with integral ink reservoirs. Here, I’ve used a 0.3mm pen over fairly rough pencil guidelines.
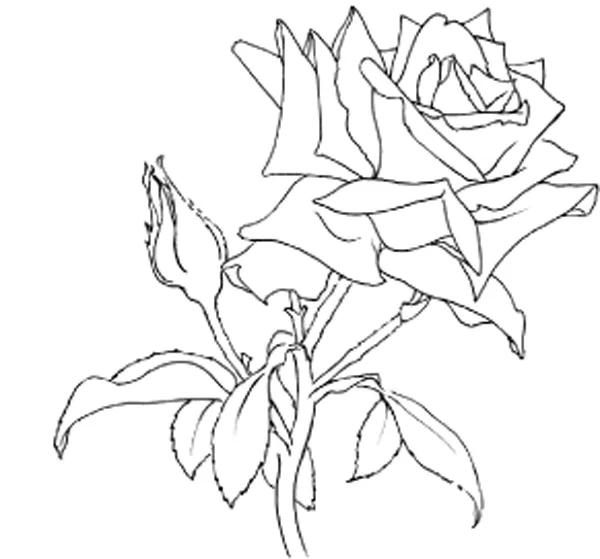
Step 2
The pencil marks can be easily erased in broad strokes across the whole picture area, leaving a clean outline. However, the even line of a pen can look clinical and uninteresting.
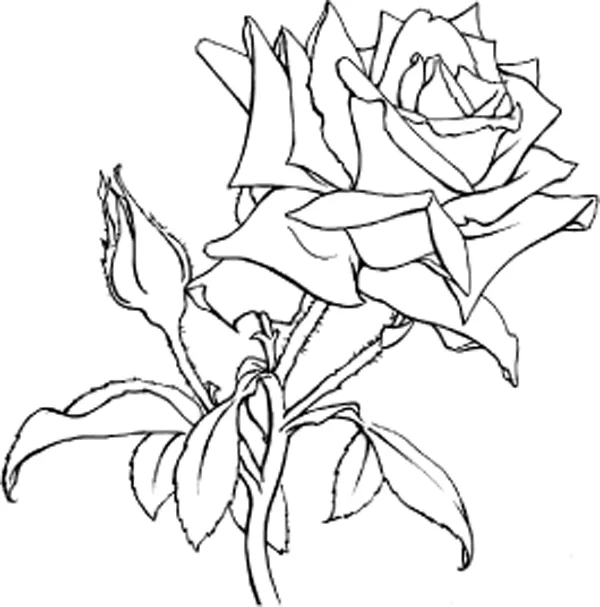
Step 3
Going over some of the lines again with a broader pen (0.8mm) lends the line some variety. The difference is subtle, but the drawing looks more finished.
Step 4
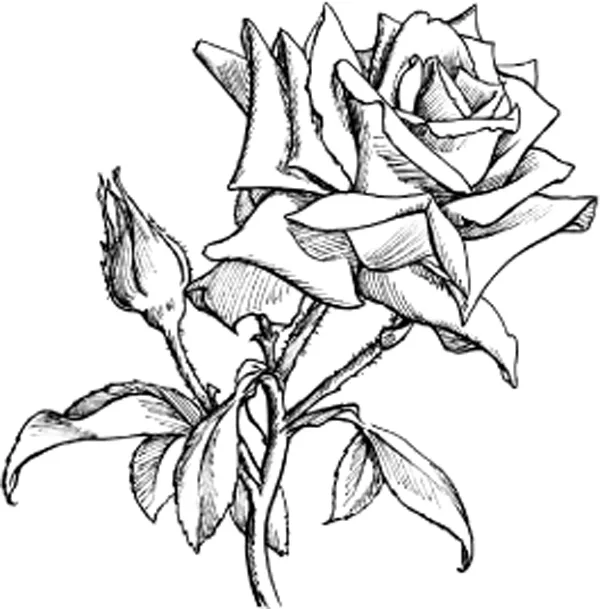
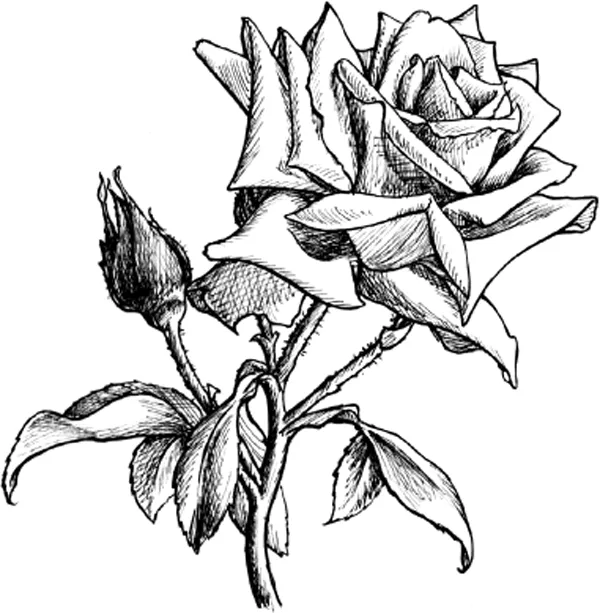
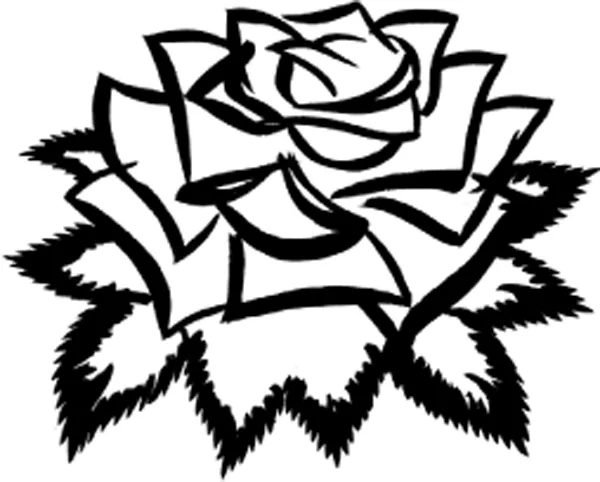
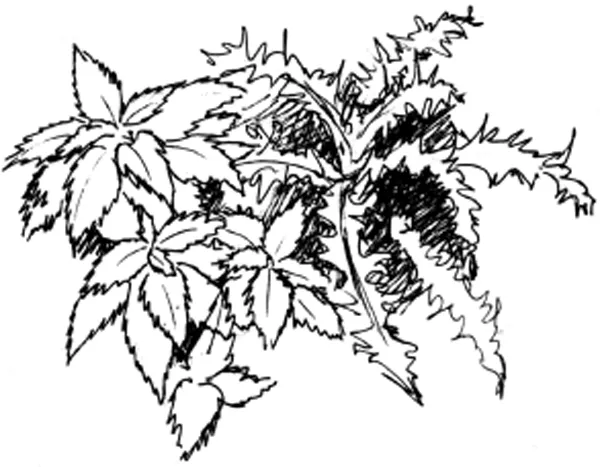
Random shading direction is an easy introduction to shading with ink. With my 0.3mm pen, I started the shading with evenly spaced strokes over all the general areas of shade, roughly following the form of the plant.
Step 5
To complete the shading, I looked more closely at the subject and identified the variations of shade. Where the shading was darker, I altered the angle of the shading and stroked evenly spaced lines on top of the existing ones. A black pen cannot describe very pale tones, so they should be left white.
HANDY HINT
For more confident inking, turn the paper so that your hand can follow its natural arc for each stroke.
Unlike drawing with a pencil or felt-tip pen, using ink from the bottle requires a greater degree of confidence and steadiness of hand. Handling the free flow of ink is a kind of performance, for which each mark is rehearsed in the mind before being boldly committed to paper.
Steel-nibbed drawing pen
These old-fashioned pens have flexible nibs that make lines of varying breadth depending on the pressure you apply. They take a bit of practice to master and can be quite messy. Always wash the nib in clean water after use.
Bamboo pen
This is an excellent tool for thwarting any timid tendencies. Effectively, it’s a shaped stick, dipped into ink. When fully loaded, the line is thick and blobby. As the ink runs low, this pen produces interesting scratchy marks for shading or texture. (See here.)
Brush and ink
One good quality round watercolour brush will do for most jobs, whether inking fine lines or filling in larger areas of solid black. Number 3 or 4 is a versatile size, as long as it has a fine point. Always wash brushes carefully and reshape the point immediately after use.
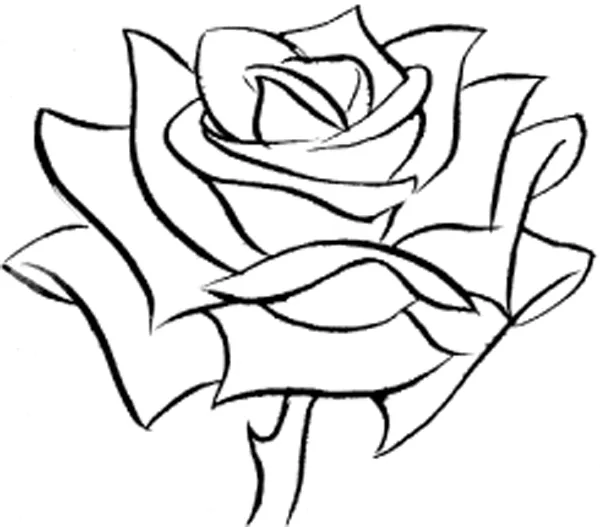
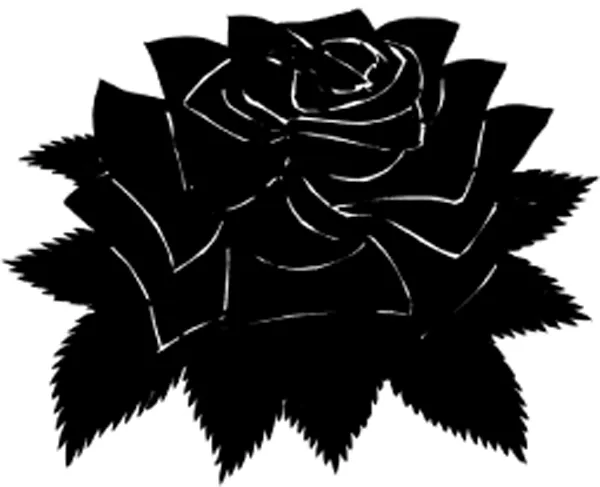
SOLID BLACK
Another quality of both black and white ink is their dense covering power over larger areas. Thus they lend themselves to more graphic approaches to drawing and design. Here’s a bold graphic treatment of the rose motif drawn and filled in with a brush.
Step 1
Over rough pencil work, the first stage of inking was for the outlines only. For the serrated leaves, I laid down the point of the brush and dragged it away from the outside edges.
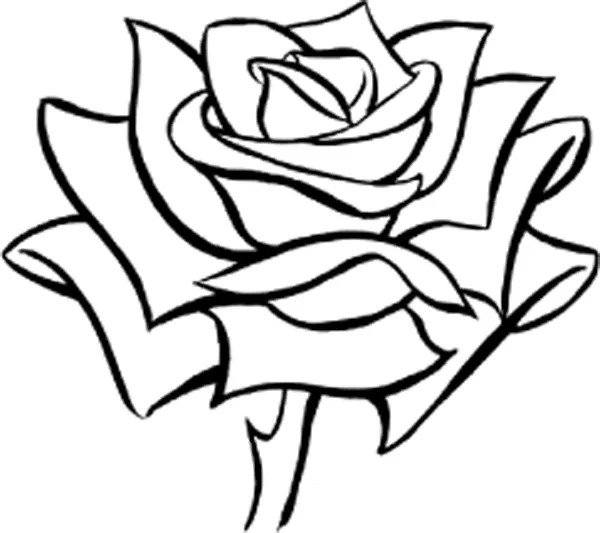
Step 2
Filling in with black was easy enough, but I was careful to leave myself some reminders of where the outlines would go.
Step 3
I then used white drawing ink to pick out the details, correct mistakes and complete the design. To allow for the white ink’s thick consistency I painted these lines slowly and carefully.
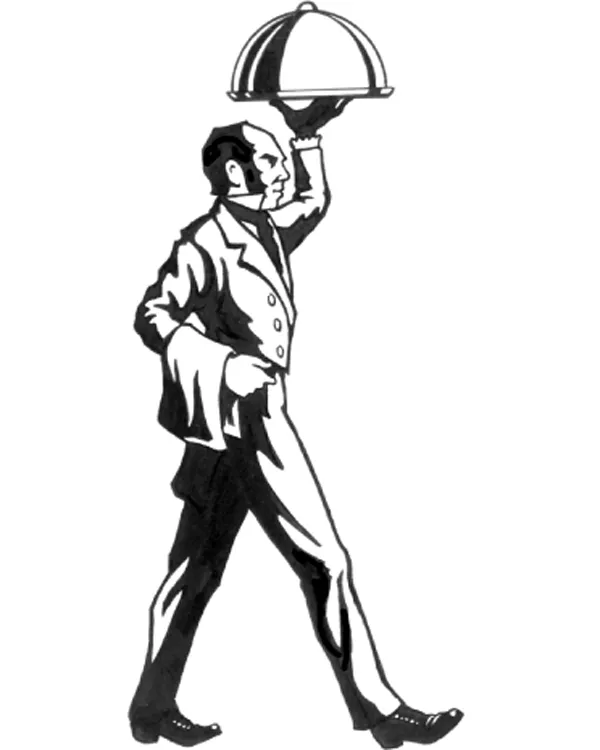
INK DRAWING TECHNIQUES
This formal illustration relies on blocks of pure black and white. Simple though it looks, there’s some planning required for this approach.
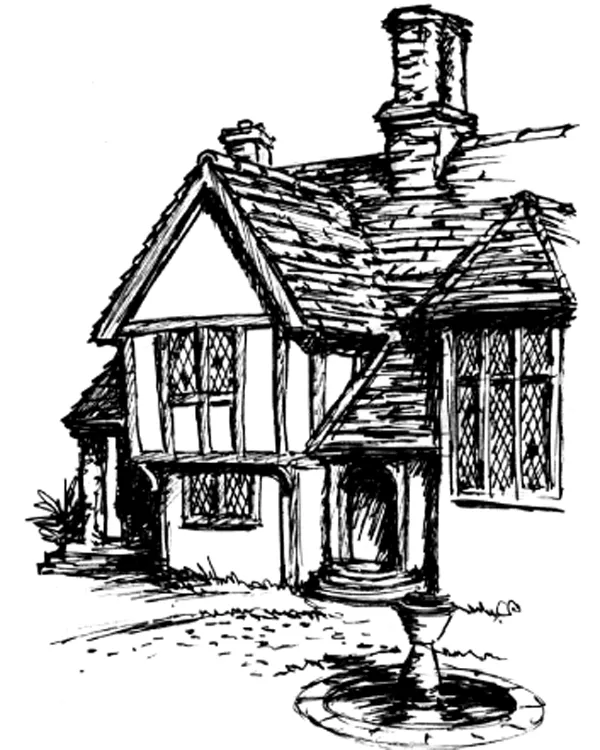
The slightly scratchy line of a drawing pen used rapidly seemed appropriate for this tiny sketch of a Tudor cottage. Most of the shading here takes the form of textural detail.
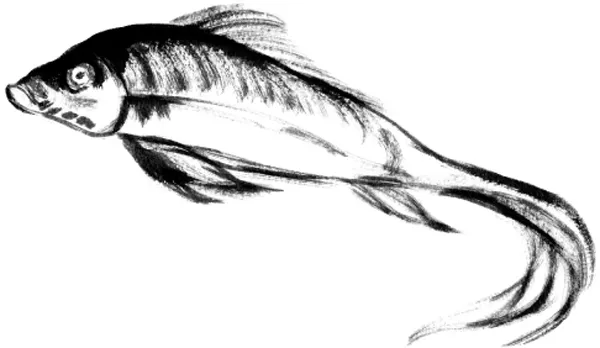
Here I used a ‘drybrush’ technique (see also here), which makes a feature of the brush marks and the texture of the paper.
Ink can bring clarity to sketches. After carefully outlining these plant forms with a fine drawing pen, I erased the c...